Word count: 4804. Estimated reading time: 23 minutes.
- Summary:
- The post describes various components of the author’s future house build, including DC wall dimmer switches, ventilation boost fans, CAT 6 networking, and MR16 bulbs for point lighting. The author discusses their choices and experiences with each component, highlighting their features, pros, and cons. They also share empirical testing results, such as temperature readings and power consumption measurements, to inform their decisions.
Friday 29 December 2023: 21:37.
- Summary:
- The post describes various components of the author’s future house build, including DC wall dimmer switches, ventilation boost fans, CAT 6 networking, and MR16 bulbs for point lighting. The author discusses their choices and experiences with each component, highlighting their features, pros, and cons. They also share empirical testing results, such as temperature readings and power consumption measurements, to inform their decisions.
DC wall dimmer switches
You may remember that my original intent is for the ESP32 microcontrollers or some PWM (Pulse Width Modulation, a common technique for dimming a light) board (e.g. PCA9685 or TLC5947) hanging off them to do the PWM DC dimming for all the lighting. That would have worked fine, however it would also consume a lot of my time to wire them all up and write the firmwares. And it still didn’t solve the problem of what to use as the wall switch, where I wanted a standard rotary push switch, same as a normal dimmer switch, so everybody would know how to turn lights on and off and dim them without having to be taught, or use some app on their phone. I solved this by spending a lot of money on these from Aliexpress during the Single’s Day sales:
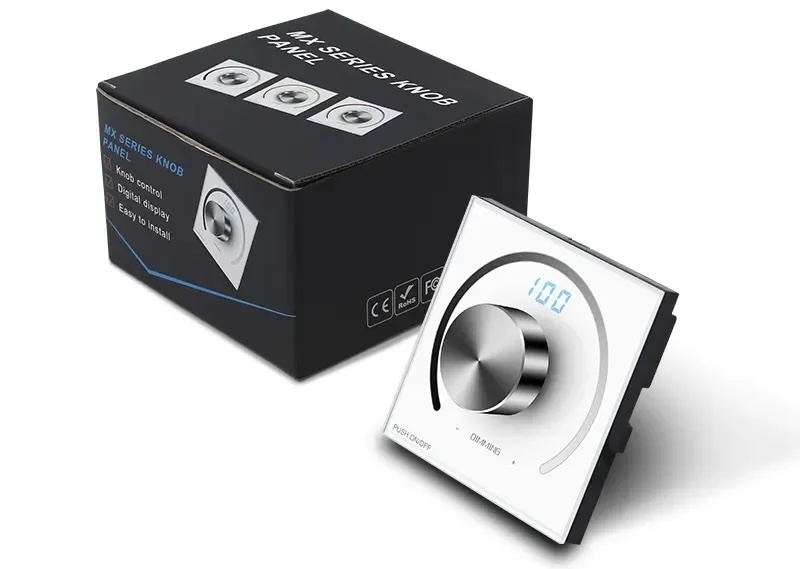
These are the highest claimed frequency DC PWM dimmer units I could find on Aliexpress, and I got them for €17.20 inc VAT delivered each which makes them not cheap, nor do they look especially nice as they’re a bit tacky looking. However, they claim to offer a programmable 500-8,000 Hz PWM frequency, and can work from 5v to 24v. Plus DC dimmer wall switches are very much the unusual item, there isn’t much choice even on Aliexpress, and these I think are the least tacky looking of the three or so models with a physical knob, plus the guide light when off would be handy when searching for them in a dark room. I was thinking before I splurged on them (as I needed rather a lot of them) that if they could work off 5v, then they could be directly supplied from the ESP32 and tell the ESP32 what dimming is requested. Until I got round to wiring in the ESP32s, they could directly drive the LEDs.
I was curious what their insides looked like, so I cracked one open, and also put it onto the oscilloscope to see if it really does emit a 8 kHz PWM:
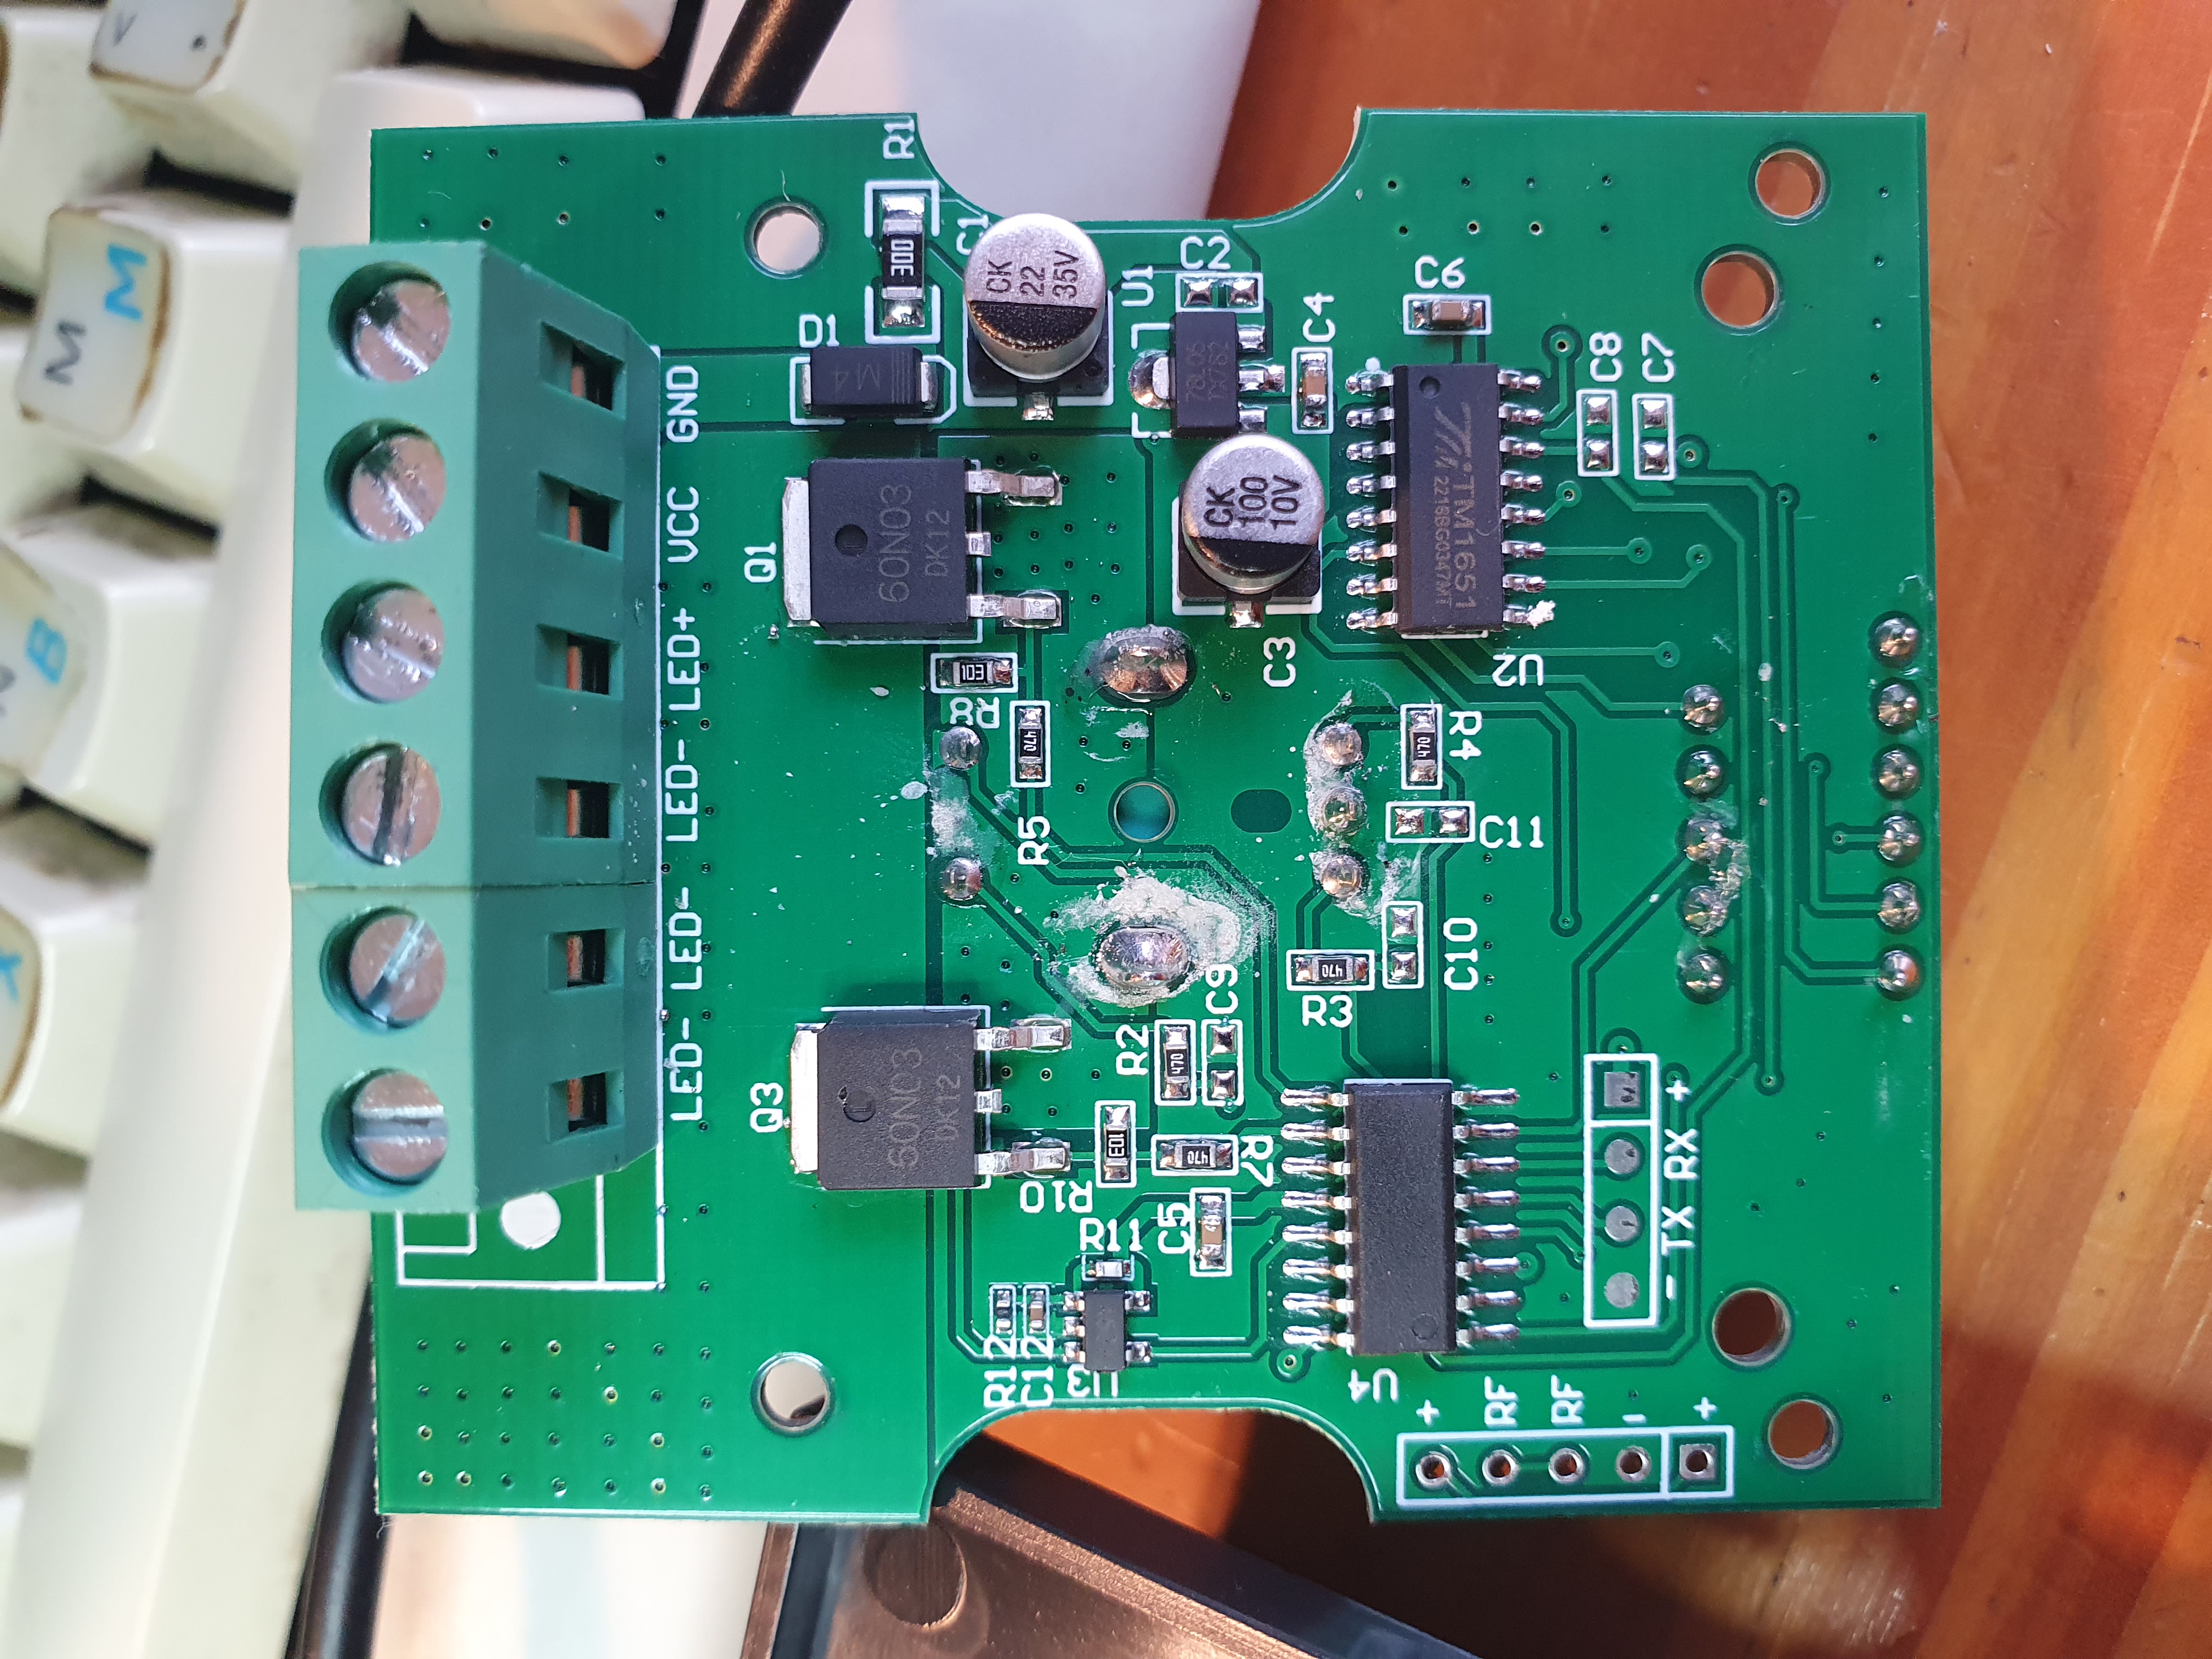
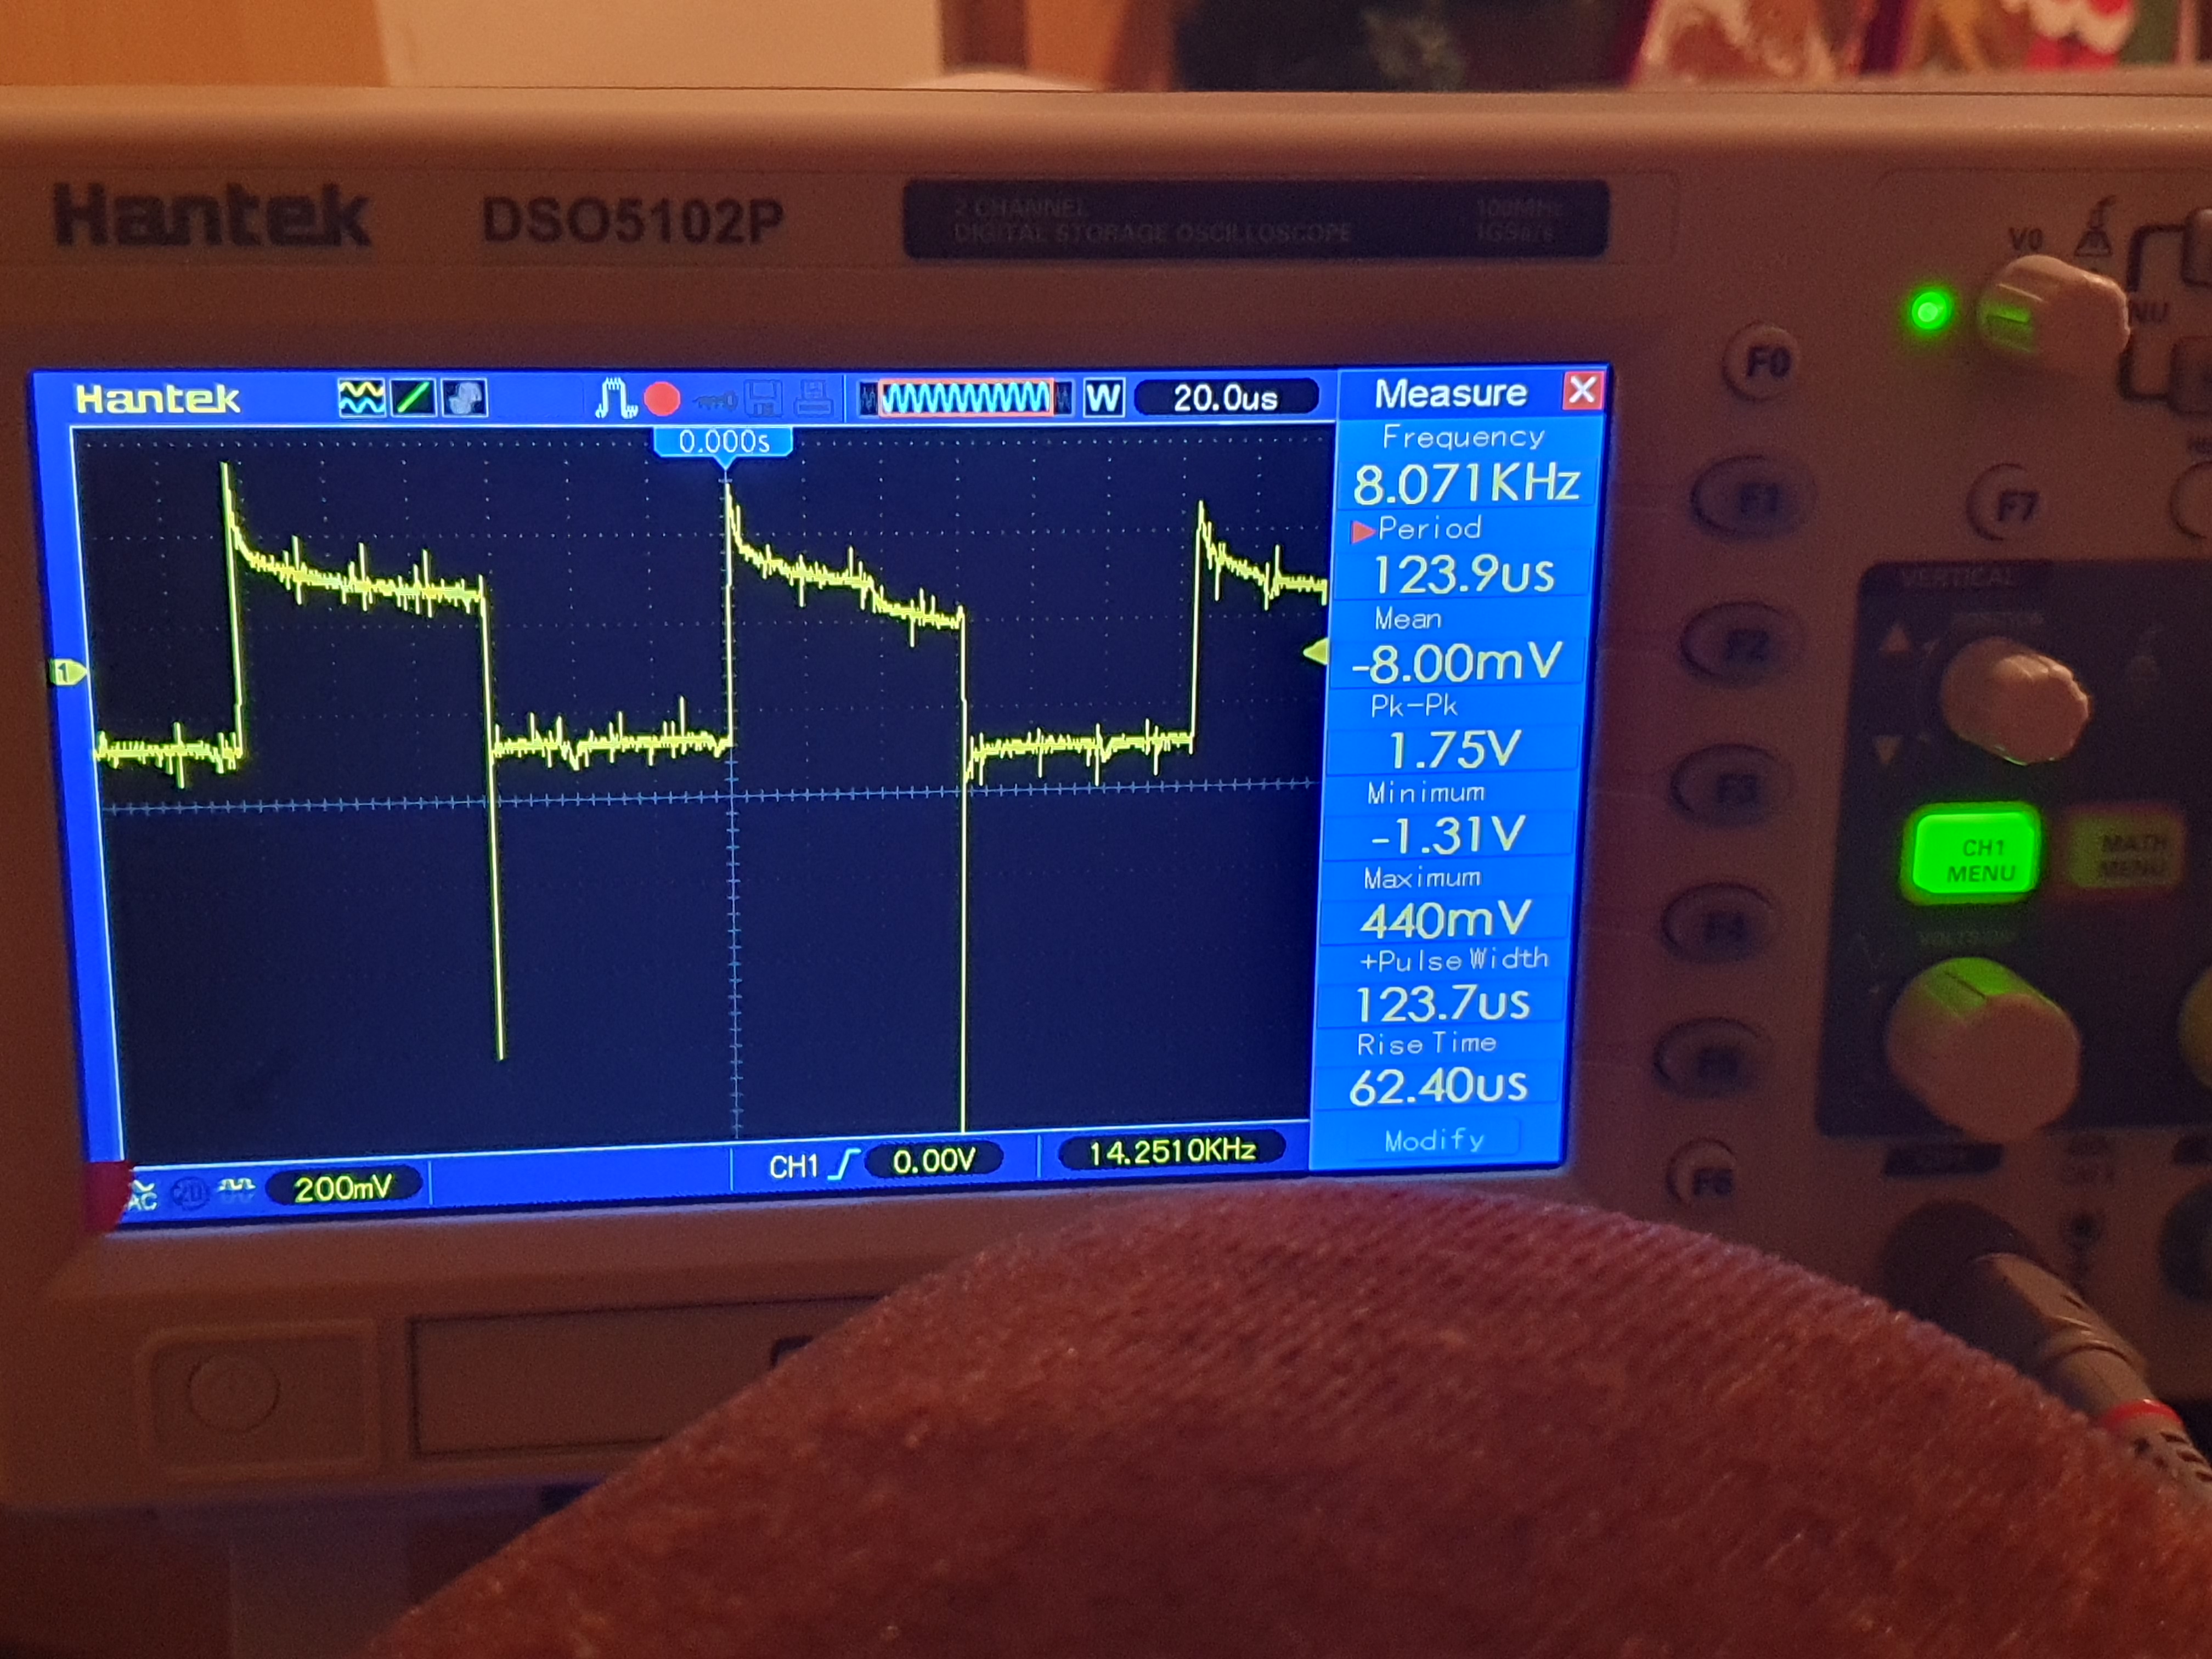
It’s getting increasingly often that if you spend a little more an Aliexpress item, the listing is exactly as described, and this is an example of that. The oscilloscope proves that these do generate a true 8kHz PWM, with the design based around two 60N03 MOSFETs. The MOSFETs can cope with up to 30v and their control signal is TTL, and their datasheet reckons they can push up to 320 watts. Exactly why we need two of them here I am unsure, but my best guess is to seamlessly handle both common anode and common cathode LED strips. There is a TM1651 LED driver control IC, but it is for the eight segment number display only. An unmarked IC appears to do all the real work. A 78L05 voltage regulator takes in 0 - 30v and outputs 5v, its datasheet says it needs a minimum 7.5v to produce 5v. With 5v input it produces 3.5v, which is above TTL so a lot of ICs should still work. All the ICs with identifiers I could see their datasheets all say they’re happy at 3.3v, so only the unmarked IC will be the question. I ended up putting it onto my variable voltage power supply, it appears (just about) happy at 5.0v albeit with the numbers display rather dim, but 4.8v is too little and it hangs. The numbers display appears to reach full brightness at around 8v, so I suspect it needs 5v from that voltage regulator for full brightness but will make do down to TTL.
Basically this is all great, they do exactly what they say they’ll do. Build quality is good, apart from looking a bit tacky and being a bit expensive for a wall dimmer switch (albeit, these are far more sophisticated than a dumb triac based AC dimmer), I think they’ll do very well.
As an example of how much worse they could be:
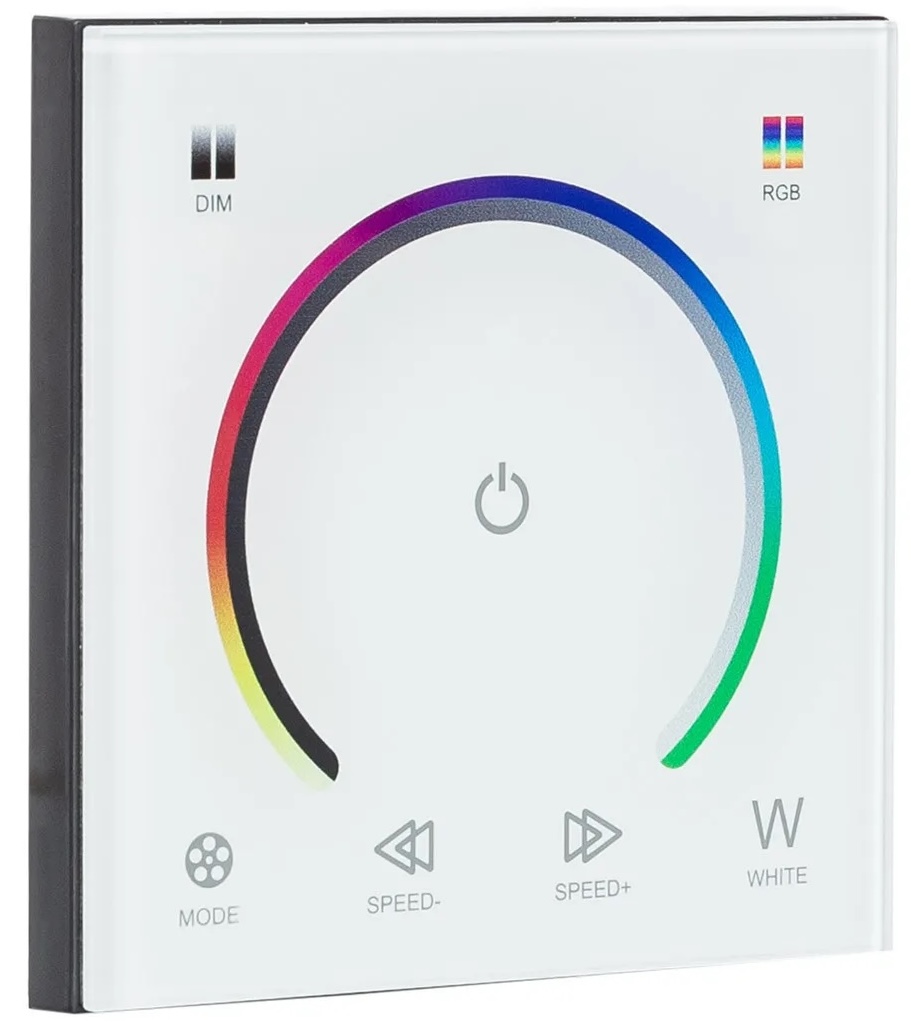
I needed exactly one of these for the single RGBWW LED strip in the house, which will be in the Sauna. Because the strip will be floor level, I just needed something which let you set the colour and brightness and remember your setting each time it turns on. This unit achieves that, but not well. It has a ‘touch’ interface which is finickety to use. Its PWM frequency is well under 500 Hz, and it very obviously flickers when brightness is not full. In fairness it did cost €11.75 inc VAT delivered, and it does do everything it claims (it never claimed anything about its PWM frequency), and there is not a lot of choice within the RGBW DC wall switch market on Aliexpress. Here it is at work with the RGBWW LED strip intended for the Sauna:
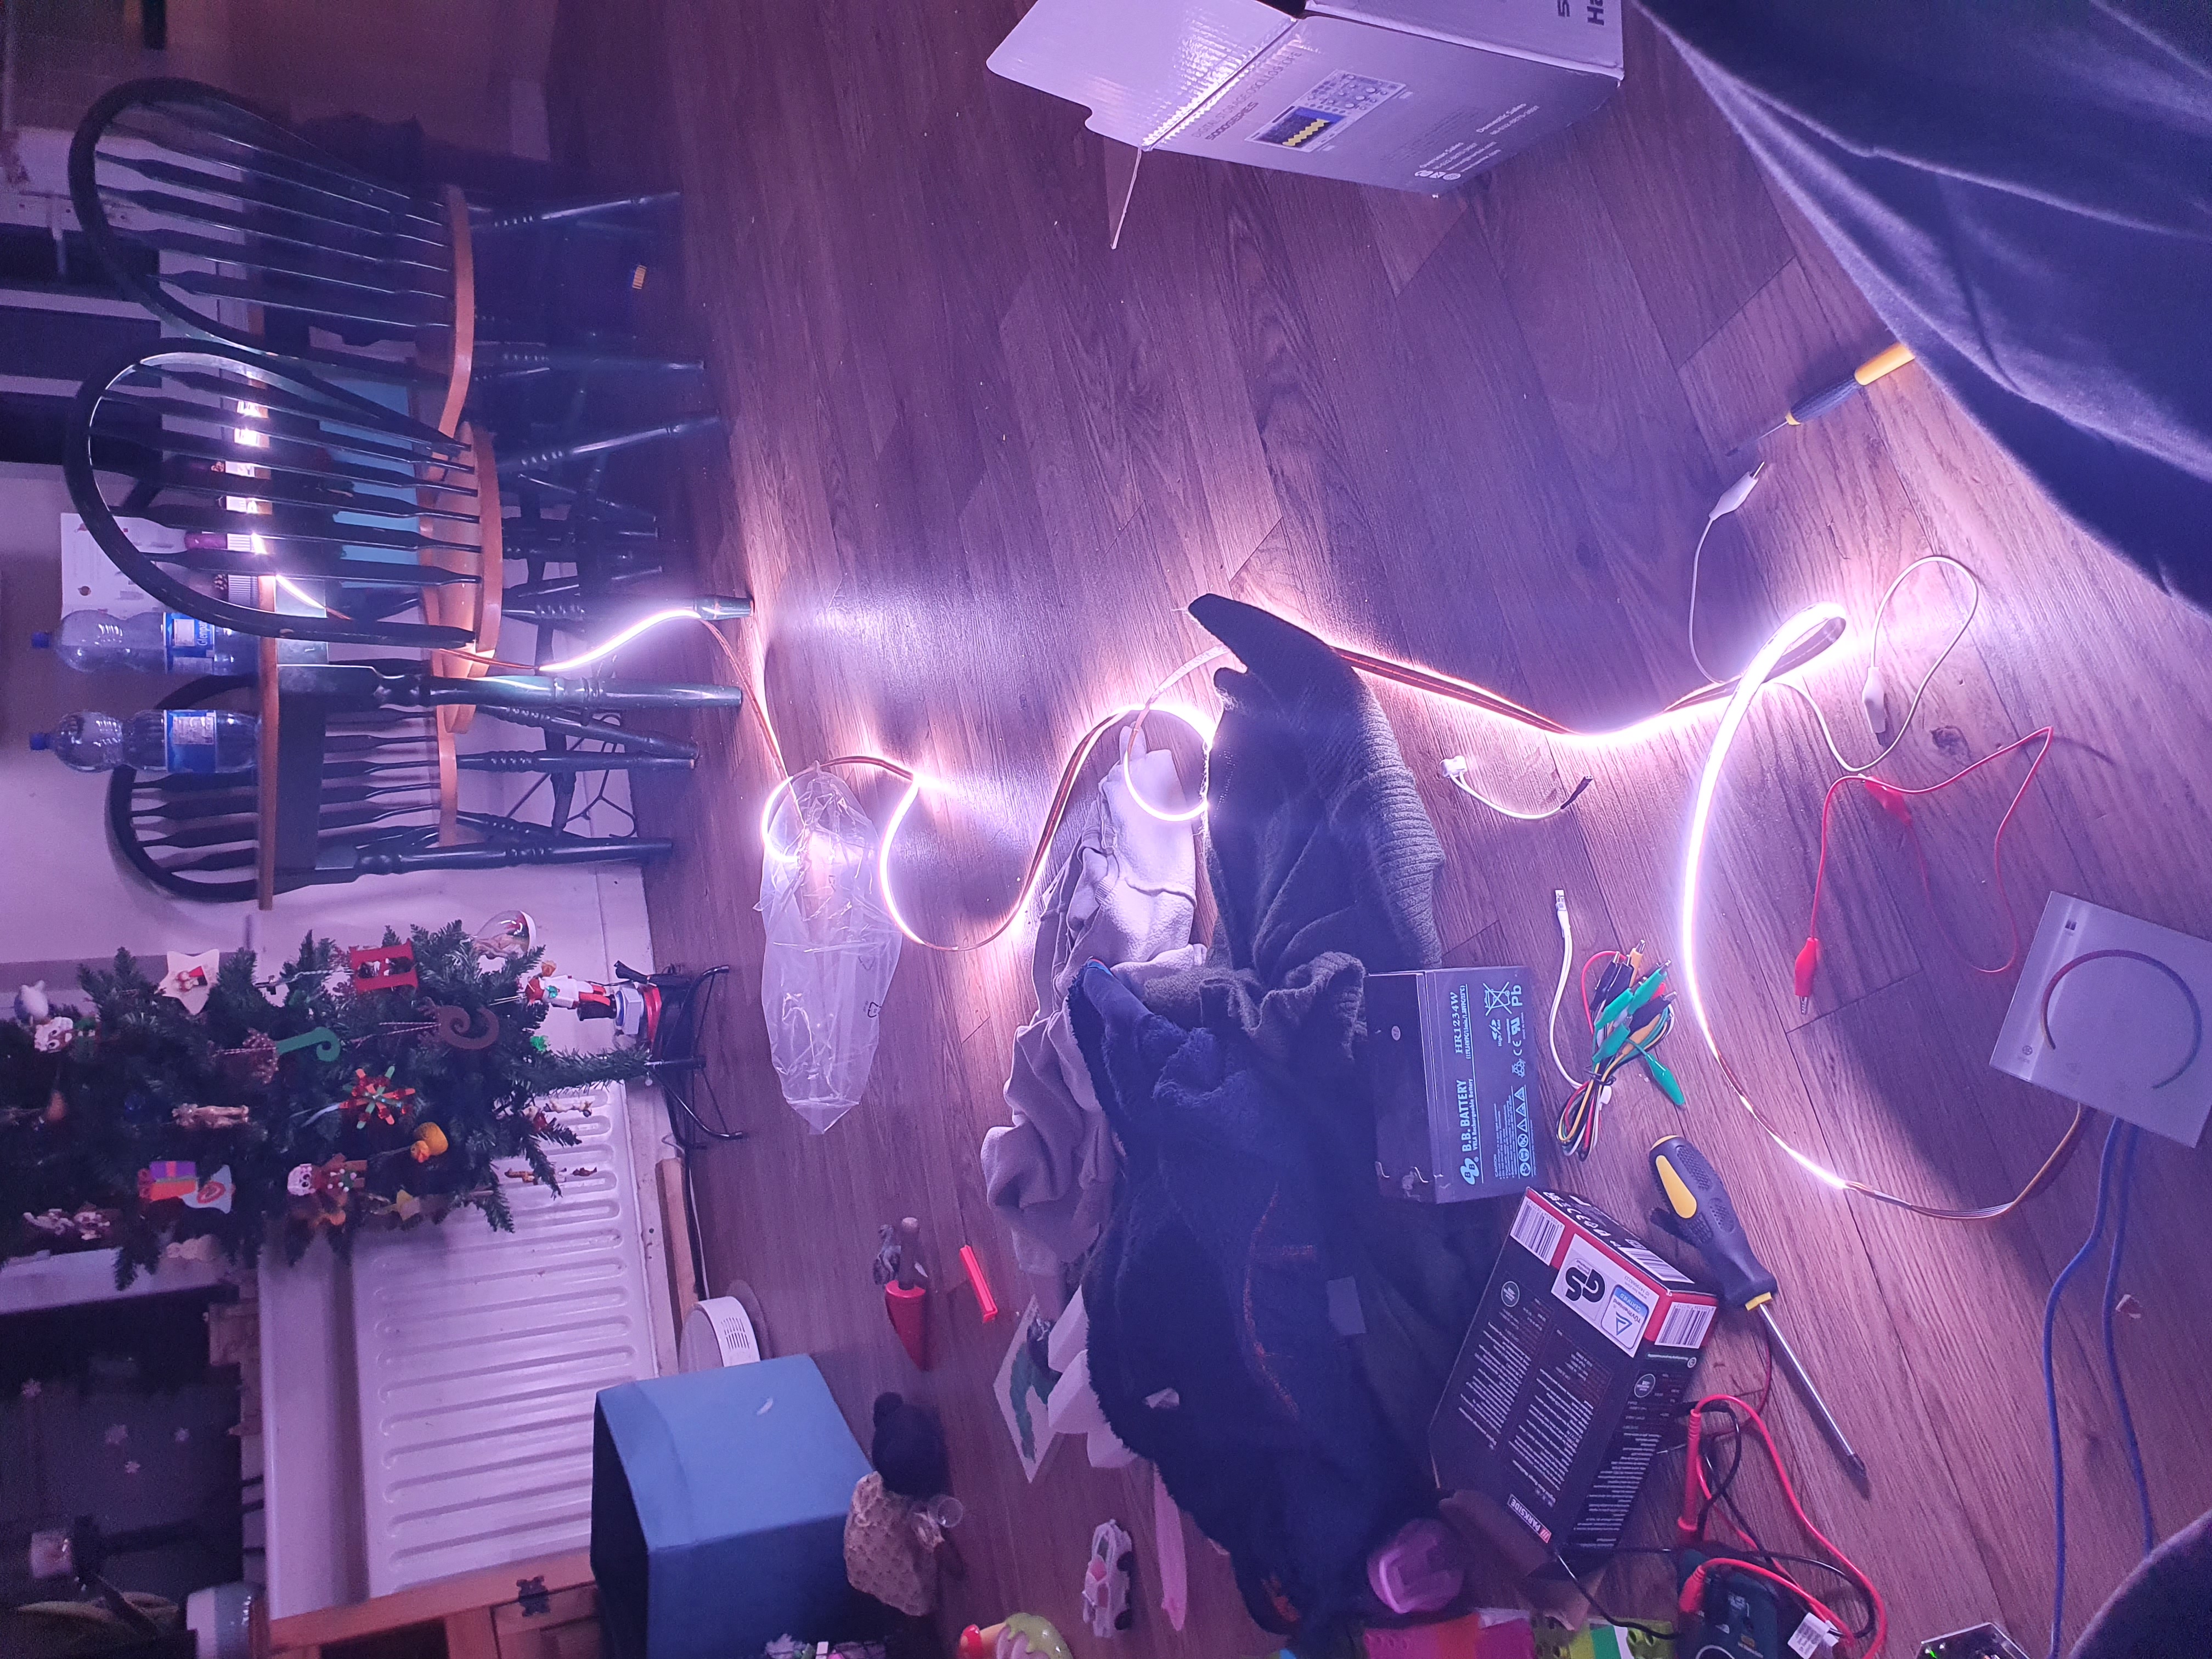
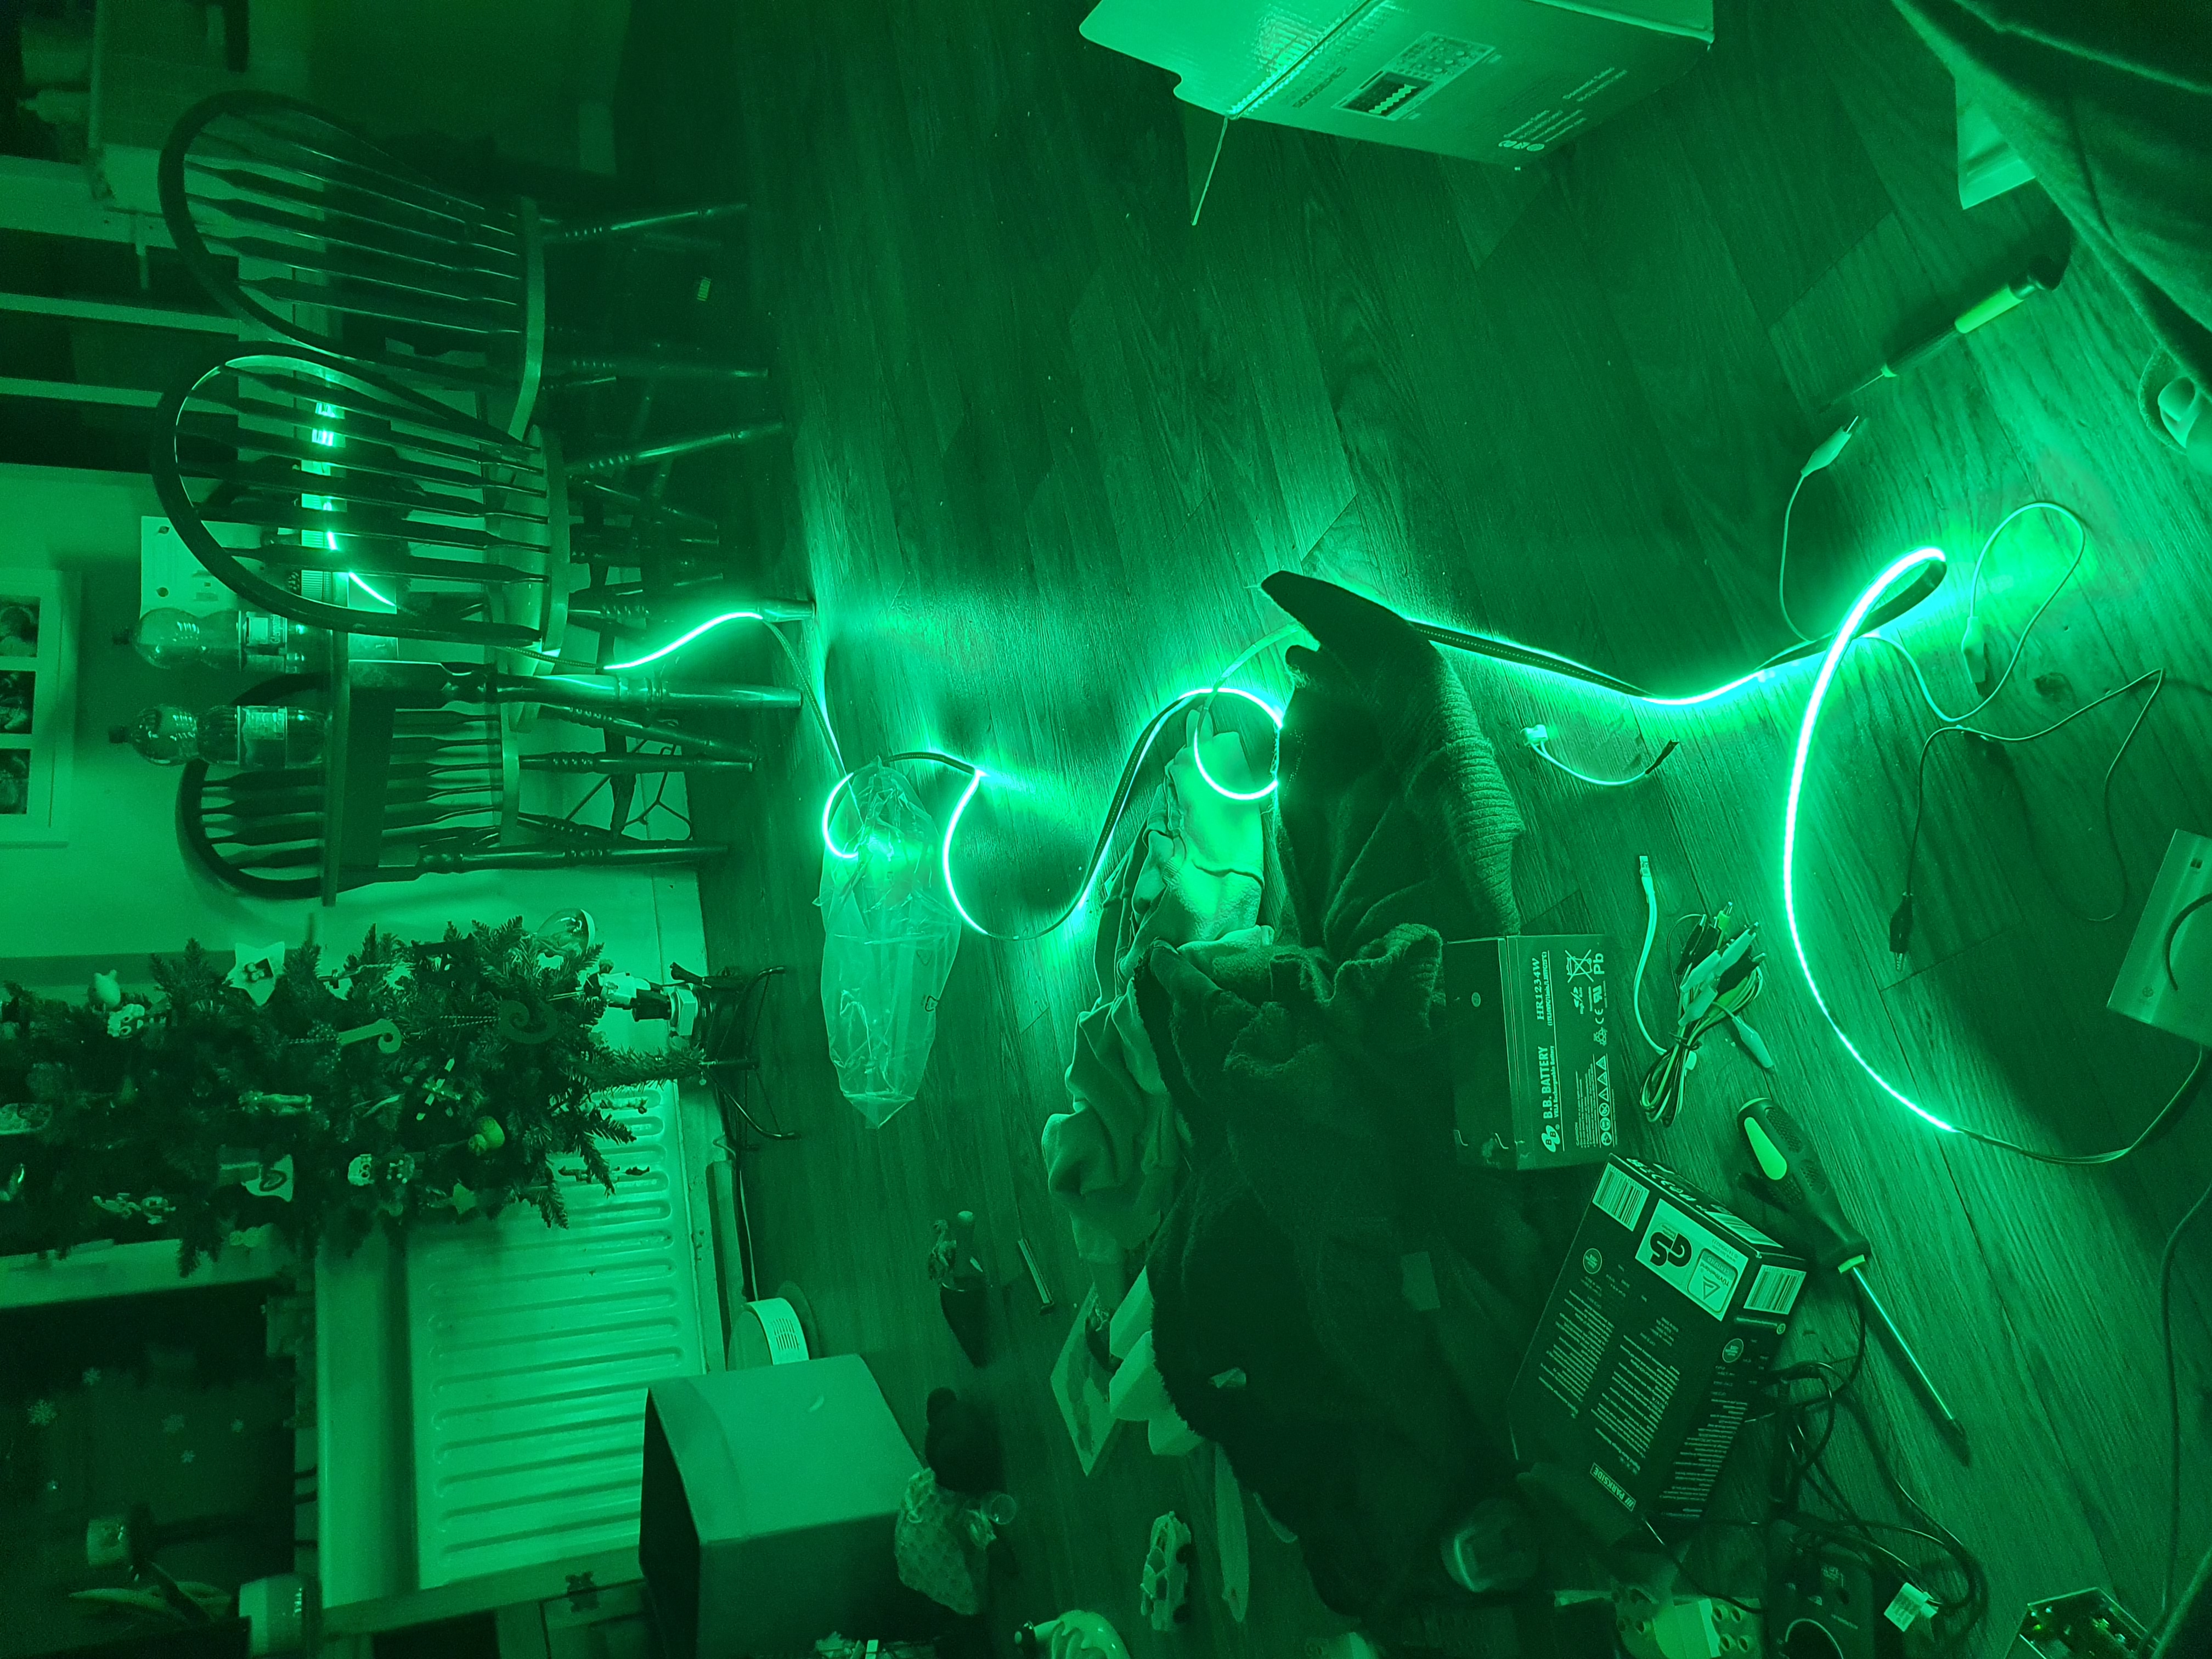
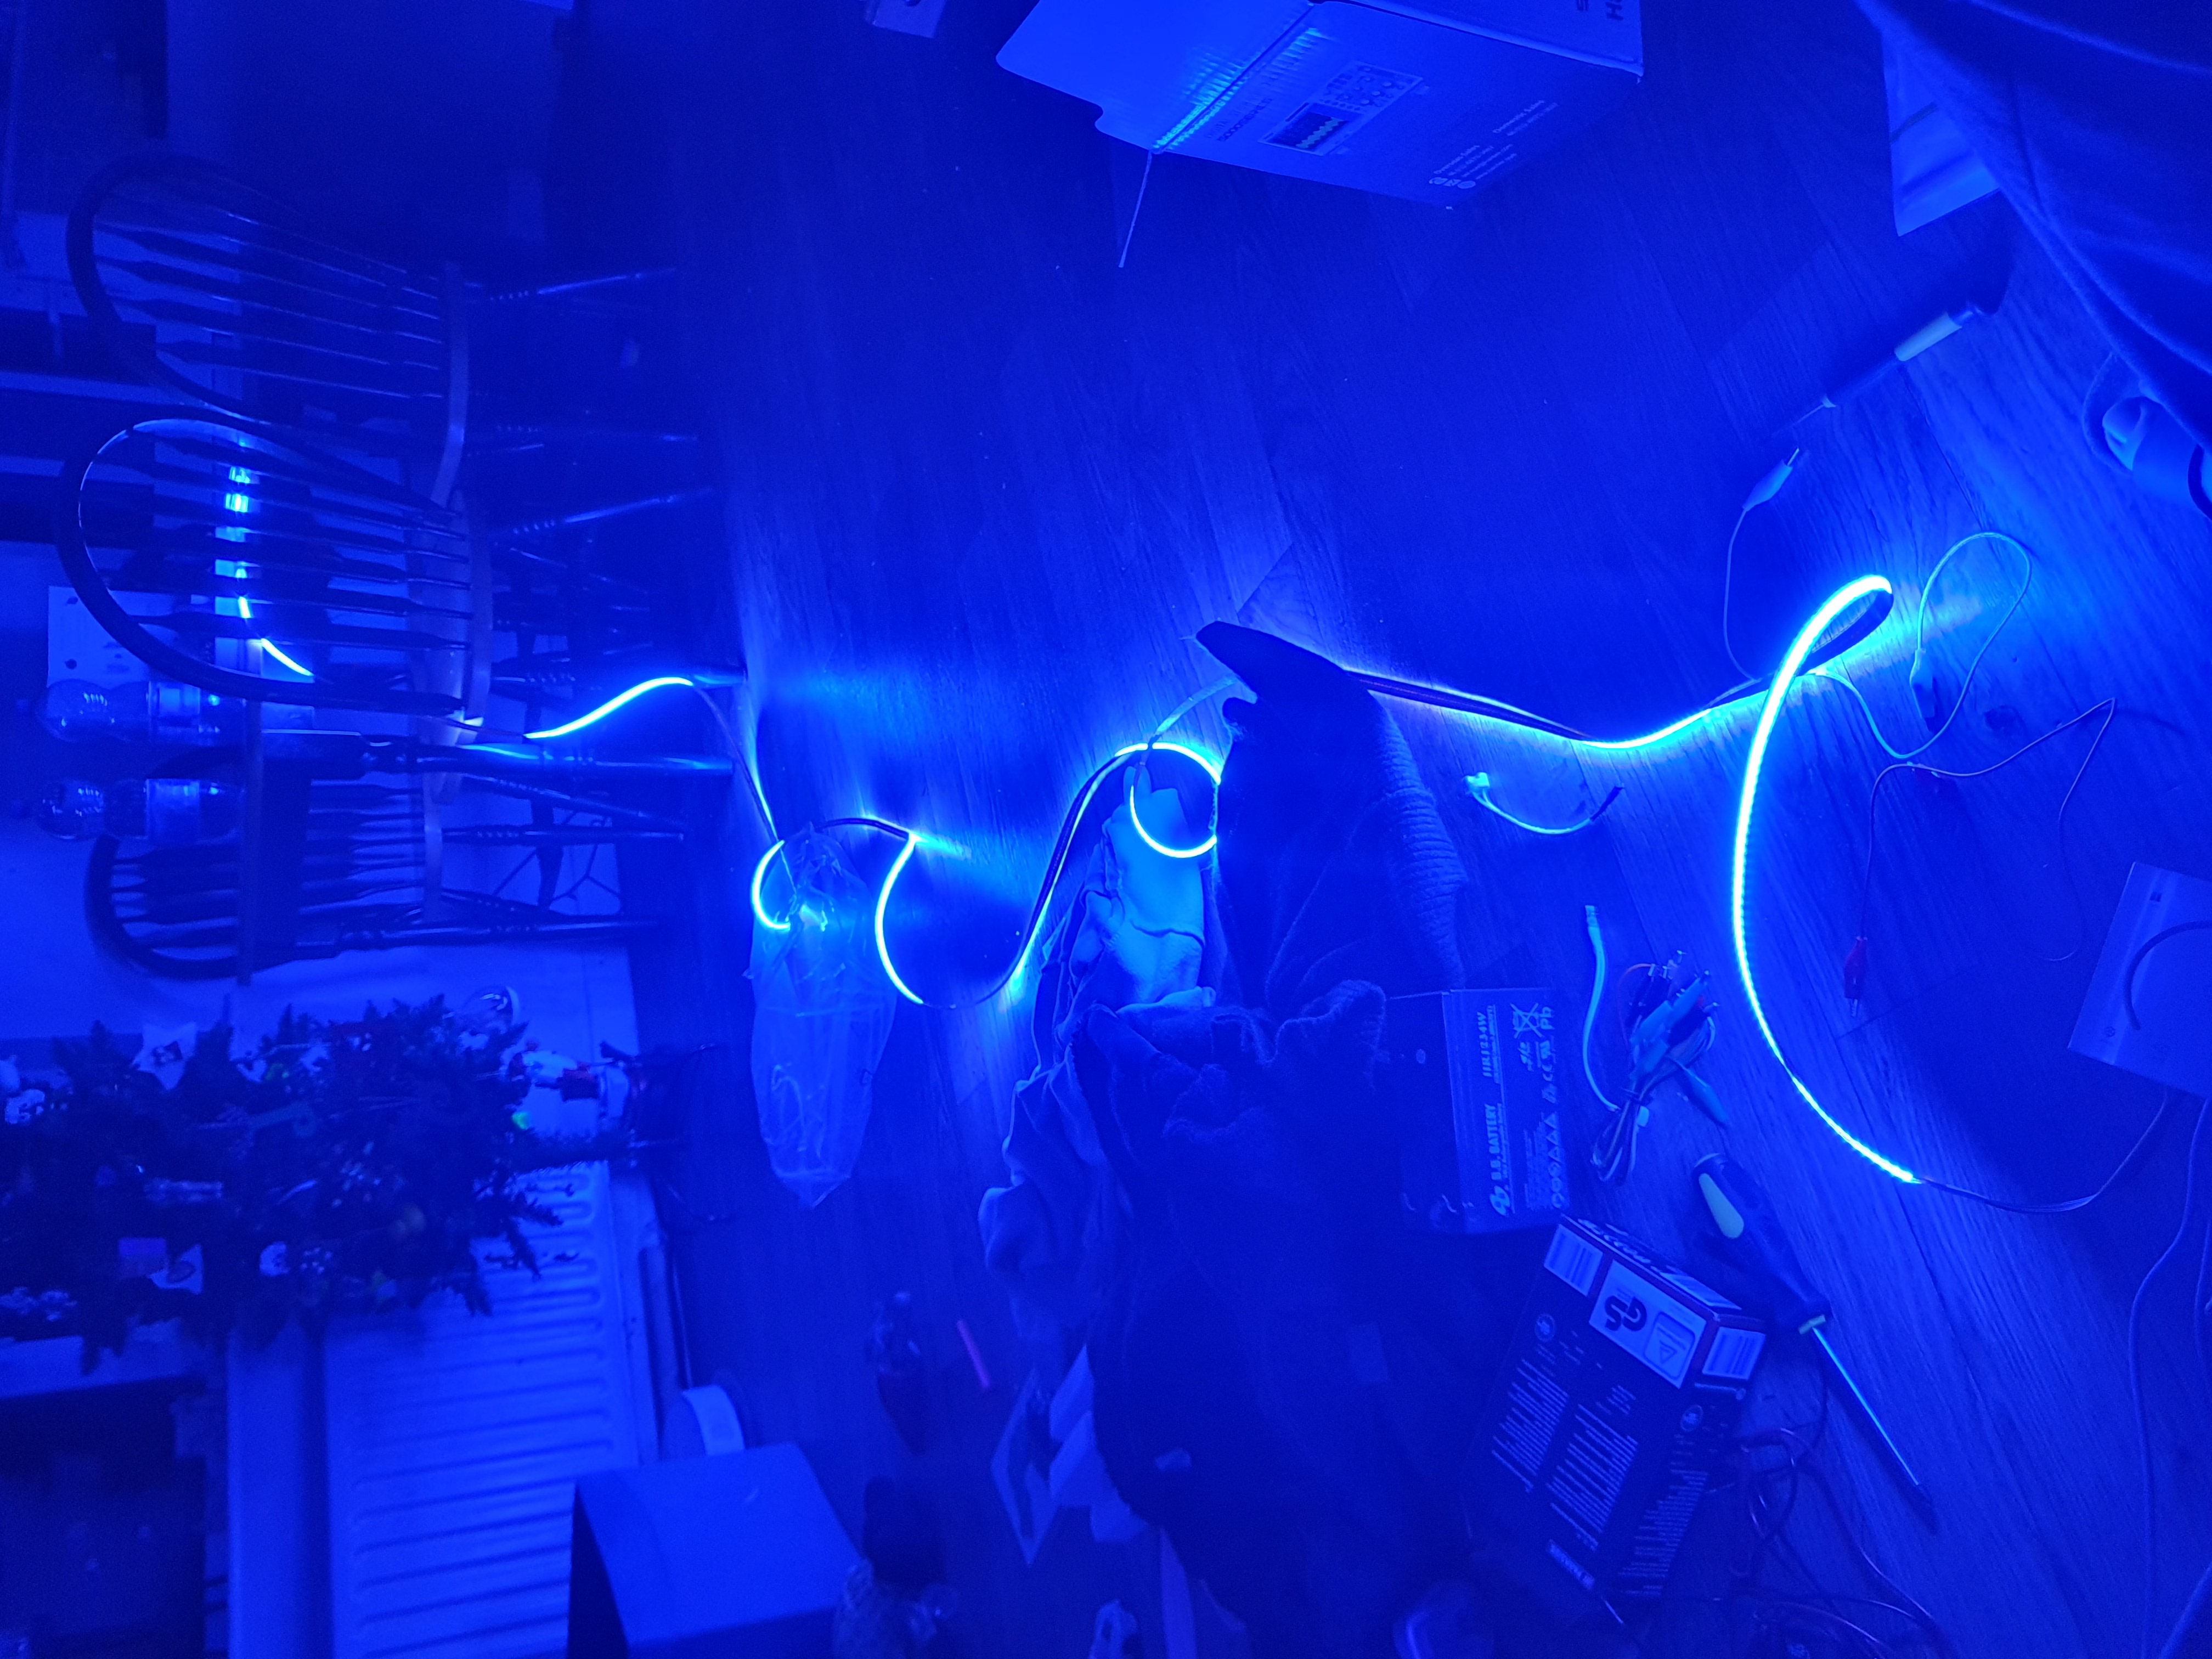
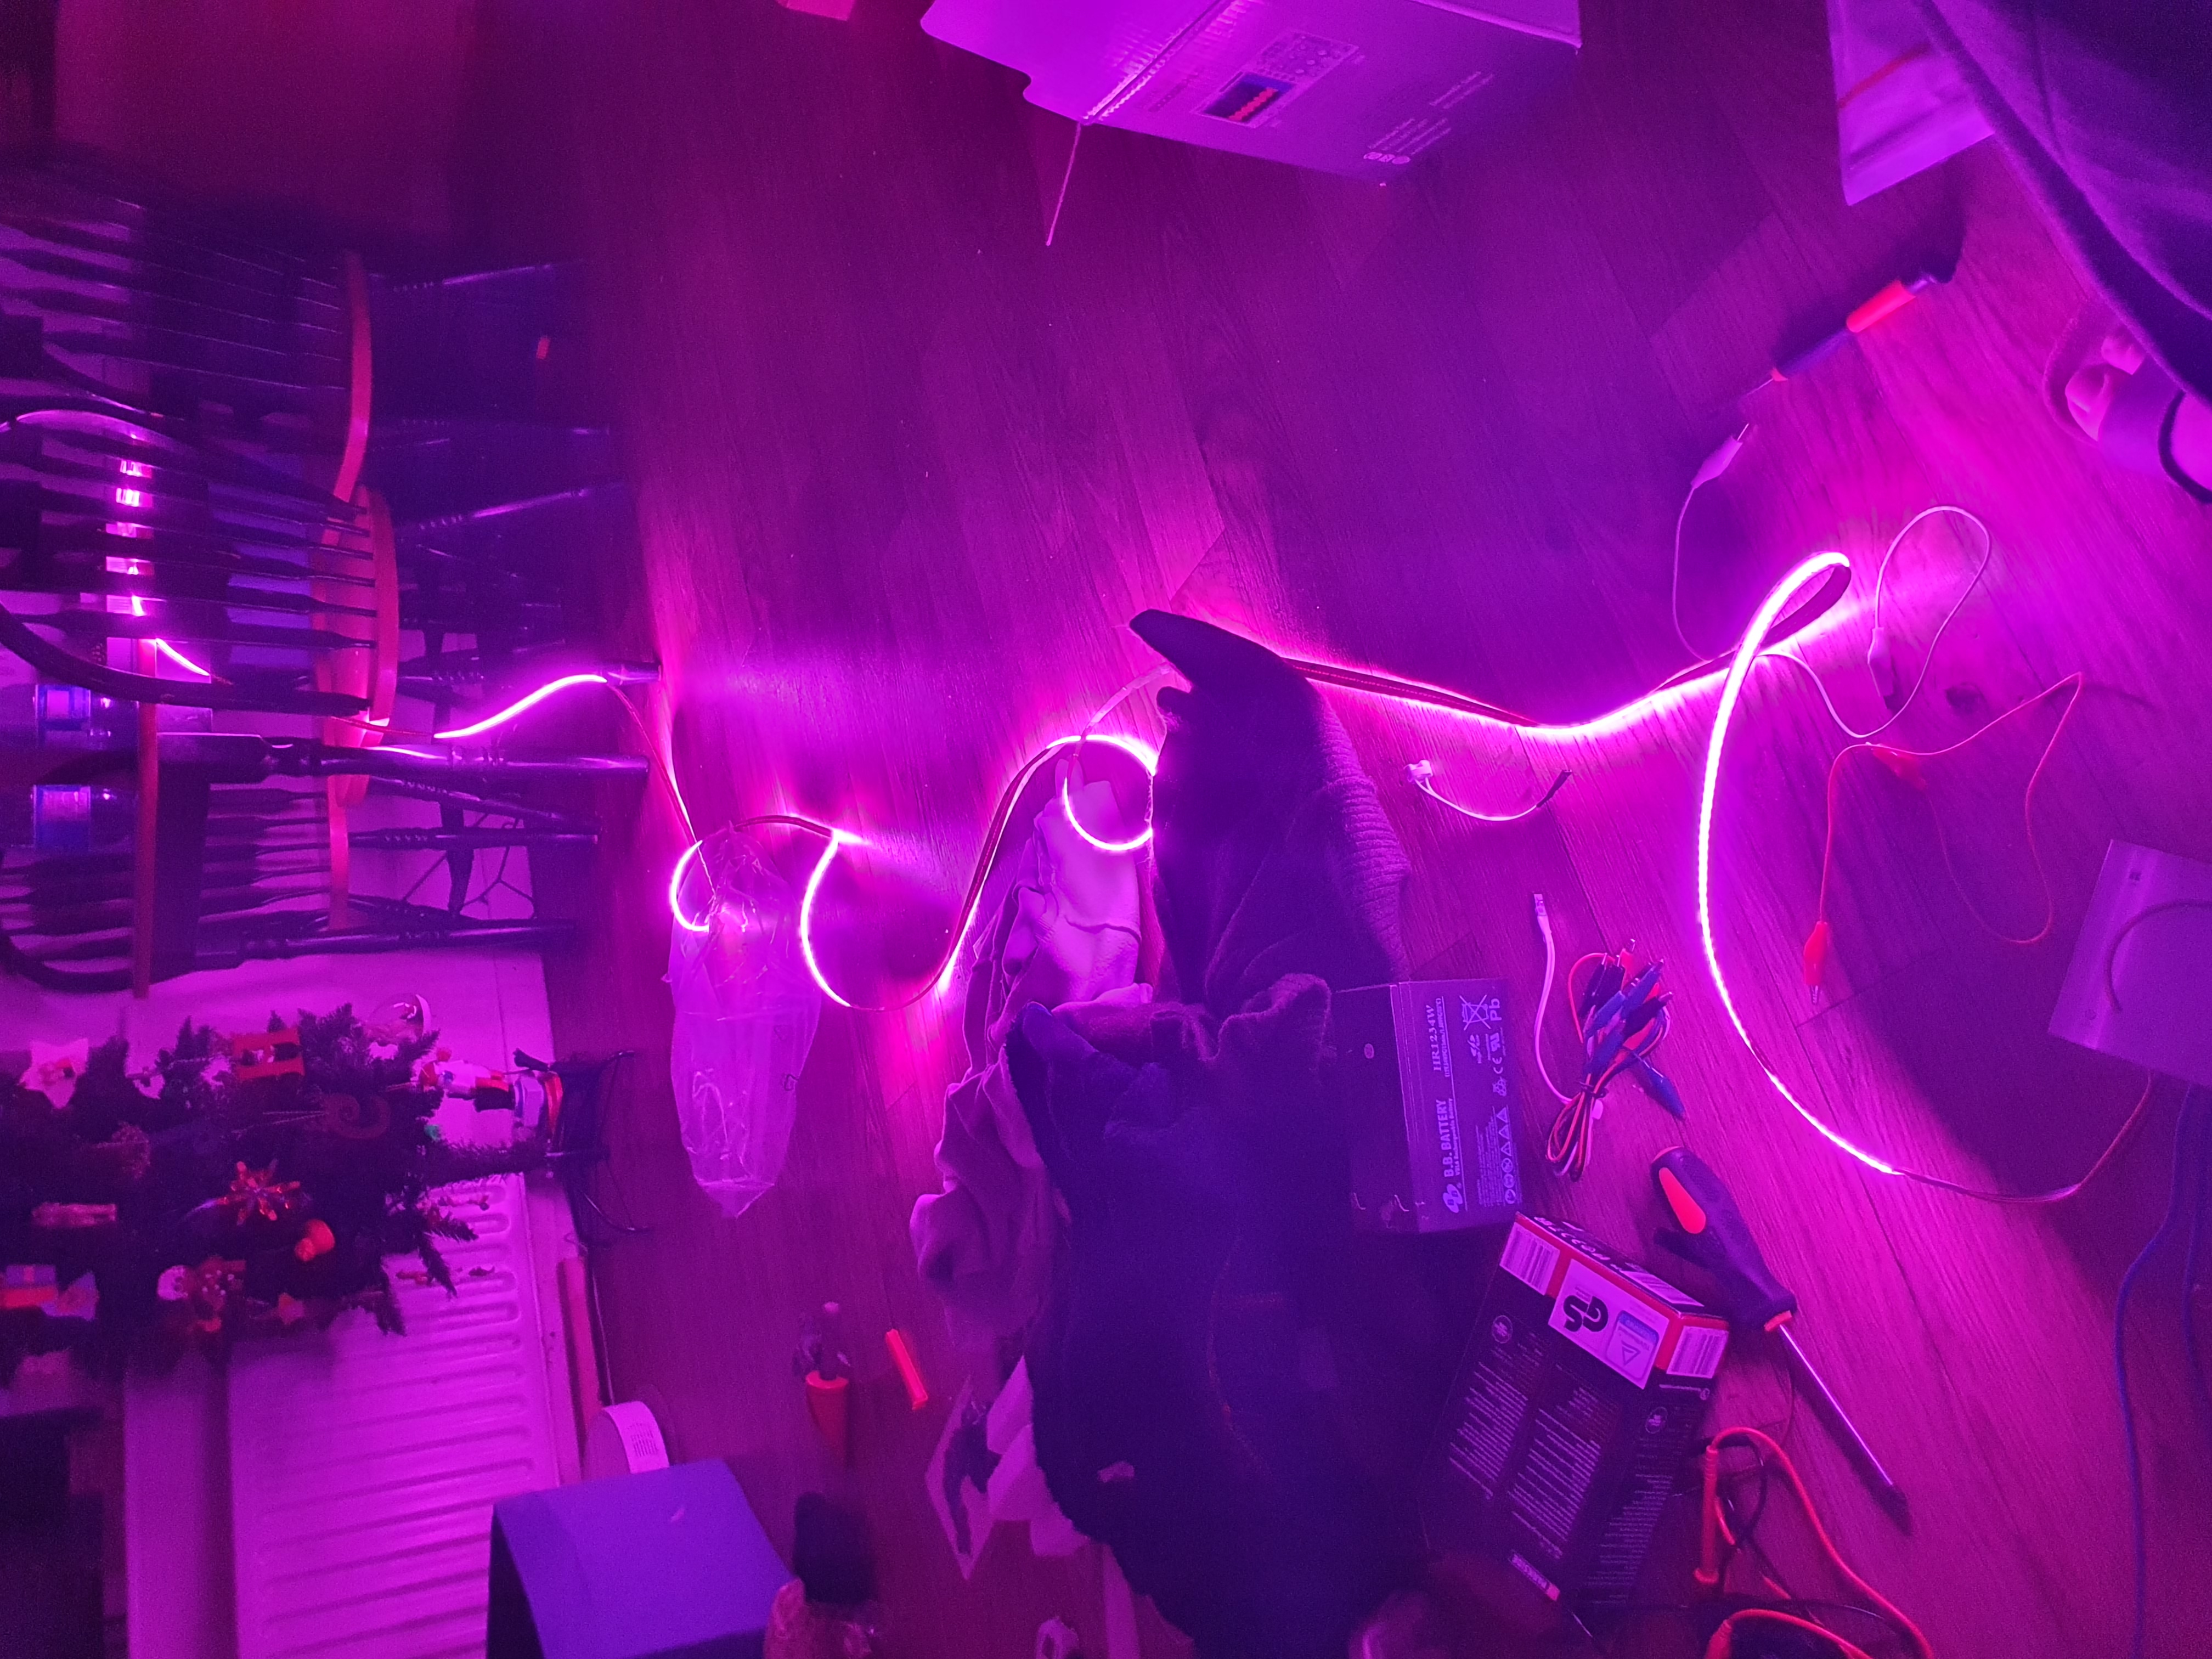
I think it’ll do, but I’m glad it’s the only one.
Ventilation boost fans
Something which will be nearly unique in this house is dynamic ventilation which boosts the air inlet and exhaust on a per room basis using per room sensors. This came about due to concerns that we are using the MVHR air ventilation to do most of the space heating, so any commissioned system (in a normal build each room’s inlet or exhaust is set to balance air flows throughout the house) would be wrong for some of each year, causing some rooms to become too hot or too cold, depending on climate. By having an ESP32 dynamically adjust air flows based on local room conditions, we eliminate that problem. I picked up lots of these during the Single’s Day sales:
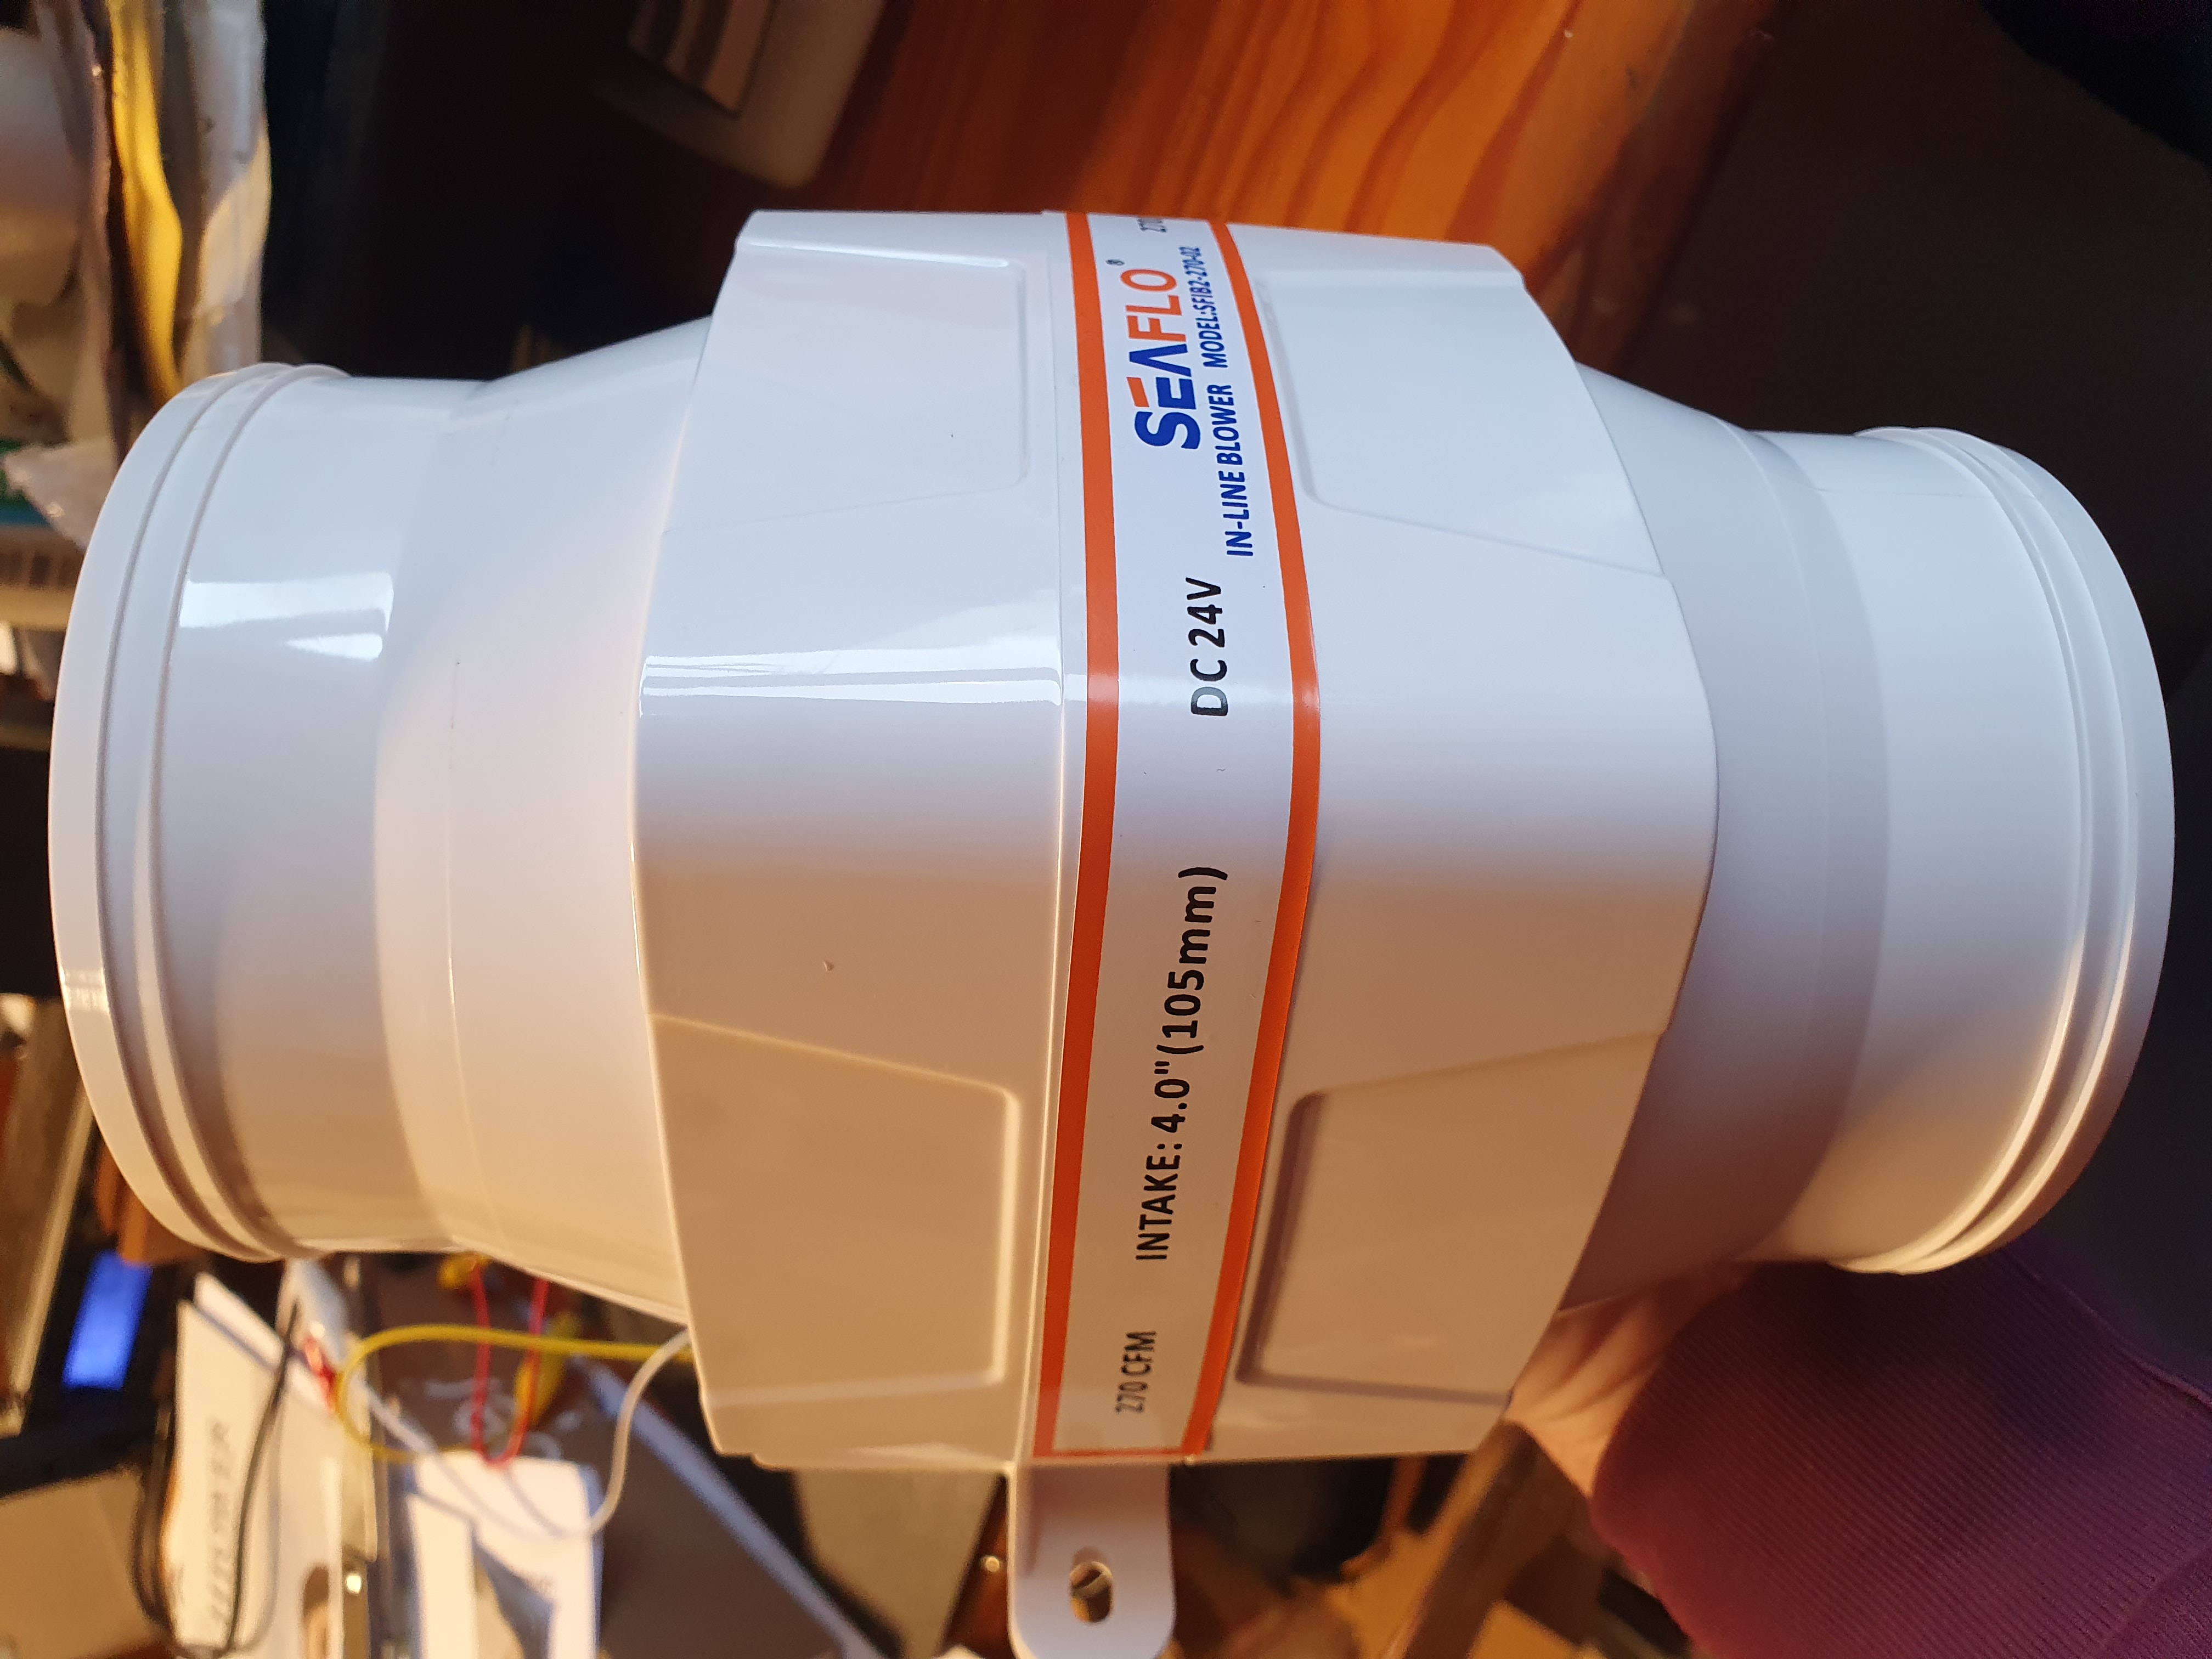
These are bilge ventilators for a boat, and they come in 12v and 24v varieties. I bought exclusively 24v, and in two sizes – the above is the ‘large’ one capable of 158 m3/hr with the slightly smaller (but a good bit cheaper) ones capable of 138 m3/hr, which is one eighth less.
As the MVHR unit maxes out at 600 m3/hr total, these are obviously massive overkill at full belt. However, they will never run full belt, they will also be PWM speed reduced. As they are DC based, they can even be reversed if needed at a mild negative spin if one wanted to stop air flow completely, and I have empirically verified that they work just fine in reverse despite what their documentation claims.
Even at 3.6v, I think they move rather a lot of air, and they are very robustly made. Bearings feel extremely solid, fan turns between ‘clicks’ which shows very strong magnets in there, and there aren’t any balancing issues in the small number of units I tested i.e. vibrations at full whack are minimal. They take a 100mm connection, and have a completely sealed motor assembly which will prevent dust from the motor getting into the ventilation.
They weren’t particularly cheap, a little over €25 inc VAT delivered for the smaller units and a little over €30 inc VAT delivered for the ‘large’ units. I’m pretty impressed with the build quality, and they should be happy running with air at 60 C too.
Overall I’m finding these very much a win!
CAT 6 networking
I’ve decided on a networking design where there are four main clusters of Wifi 6 and networking switches, with each cluster linked by 2.5 Gbps fibre backhaul. Each cluster only has 1 Gbps wired ethernet to keep costs down, but there are ten ports with PoE at each cluster, and maybe another five without PoE.
The networking hardware is highly upgradable, and shall be upgraded as and when costs for the better stuff come down. As I’d rather never touch the final wiring within the walls to the sockets ever again after installation, on that I shall be spending a bit of money.
After much umming and awing, I eventually settled on the twenty year old CAT6 rather than CAT 5e or CAT 6a, never mind CAT 8. Why CAT 6?
- 10 Gbps becomes possible for house-sized cable runs.
- The inner plastic spacer makes the cable stiffer and less prone to kink during cable pulls.
- A low smoke zero halogen AWG 23 100% copper cable is under 10% more expensive if CAT 6 rather than CAT 5e (there is a much bigger difference between copper-clad aluminium cables, but you wouldn’t want CCA cable in a permanent wall installation anyway).
- CAT 6a is 20% more expensive than CAT 6, and the outer shield can introduce ground loop problems if endpoints aren’t grounded properly (and even then, multiple grounds can have potential difference between them leading to earthed currents preferentially choosing your network cable, very bad). If I needed 10 Gbps over larger distances, you’d make the effort, but I’m using fibre optic cables for anything over distance. So for the extra cost and hassle, it doesn’t seem to be worth it.
- CAT 8 is lots more expensive than CAT 6a, so if CAT 6a doesn’t have cost benefit, CAT 8 certainly doesn’t.
CAT 6 needs proper terminators, not the plastic crimp fit things CAT 5e uses. They’re quite a bit more expensive, but they’re more solid. I bought lots of quick fit CAT 6 terminators, in two varieties ‘metal’ and ‘plastic’. I took a two metre length of the CAT 6 cable I bought, and tried out fitting both terminators for practice:
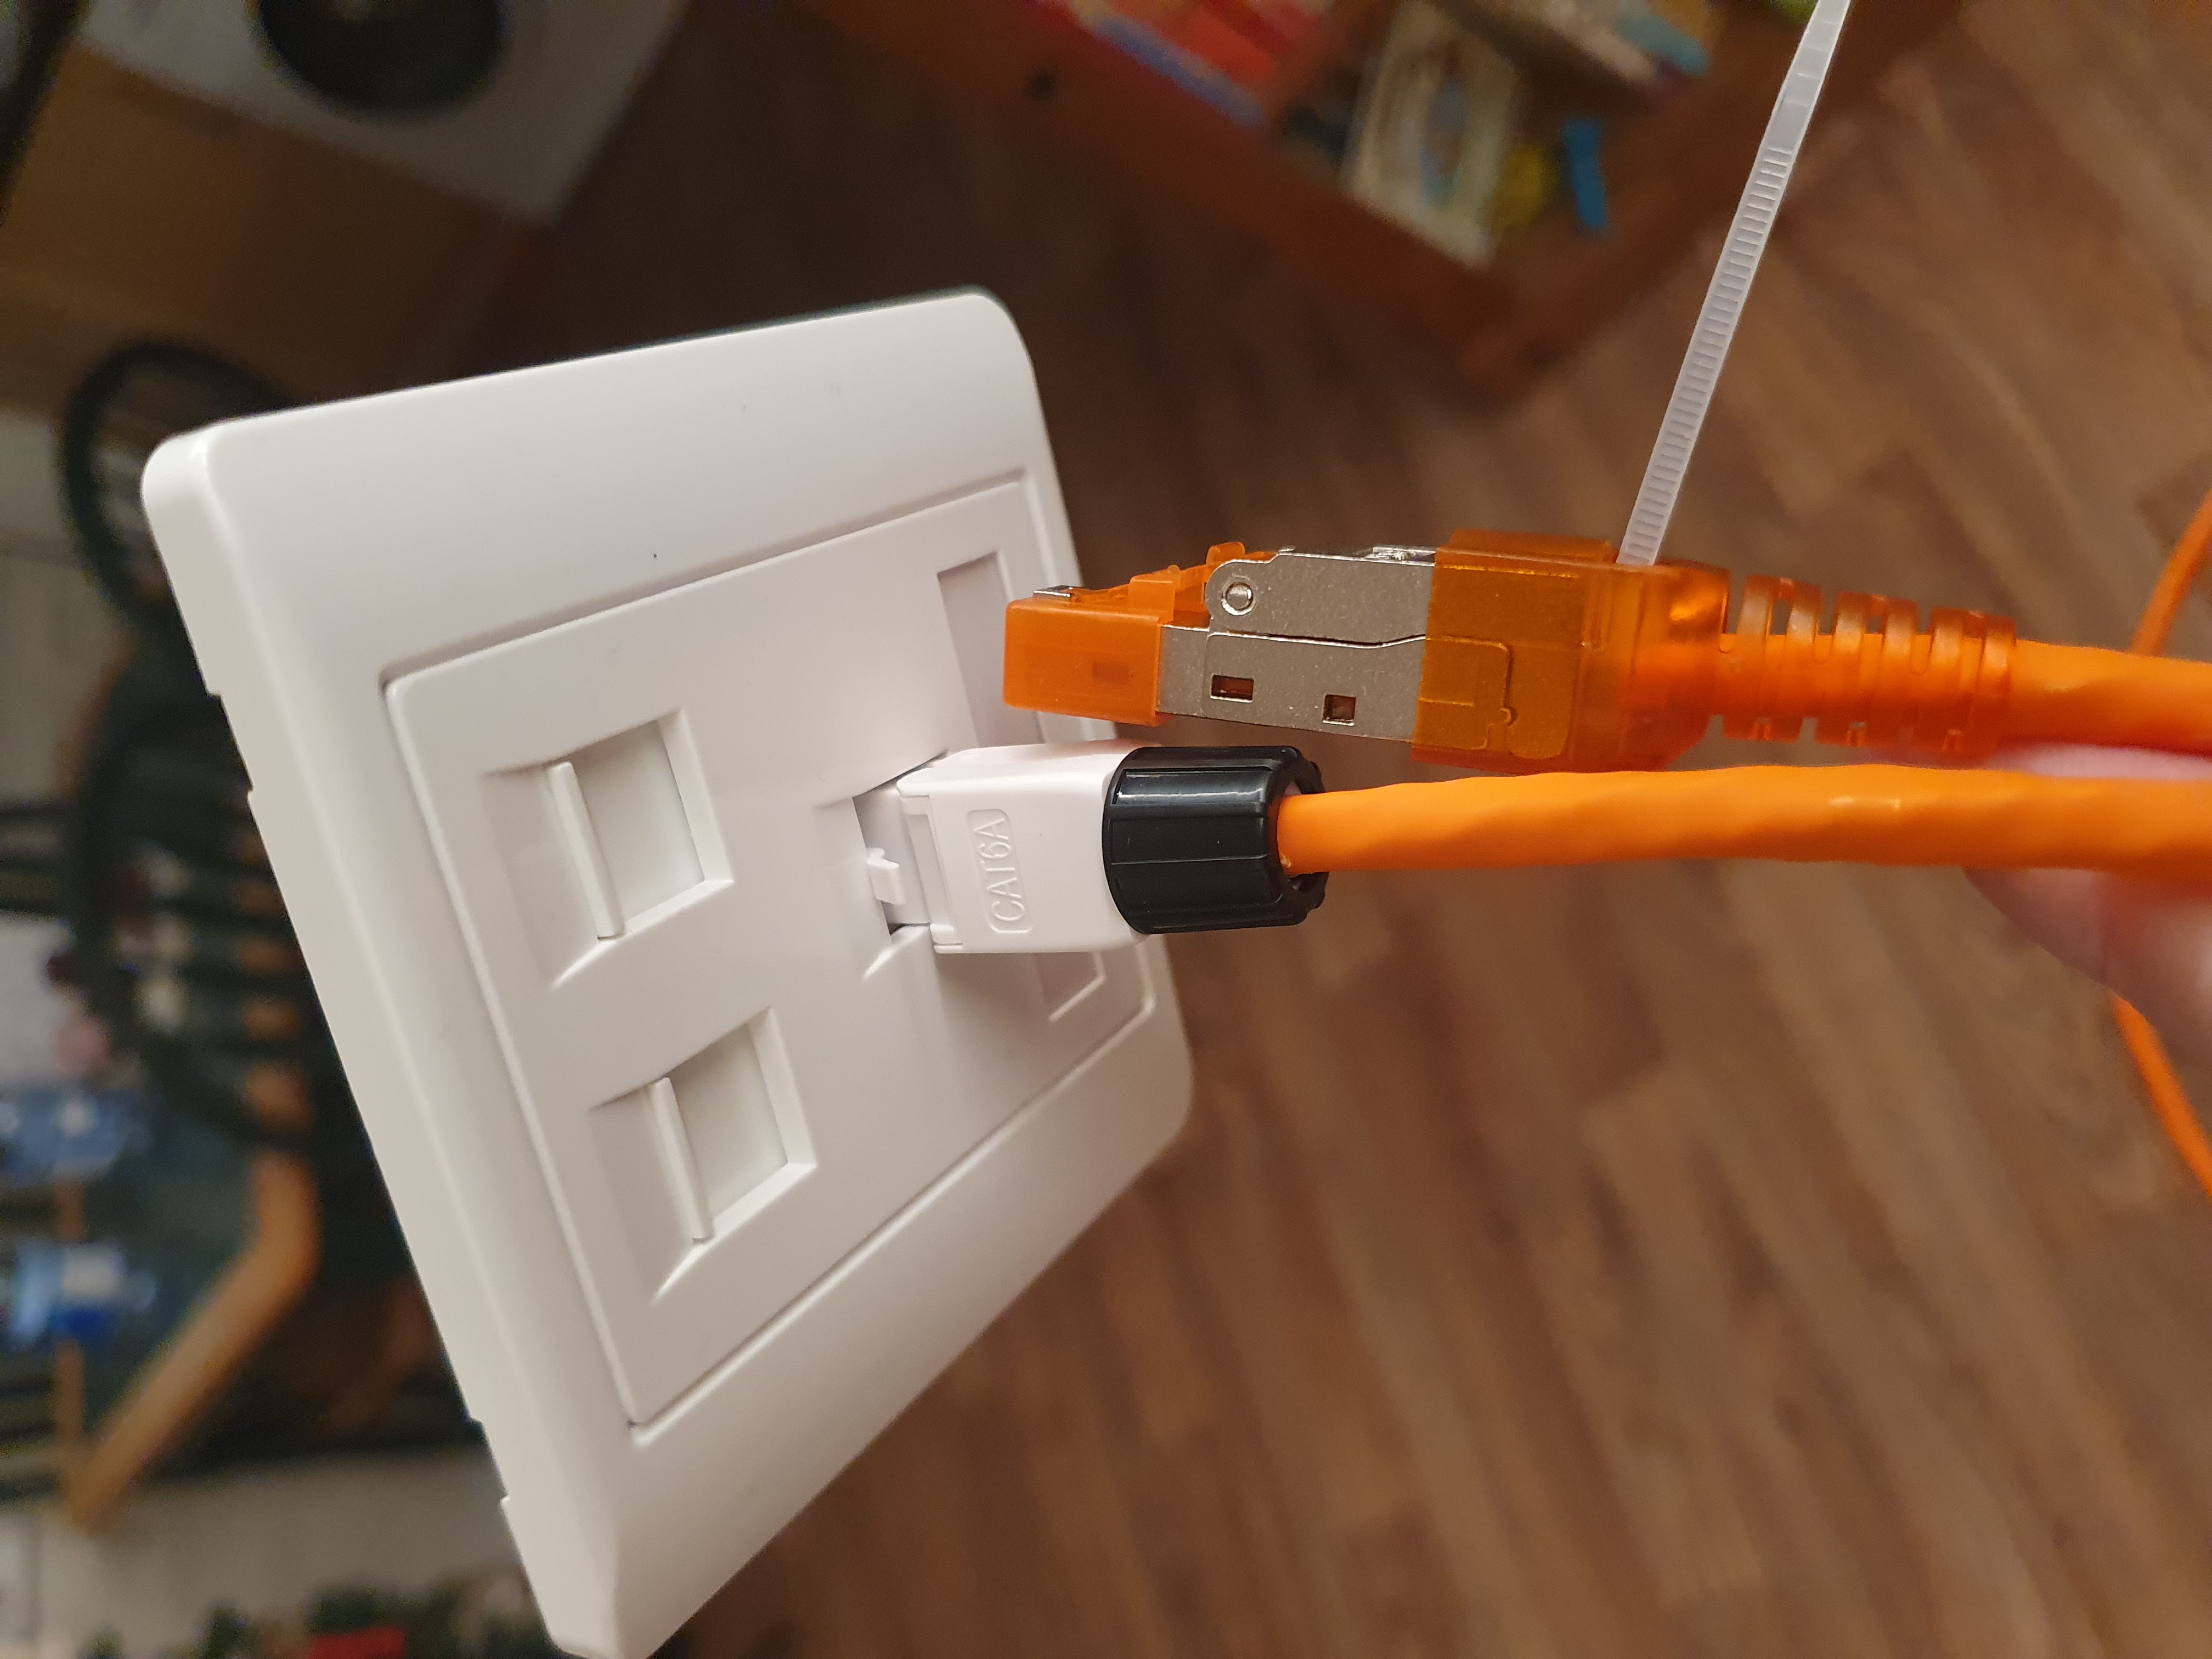
I slightly prefer the plastic ones despite the shorter strain relief, not sure if they’re quite CAT 6 (they are definitely not CAT 6a as what is printed on them as they are 100% plastic and don’t connect the outer shield) but they’re much better than the plastic crimp fit things CAT 5e uses. My very ancient Fluke ethernet validator will only test to 1 Gbps, and the test cable passed that with ease. I think they’ll do nicely, and they didn’t cost too much.
You might be wondering about the three socket wall fitting? Odd choice right? The reason why is that I expect to connect only the bottom port to Ethernet, the other two ports will be power only (specifically, 54v DC mains). The power will come from cheap injectors, not from a 802.3af compliant switch, so rather more than 30 watts should be possible, maybe as much as 60 watts per port. Between the two cables, that means every network socket will supply 120 watts of 54v DC power, plus another 30w might be available from the PoE data cable. As much as it’s tempting to fit even more power capacity here, to be honest if one needed more power, you’d just run a dedicated cable.
Anyway I got ethernet wall sockets for everywhere we’ll need them, and CAT6 terminators for each of the three ports within each. Not especially cheap, however far cheaper from Aliexpress Single’s Day sales than from almost anywhere else!
And certainly cheaper than state of the art networking! I’m old enough to remember the launch of CAT 6. Back then it was unaffordably expensive, not just the cabling, but everything else which could speak more than 1 Gbps. I remember 1 Gbps becoming affordable around 2010 or so, it was a bit of a financial stretch at the time but a 1 Gbps dumb switch was within reach (and indeed that unit I bought back then is powering my rented house internet right now, so it turned out to be a good return on investment).
Since 2010, gotta be honest, 10 Gbps ethernet is still not affordable. 2.5 Gbps ethernet has become affordable, but what supports that and what does not is highly variable, whereas much more stuff supports a binary choice between either 1 Gbps or 10 Gbps.
Maybe before I die 10 Gbps wired ethernet will become affordable. I personally suspect > 2.5 Gbps fibre will become affordable long before the wired variety does, if they can bring down the cost of transceivers then fibre starts looking much better than wired in every way apart from power delivery via PoE. I guess we shall see!
MR16 bulbs for point lighting
Last post I mentioned my choice of one inch recessed MR16 bulbs for the point lighting in the lighting design plan. This is an unusual choice: MR16 bulbs run from 12 volts, and most new builds would choose 230v AC downlighters (usually in GU10 format, which is fixture-compatible but not wiring-compatible with the legacy MR16 format). Having completed the empirical testing, I thought I should write up my notes on how what I bought performs in practice.
As mentioned in the last post, MR16 bulbs are a bit of a throwback. They were first sold in 1965, and run off 12 volts of some form. By ‘some form’ I mean that the original bulbs were halogen, and such bulbs don’t care if they’re fed DC or AC. Thus, real world installations used DC or AC, and like with 12v battery systems in cars a 25% average voltage range was allowed, which is wide by today’s standards (i.e. mean voltage could be as high as 15v, or as low as 9.6v). Dimming took the form of Pulse Width Modulation (PWM) for the DC systems or leading edge phase cut for the AC systems (which is phase aligned PWM).
When LED replacements came along for halogen MR16 bulbs, like with GU10 bulbs accepting 230v AC they need to downconvert the high input voltage to the ~1.5v DC which the LEDs themselves need. As with the GU10 bulbs, this is performed by a small power converting electronic circuit, however due to the history and variety of MR16 bulb deployments, the allowed range of inputs is quite wide. Here are all the MR16 power converting circuits I could find online, with the min and max voltage input range from their datasheets (all will take either DC or AC input):
- The AMC7105 MR16 driver IC will accept between 4.0v and 40v.
- The iW3662 MR16 driver IC will accept between 10.0v and 24v.
- The MAX16840 MR16 driver IC will accept between 5.6v and 46v.
- The MAX31840 MR16 driver IC will accept between 6.5v and 26v.
- The TPS92560 MR16 driver IC will accept between 6.5v and 42v.
To be clear, I’m not saying that this is a definitive list, only that these are what Google found and Google’s search isn’t very good nowadays. But their datasheets do give an idea of how bulbs will behave:
- They will implement constant power for a range of voltages, increasing and decreasing current as necessary to give a constant brightness light.
- Under that voltage range, they usually implement dimming for a certain range – more expensive ICs give a longer, more fluid dim down to lower levels of brightness, and I would assume would use a higher PWM frequency (to be clear here, the IC reads the input power signature and from that decides how much it should then dim the LEDs. And each IC varies how it interprets the input power signature).
- Some use a switched buck voltage downconverter, others use a linear power regulator (i.e. burn excess voltage as heat). Switched converters cost a good few pennies more, so expect cheaper bulbs to use a linear regulator.
- All will take 24v DC input, but none will take 54v DC, so I can’t plug these directly into the DC mains loop (as we shall see later, even if I could, you wouldn’t want to). But I can plug them into the same power source as the 24v LED strips, which is useful to know.
Last post I mentioned I was going to be difficult and mix 3000K, 3500K and 4000K lighting based on how cosy the region should be – so, bedrooms get 3000K, the main living spaces get 3500K, home office and worktops get 4000K. I had a suspicion that the 3500K and 4000K would be close enough that they could be used in the same space without the colour temperature difference clashing garishly, so obviously I was very keen to test that out:
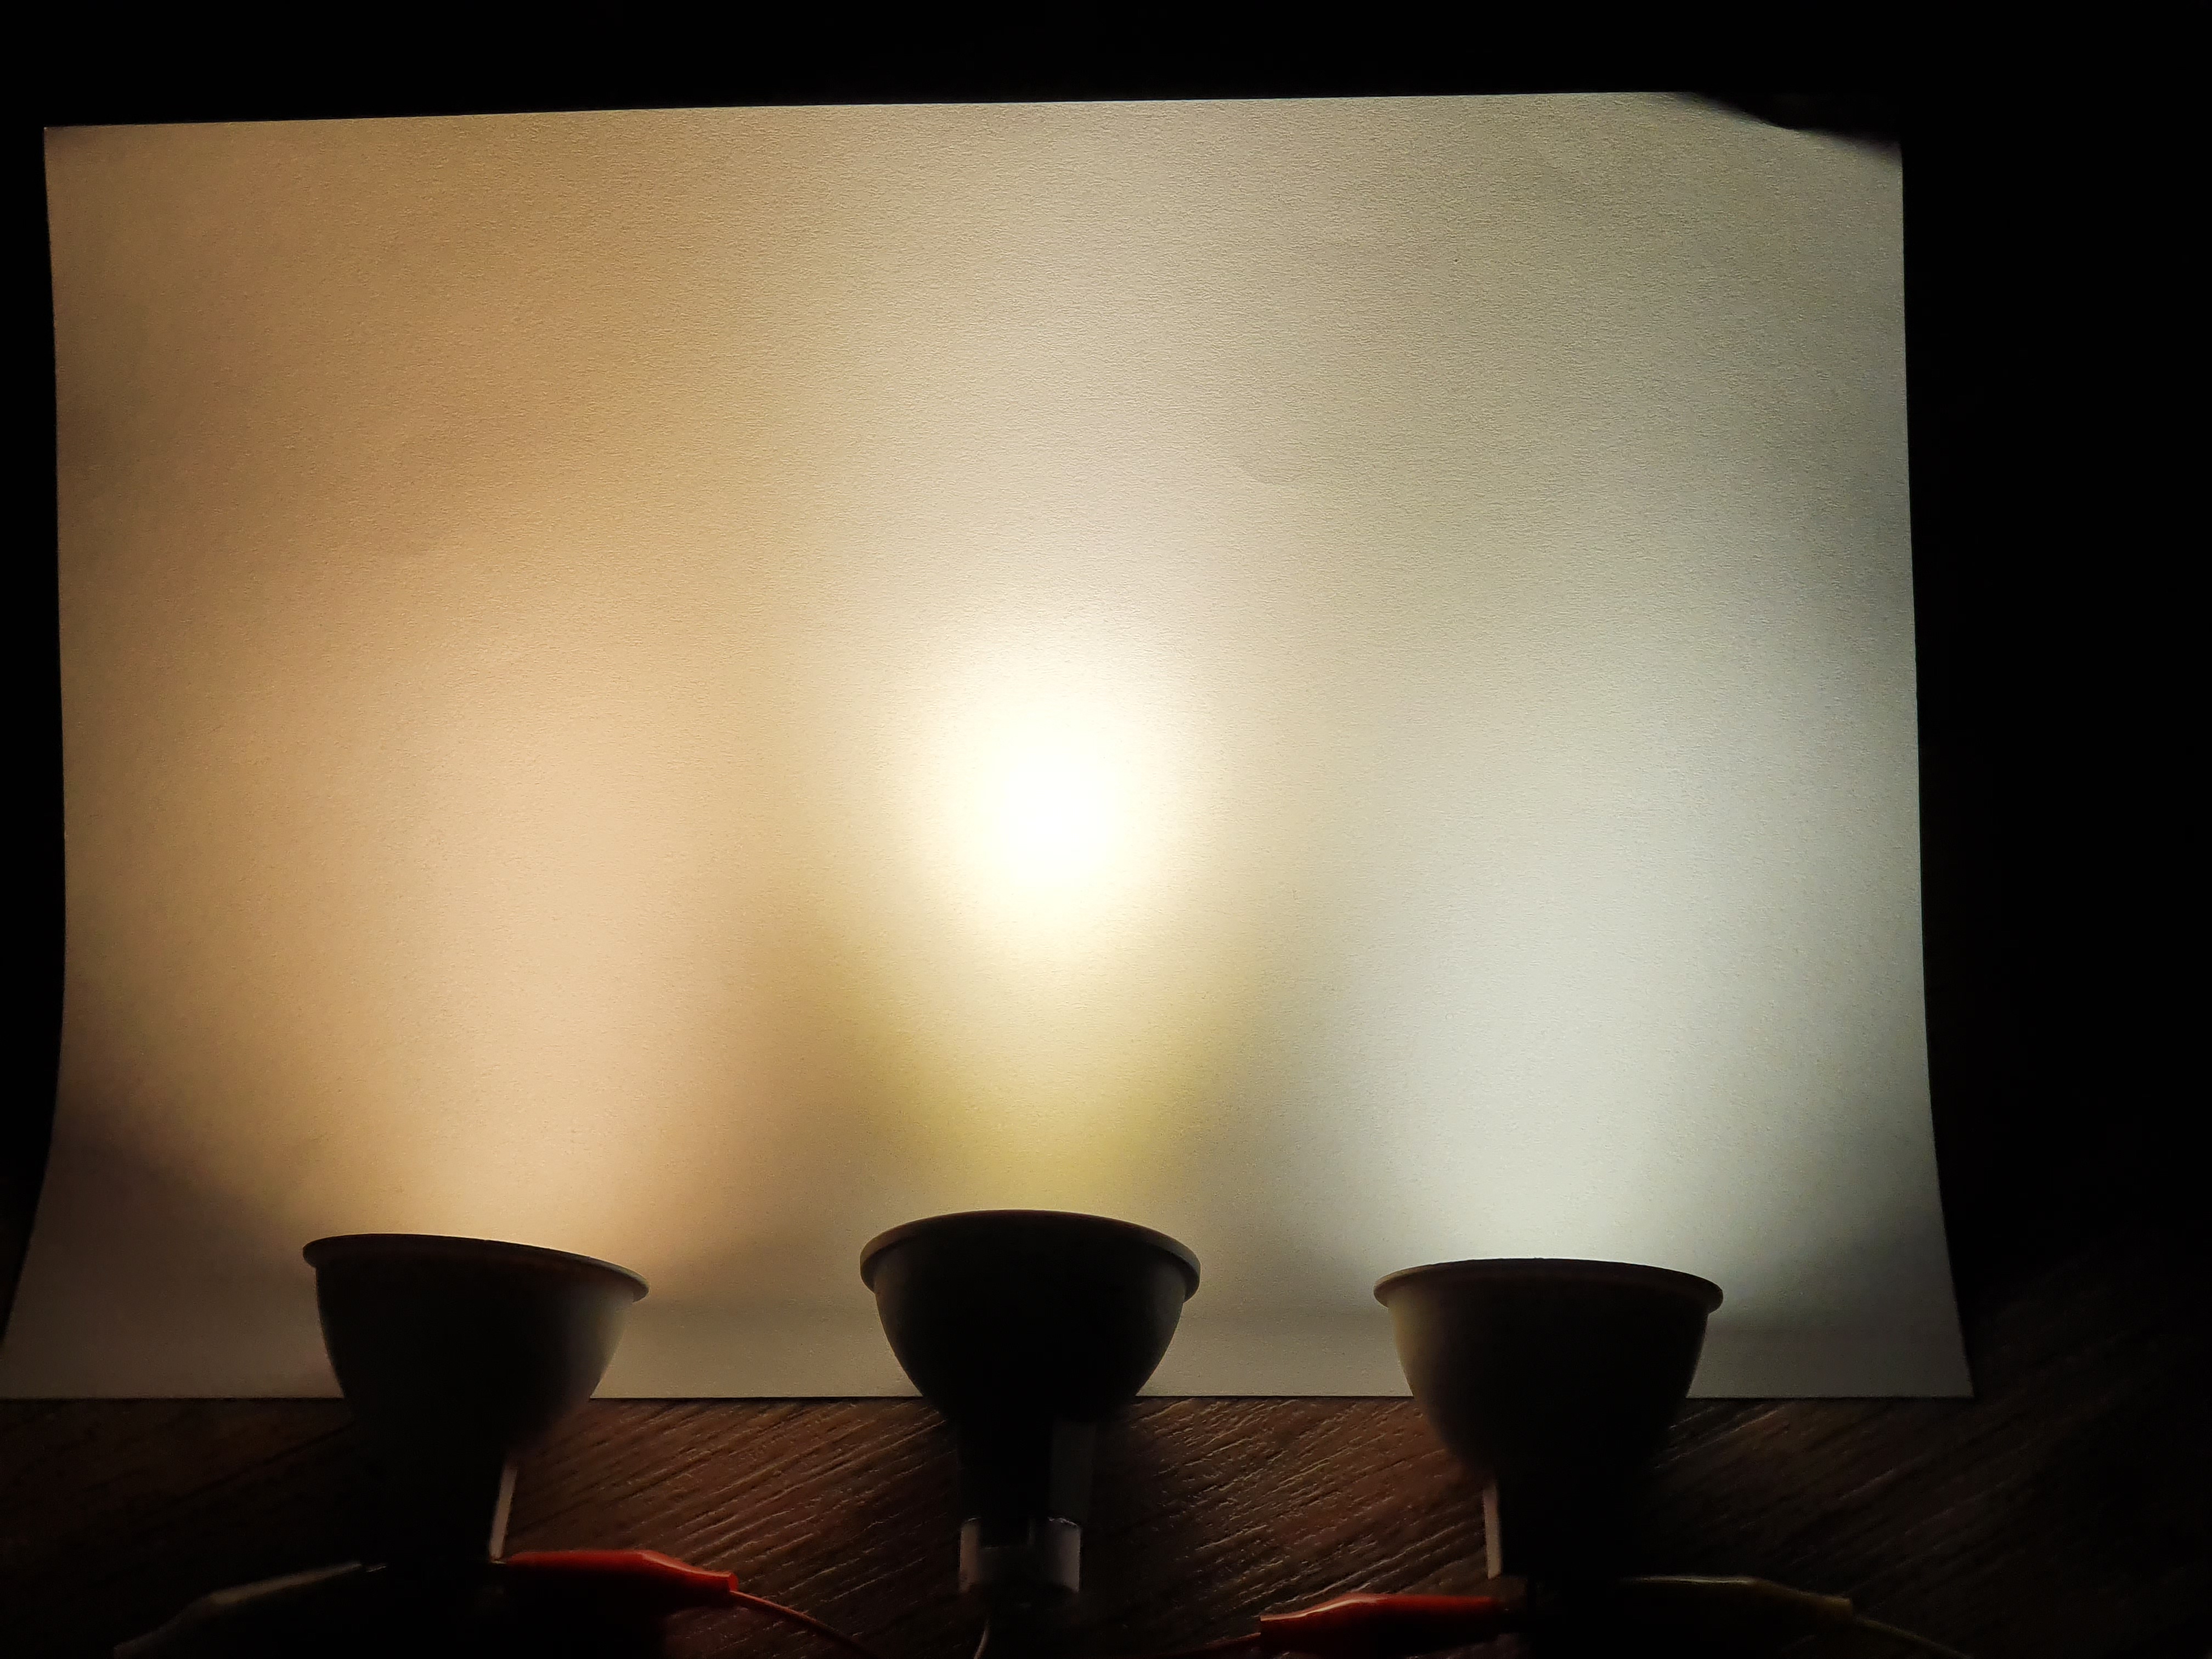
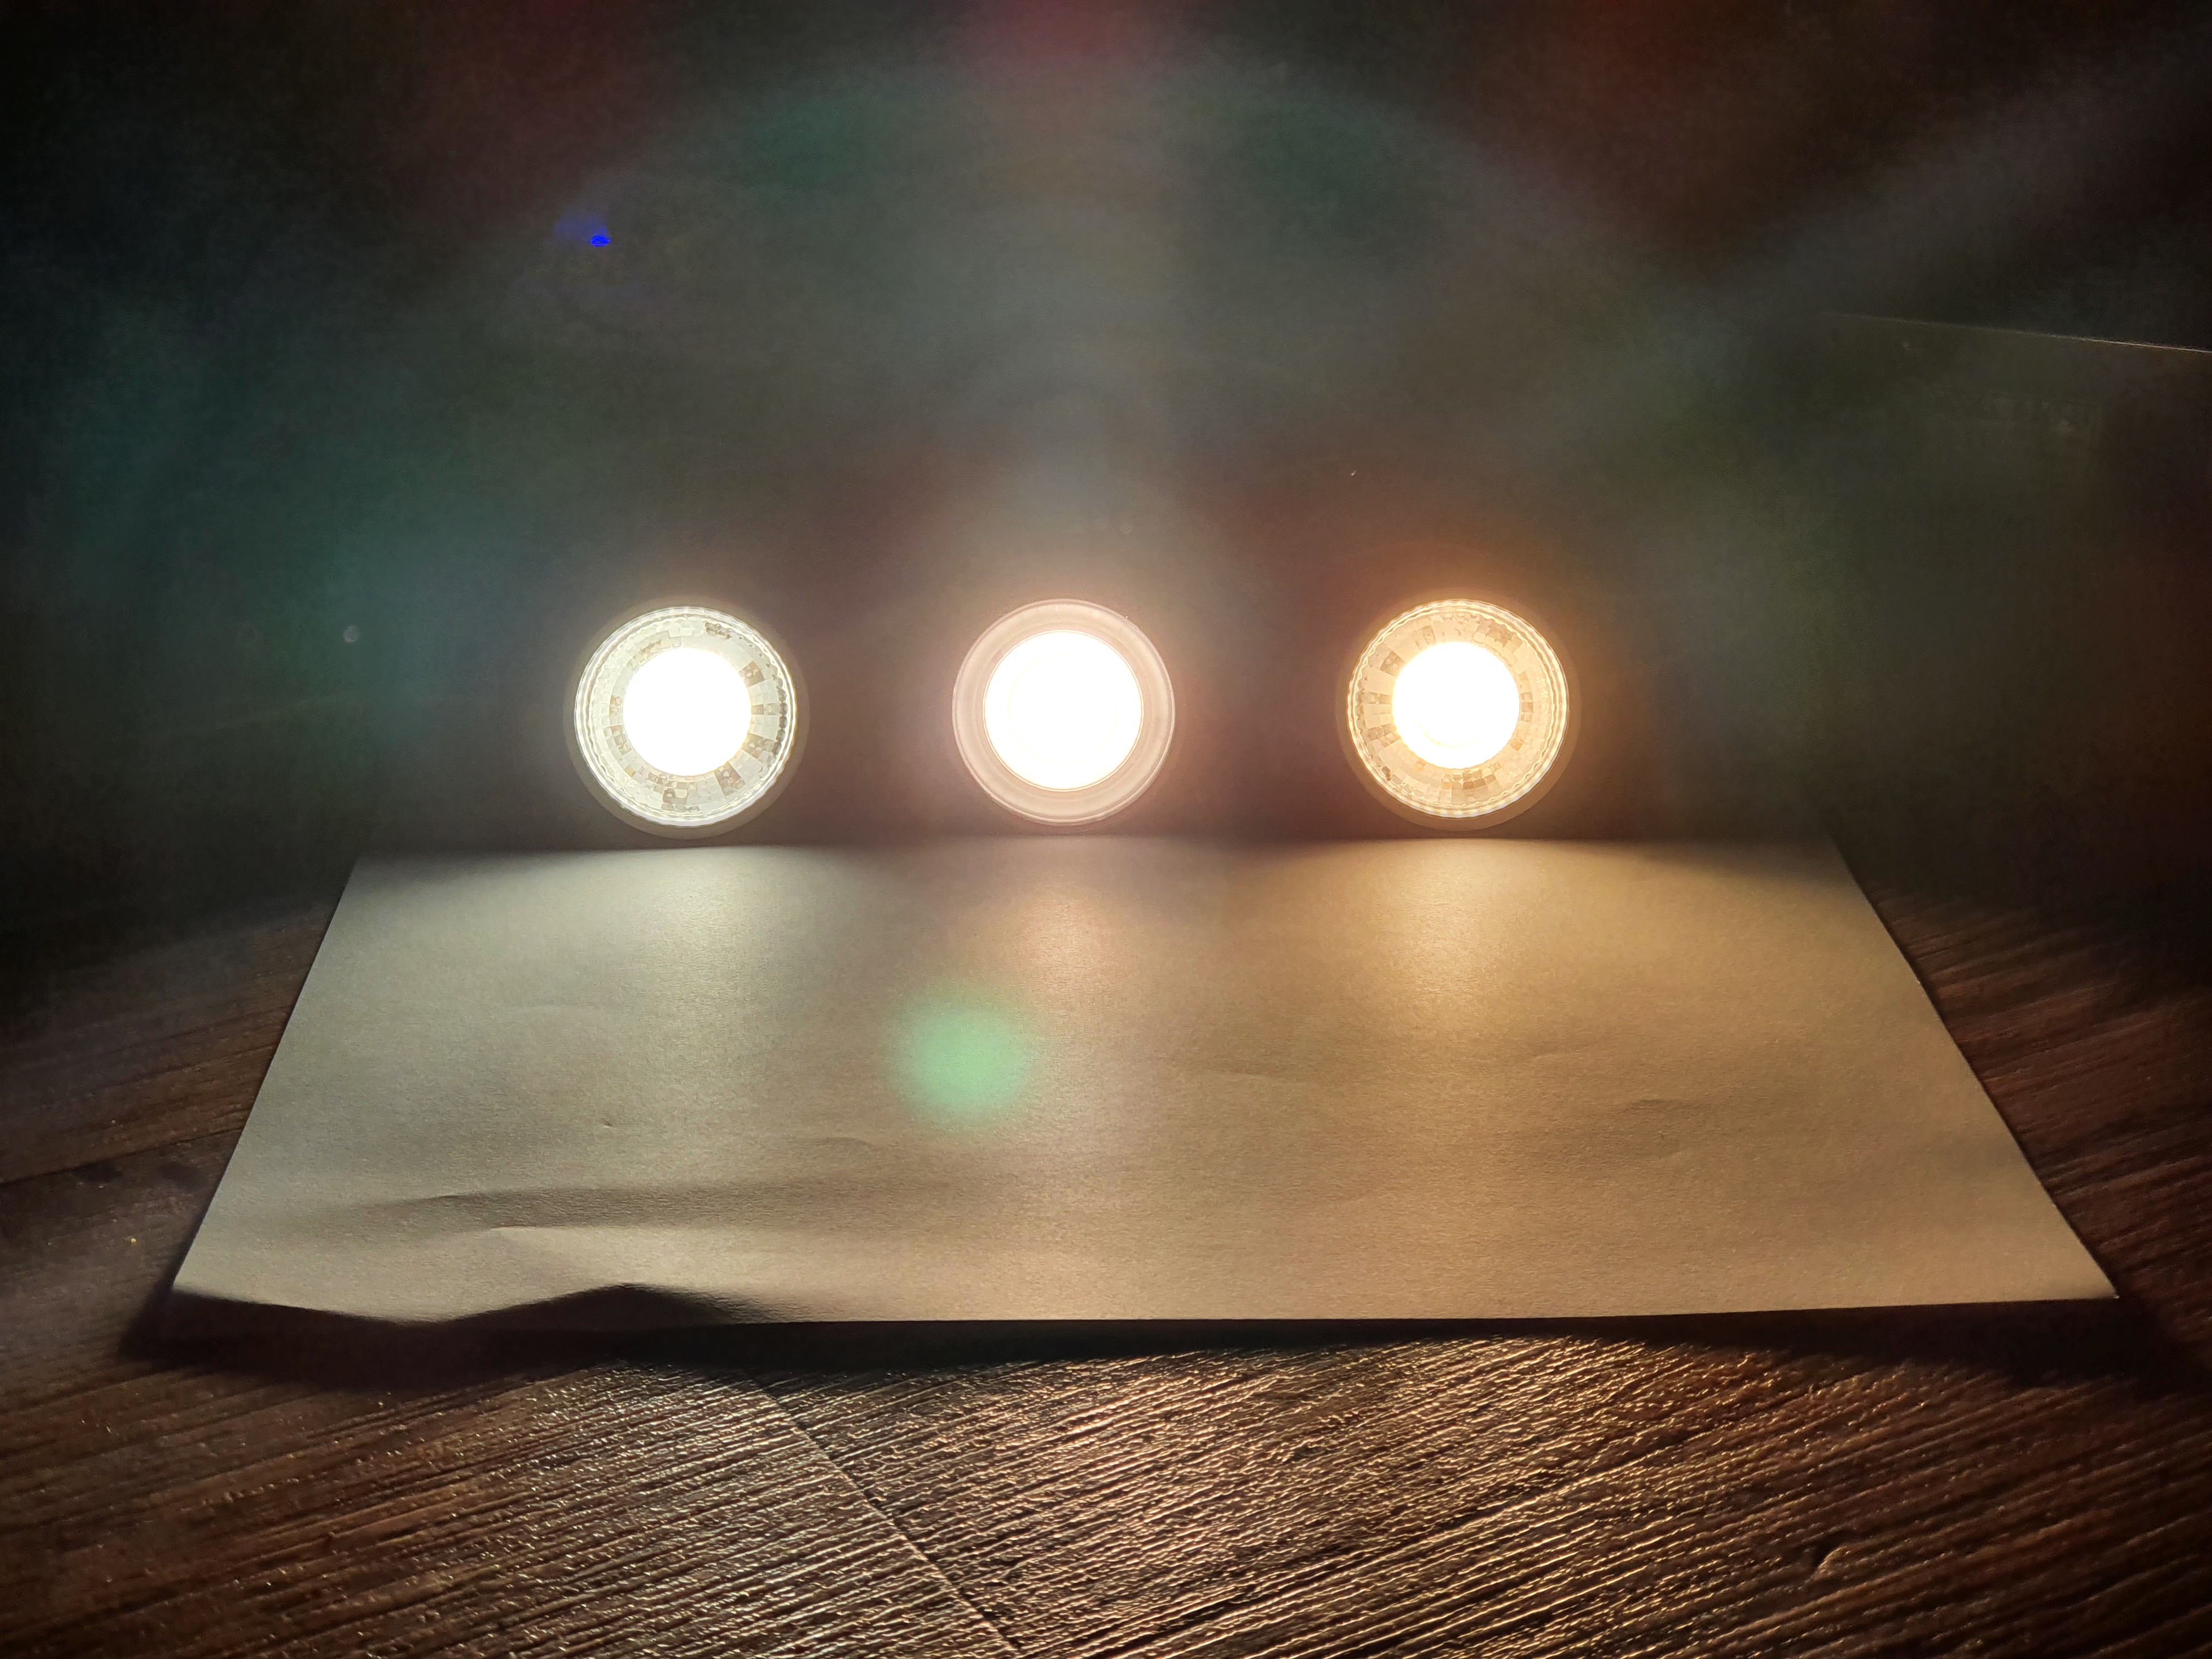
Left is 3000K, middle is 3500K, right is 4000K. All bulbs are 40 degree ‘narrow’ throw angle, 90 CRI or higher, and their true power consumptions are 5.3w, 7.2w and 5.3w respectively (and hence why the middle one is rather brighter than the others). The photo isn’t remotely close to what you see with your eye, the photo suggests that the 3000K is orangey, your eye sees that more like what the bottom yellow bit of the 3500K light looks like. The 4000K in to the photo looks a touch too blue, your eye sees something like the whitest bit of the 3500K light.
My suspicion I think has been absolutely proven true: 3000K and 4000K don’t mix well in the same space, though a 3000K base with 4000K spot is better than vice versa. 3500K though, well even with the bulbs side by side there is an acceptable colour distance between them in my opinion. I think the living room at 3500K and the kitchen countertops at 4000K will work very nicely – there will be ‘just enough’ contrasting difference in colour that I think it will complement beautifully.
In fact, I gotta be honest and say that I really like the light off the 3500K bulbs. The 3000K is a touch too yellow, and the 4000K is a touch too cold. I hate to be that cliche but 3500K is ‘just right’. Why it’s so hard to source I just don’t understand, 3500K has most of the benefits of 4000K in terms of colour reproduction, but with ‘just enough’ yellow to make it feel far friendlier. I absolutely love that shade of white, I really hope it becomes far more popular in the future once more people realise what they’re missing out on with all these excessively yellow ‘warm white’ bulbs which ruin colour fidelity.
Here are the MR16 bulbs I bought:
Cheapest possible claimed CRI 90 MR16 bulbs on Aliexpress in 3000K and 4000K variants, in 38 degree and 120 degree throws. Possible OEM manufacturer is ‘Shenzhen Sundaes Lighting’.
- These were very cheap (under €1 delivered), and appear to have no heatsink at all. They get hot quickly at full power, and will need PWM dimming to get much lifespan from them. They are marked ‘Gatetop’ but most of the MR16 bulbs on Aliexpress look identical and I would assume come from the same OEM manufacturer.
Satco S9497, CRI 80, 3500K, 40 degree throw, 6.5 watts.
- These are called ‘cheap Satco’ below. They were about US$9 each, three quarters the price of the expensive Satco. They have at least some heatsinking compared to the very cheap Chinese bulbs resulting in temperatures a few degrees lower, but otherwise seem very similar i.e. they get hot fast, and may even have an inferior driver IC to those very cheap bulbs (see below).
Satco S8642, CRI 90, 3500K, 40 degree throw, 8 watts.
- These are called ‘expensive Satco’ below. They were about US$12 each. They dim very smoothly over a large range, have clearly superior heatsinking, and their power regulator doesn’t care about input voltage which suggests a fully switched power converter. These are clearly the best bulbs I bought on all measured metrics, but at 15x the cost of the very cheap Aliexpress ones I’d wonder if there is cost benefit?
The Satcos had to come from Amazon US and their price includes import duties, VAT and shipping from the US. I couldn’t source 3500K MR16 bulbs anywhere else unfortunately. Satco has their bulbs made in China, so it is surely doable that they ought to be available outside the US, but there you go.
First thing I did was test heating at 12v DC. This isn’t particularly scientific, I left the bulb run for a while at a particular PWM dimming level and see how hot it gets according to my thermal camera. A ‘while’ will vary, so these results are more indicative than comparable:
3000K very cheap Chinese bulb @ 100%: 72.3 C
3000K very cheap Chinese bulb @ 50%: 60.5 C
3000K very cheap Chinese bulb @ 25%: 46.9 C
4000K very cheap Chinese bulb @ 100%: 73.2 C
4000K very cheap Chinese bulb @ 50%: 44.1 C
4000K very cheap Chinese bulb @ 25%: 33.8 C
3500K cheap Satco CRI80 bulb @ 100%: 66.3 C
3500K expensive Satco CRI90 bulb @ 100%: 49.8 C
3500K expensive Satco CRI90 bulb @ 50%: 46.5 C
Conclusions:
It would seem that the 3000K very cheap bulbs run hotter than the 4000K bulbs. I unfortunately didn’t do any further testing of the 3000K bulbs, I know the 4000K bulb draws a worst case 5.3w and so therefore one must infer that the 3000K bulb has to be drawing more if it gets hotter. OR, possibly it reacts differently to 50% and 25% PWM dimming, perhaps drawing more current?
The ‘cheap Satco’ are no better than the very cheap Chinese bulb except with a bit of added heatsinking, at eight times the price.
The ‘expensive Satco’ show just how good one of these bulbs can be if the manufacturer decides.
I then tried 24v to see what happens:
Very cheap Chinese bulb and cheap Satco bulb experience run away heating, with me pulling the plug at 90 C after only a few minutes to prevent damage. Obviously using a linear voltage regulator.
Expensive Satco had identical results to 12v. As in, you couldn’t tell the difference between a 24v and 12v supply. Must be a switching voltage regulator. Temperature never exceeds 47 C.
I then tried less than 12v:
For the 4000K very cheap Chinese bulb, 100% brightness appears to be 10v with a reduction in heating from 73 C to 60 C as compared to supplying 12v. Very obviously these bulbs ought to be run at less than 12v to save on both power consumption and lifespan. Below 10v, current drops with voltage so these do NOT have a constant power function at low voltage, which is surprising from what I’ve read about how most MR16 bulbs behave. I measured a worst case power consumption of 5.3w which is almost exactly 25% below the 7w claim of their Aliexpress listing. This is par for the course on Aliexpress when you choose the cheapest possible item, however note that I suspect that their 3000K model does draw more power, and side by side on 12v both have equal brightness and I know lower colour temperatures need more wattage than higher to achieve the same brightness all other things being equal, so this make sense. I doubt they are actually CRI 90 as claimed, but the light off them isn’t half bad in my opinion, I’d say they’re somewhere between CRI 80 and CRI 90. For the money, they’re very good.
(Incidentally, they are the only bulb here which is happy being put in series. All but one of the bulbs will consume 10v, and one bulb will consume the balance up to 20v. I have no idea how they negotiate that amongst themselves, which bulb is chosen as ‘it’ appears to be random. In any case, series wiring works with these bulbs. The Satcos can’t do series wiring at all, one bulb takes all the voltage and all the others turn off. I suspect there is some sort of custom power regulating IC in here, or at least one with unusual characteristics)
For the ‘cheap Satco’ 100% brightness is also 10v. These do have a constant power function, but it’s kinda shonky – at 12v they use ~0.56 amps, but as the voltage decreases they rapidly increase current to a worst case of one amp. Worst of all, these claim to be a 6.5w bulb, but they’ll draw more than that at 12v and a LOT more than that at lower voltages. The worst I measured was a full god damn 1 amp at 8v, which is 8 watts. That’s a mild fire risk, it is totally unacceptable to draw more power than stated, especially more current than the specification would suggest.
For the ‘expensive Satco’ 100% brightness is 12v precisely. They have a constant power function, but it’s much better behaved than the ‘cheap Satco’ with current increasing from ~0.60 amps at 12v to a worst case of ~0.73 amp at 10.6v, which is 7.7w and the bulb claims to be an 8w bulb, so unlike with the ‘cheap Satco’ this bulb always remains within specification. From 10.6v downwards the bulb dims smoothly to 3.6v at a fair bit of brightness which is the lowest my variable voltage power supply can do. Attaching these to the PWM dimmer wall switch above produces a smooth dim between 60% and 1% which is just about illuminated. Basically, these bulbs are just excellent and whilst maybe not value for money, they are clearly the best bulbs I have to hand here.
All three varieties of bulb did dim just fine with the PWM dimmer wall switch, but I found that setting the PWM frequency made a big difference to the range and smoothness of the dim. By choosing a programmable frequency dimmer switch, I inadvertently made possible much better compatibility, and there appears to be no obvious reason why a bulb likes or dislikes a given PWM frequency. I assume that it comes down to compatibility of whatever internal clock their voltage converting IC uses.
I tested all the bulbs for flicker at varying dim amounts and I found no flicker with any of them. I checked using the corner of my eyes and also my phone, whose live camera view will strobe if the PWM frequency is low. I have no idea what PWM frequency these bulbs dim at, but whatever it is, I can’t see it and neither can my phone, so it probably is good enough.
Apart from ‘expensive Satco’ which reaches full brightness at 60% PWM duty cycle, the others reached full brightness at 30-50% PWM duty cycle. If they were a 30% PWM duty cycle = 100% brightness, that means thirty total dimming levels available. This would be consistent with cheap dimmable LED bulbs, they tend to offer 32 dimming zones or less, and the lowest brightness level tends to be rather bright. More expensive dimmable LED bulb might offer 256 or more dimming zones, and minimum brightness is barely above off. The reason why is there is a tradeoff between PWM frequency and dimming zones and flicker, so the more zones you have the higher the frequency you need to avoid flicker, and more frequency means more expensive hardware. Ultimately, you get what you pay for there.
Except of course when you don’t get what you pay for! Apart from the overstated wattage, the very cheap Chinese bulbs at under €1 inc VAT delivered each are better than the ‘cheap Satco’ bulbs costing eight times as much! This was surprising, if I am honest. Those ‘Gatetop’ bulbs have many deficiencies, but if I run them at say 9v max they should stay under 55 C and that should keep them running well for many years to come. Whilst not a LED, an electrolytic capacitor halves its lifetime for every +10 C of operating temperature, so 160k hours at 55 C becomes a mere 10k hours at 95 C. So, basically if I undervolt these, their lifetimes should exponentially increase and ‘phospor fatique’ similarly exponentially reduced, thus slowing down damage to colour rendering index.
Stepping down from 54v DC to 24v DC is very efficient as the voltages are close enough to each other, but stepping down from 54v DC to 9v DC is not. It is more efficient to set up a separate three phase AC to 9v DC power supply just for these MR16 bulbs, according to the mathematics. I have ordered that power supply, it should arrive in plenty of time before I’ll need it.
Had I not done all this empirical testing I would not have realised that a dedicated 9v power supply was a better choice here – bulbs will run cooler and therefore for much longer, and power consumption will be reduced by avoiding burning excess power to heat. Unfortunately I had sized the 54v DC mains power supply to include all the lighting, so now it’s going to be rather overkill as it’s a 4,000 watt unit, and if it’s not going to be used for lighting then a 1,500 watt unit would have been more than plenty. Oh well, water under the bridge, as far as mistakes go there can be far worse.
Merry Christmas everybody, and a Happy New Year!
| Go to previous entry | Go to next entry | Go back to the archive index | Go back to the latest entries |