- Broadband internet via the Starlink satellite dish.
- Two state of the art Wifi6 access points each end of the western wall connected by 2.5 Gbps fibre backhaul.
- Three state of the art low end Chinese security cameras at far, mid and near points along that western wall.
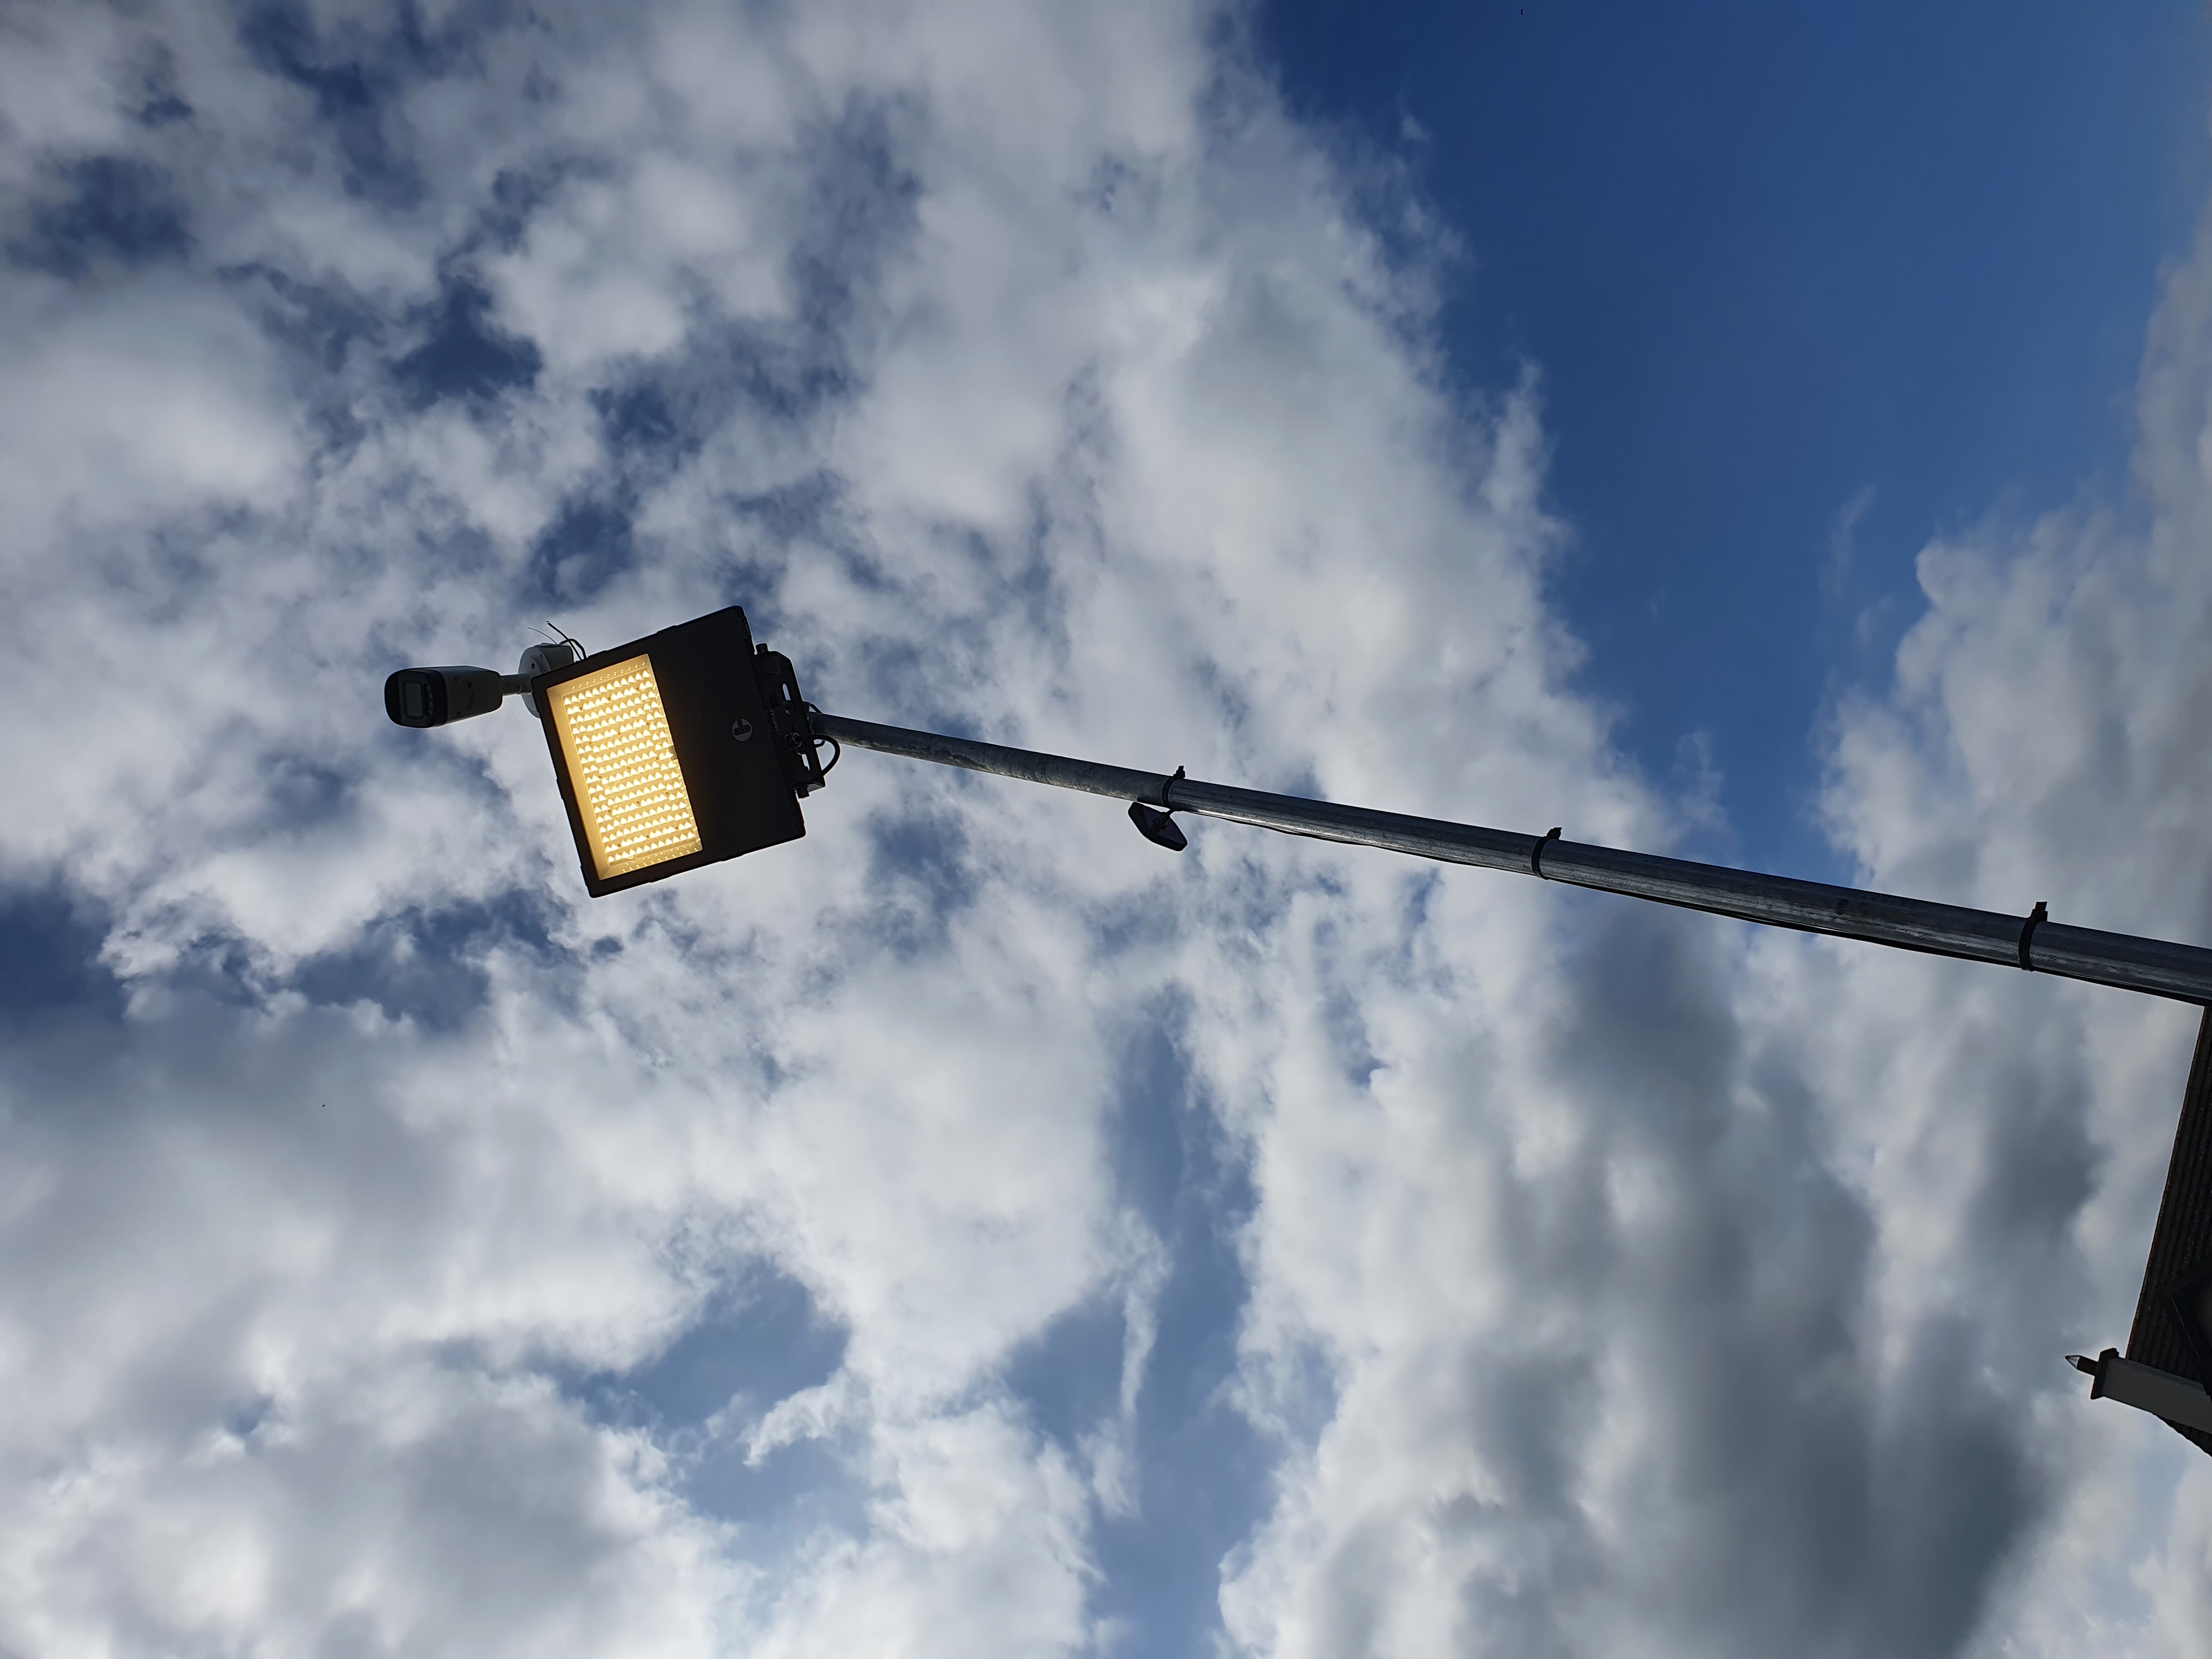
- Two 22,000 lumen warm white floodlights at far and near points of western wall.
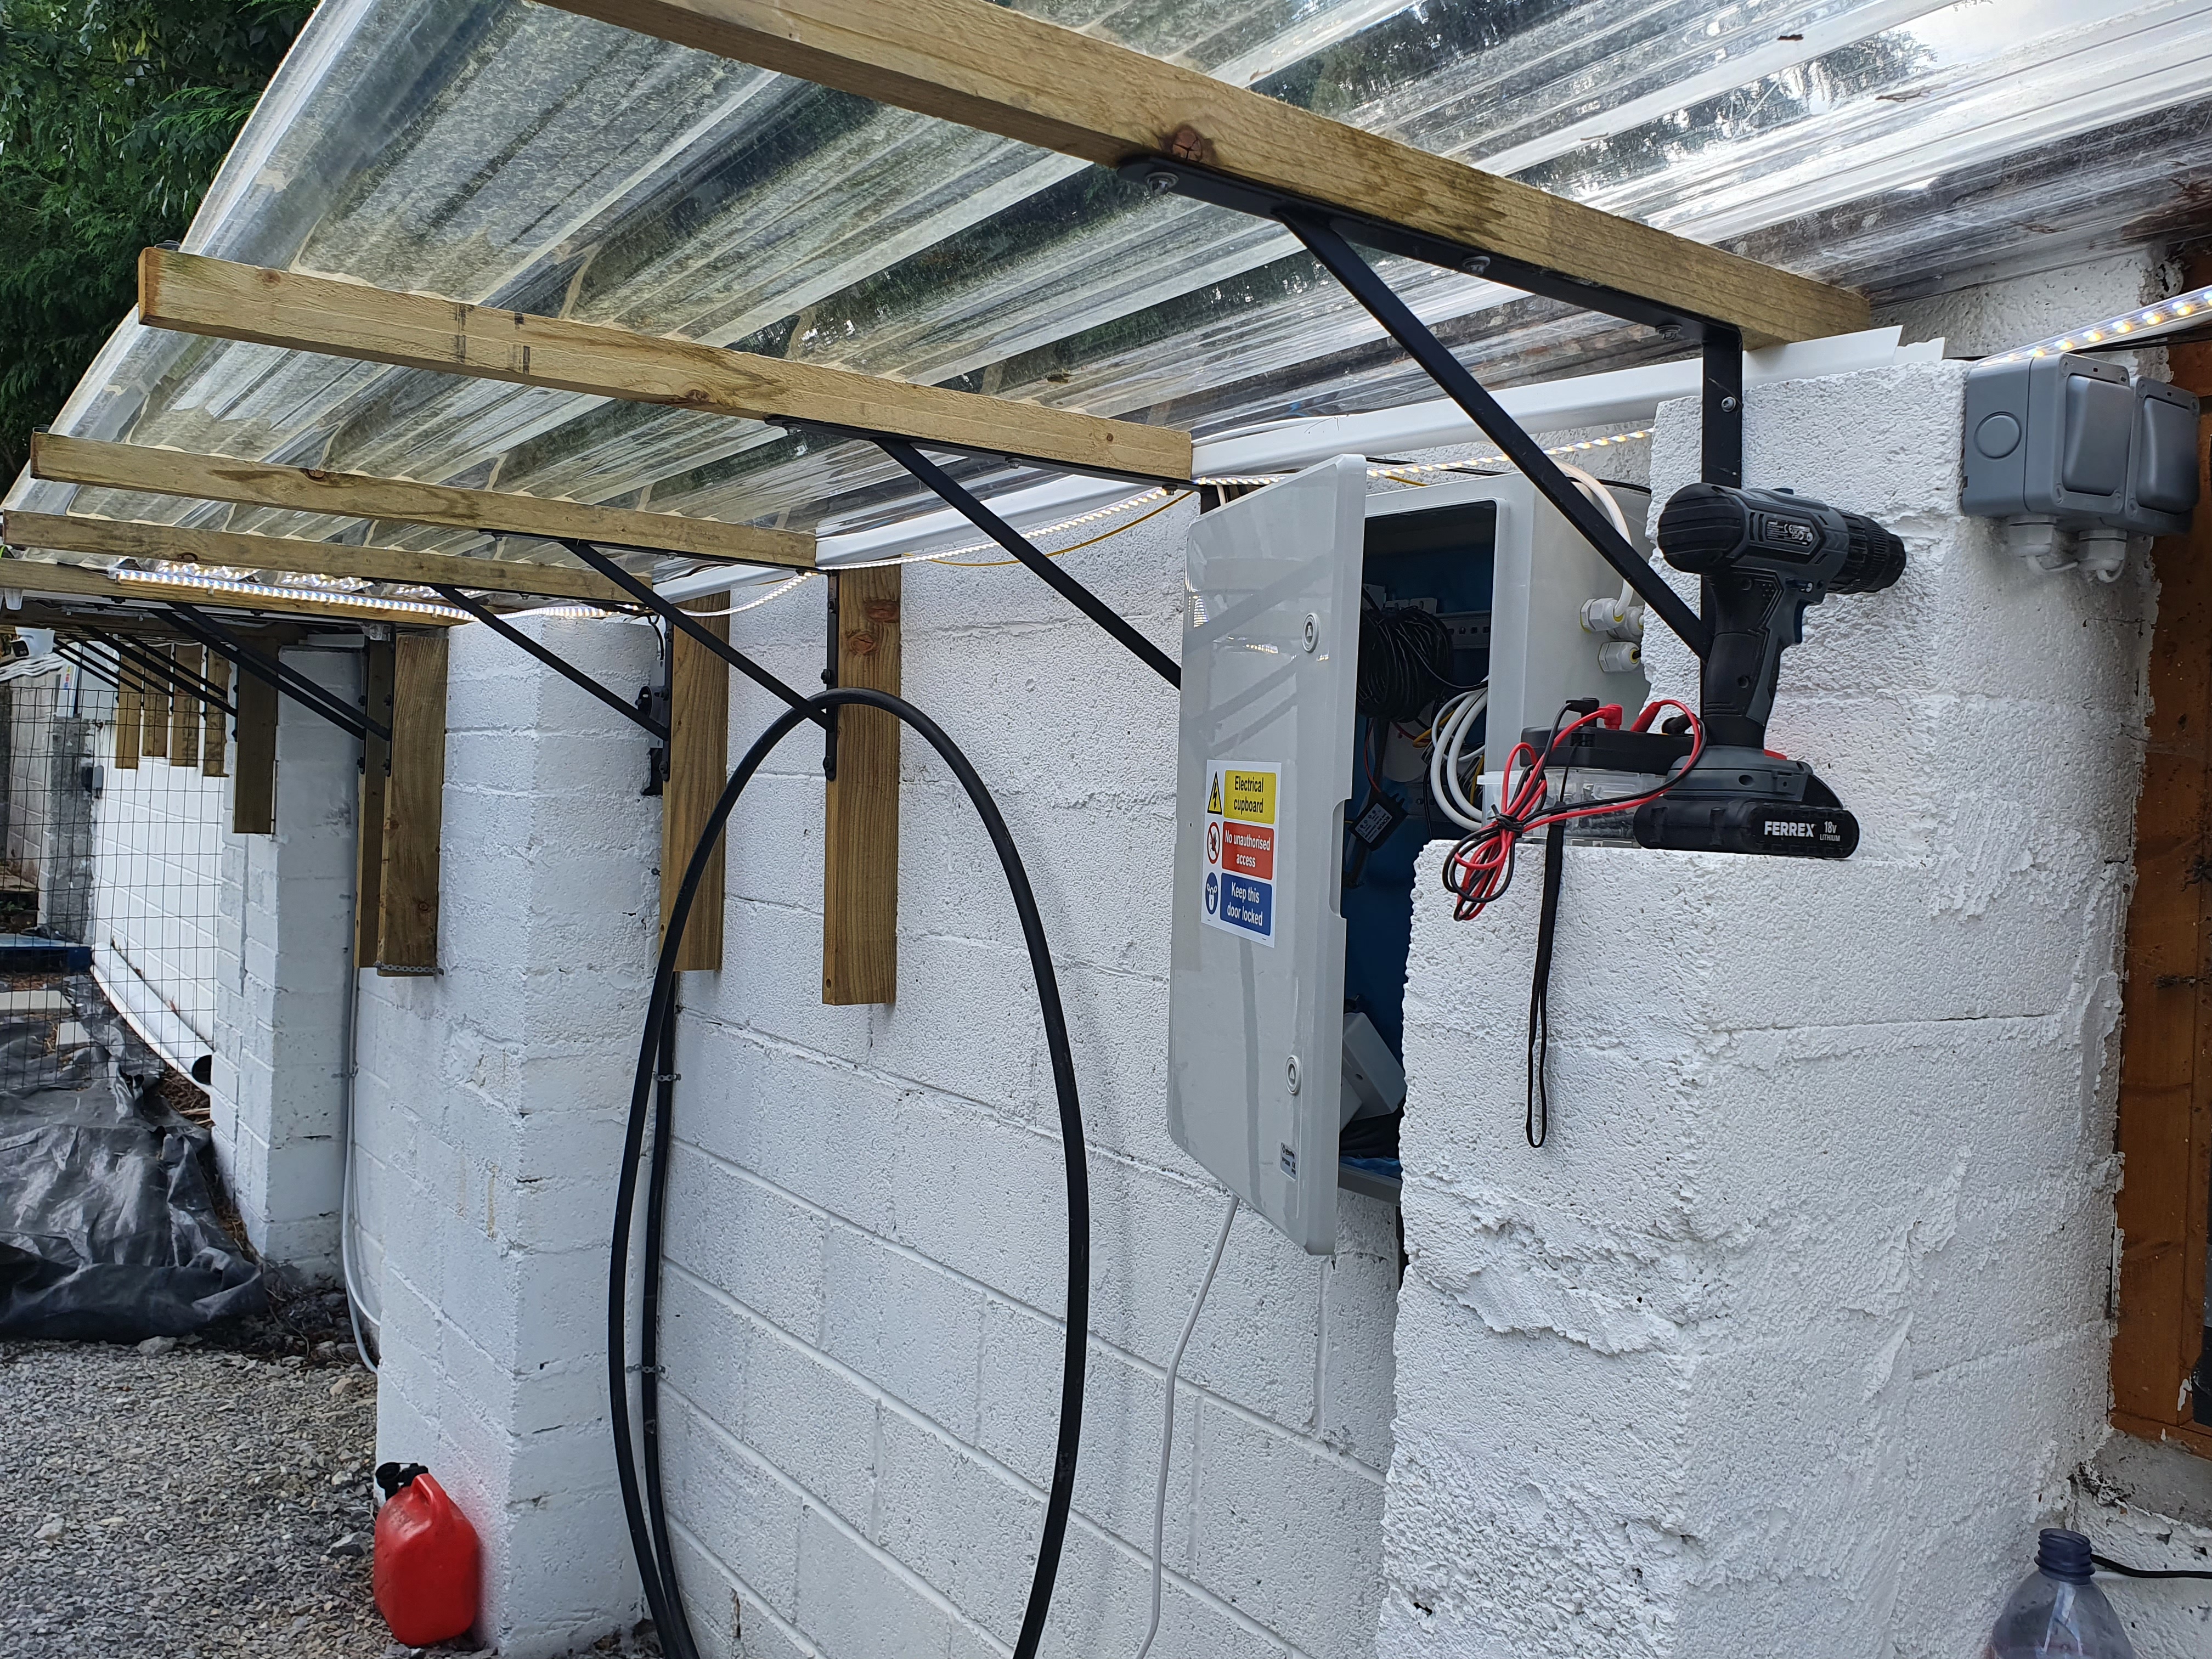
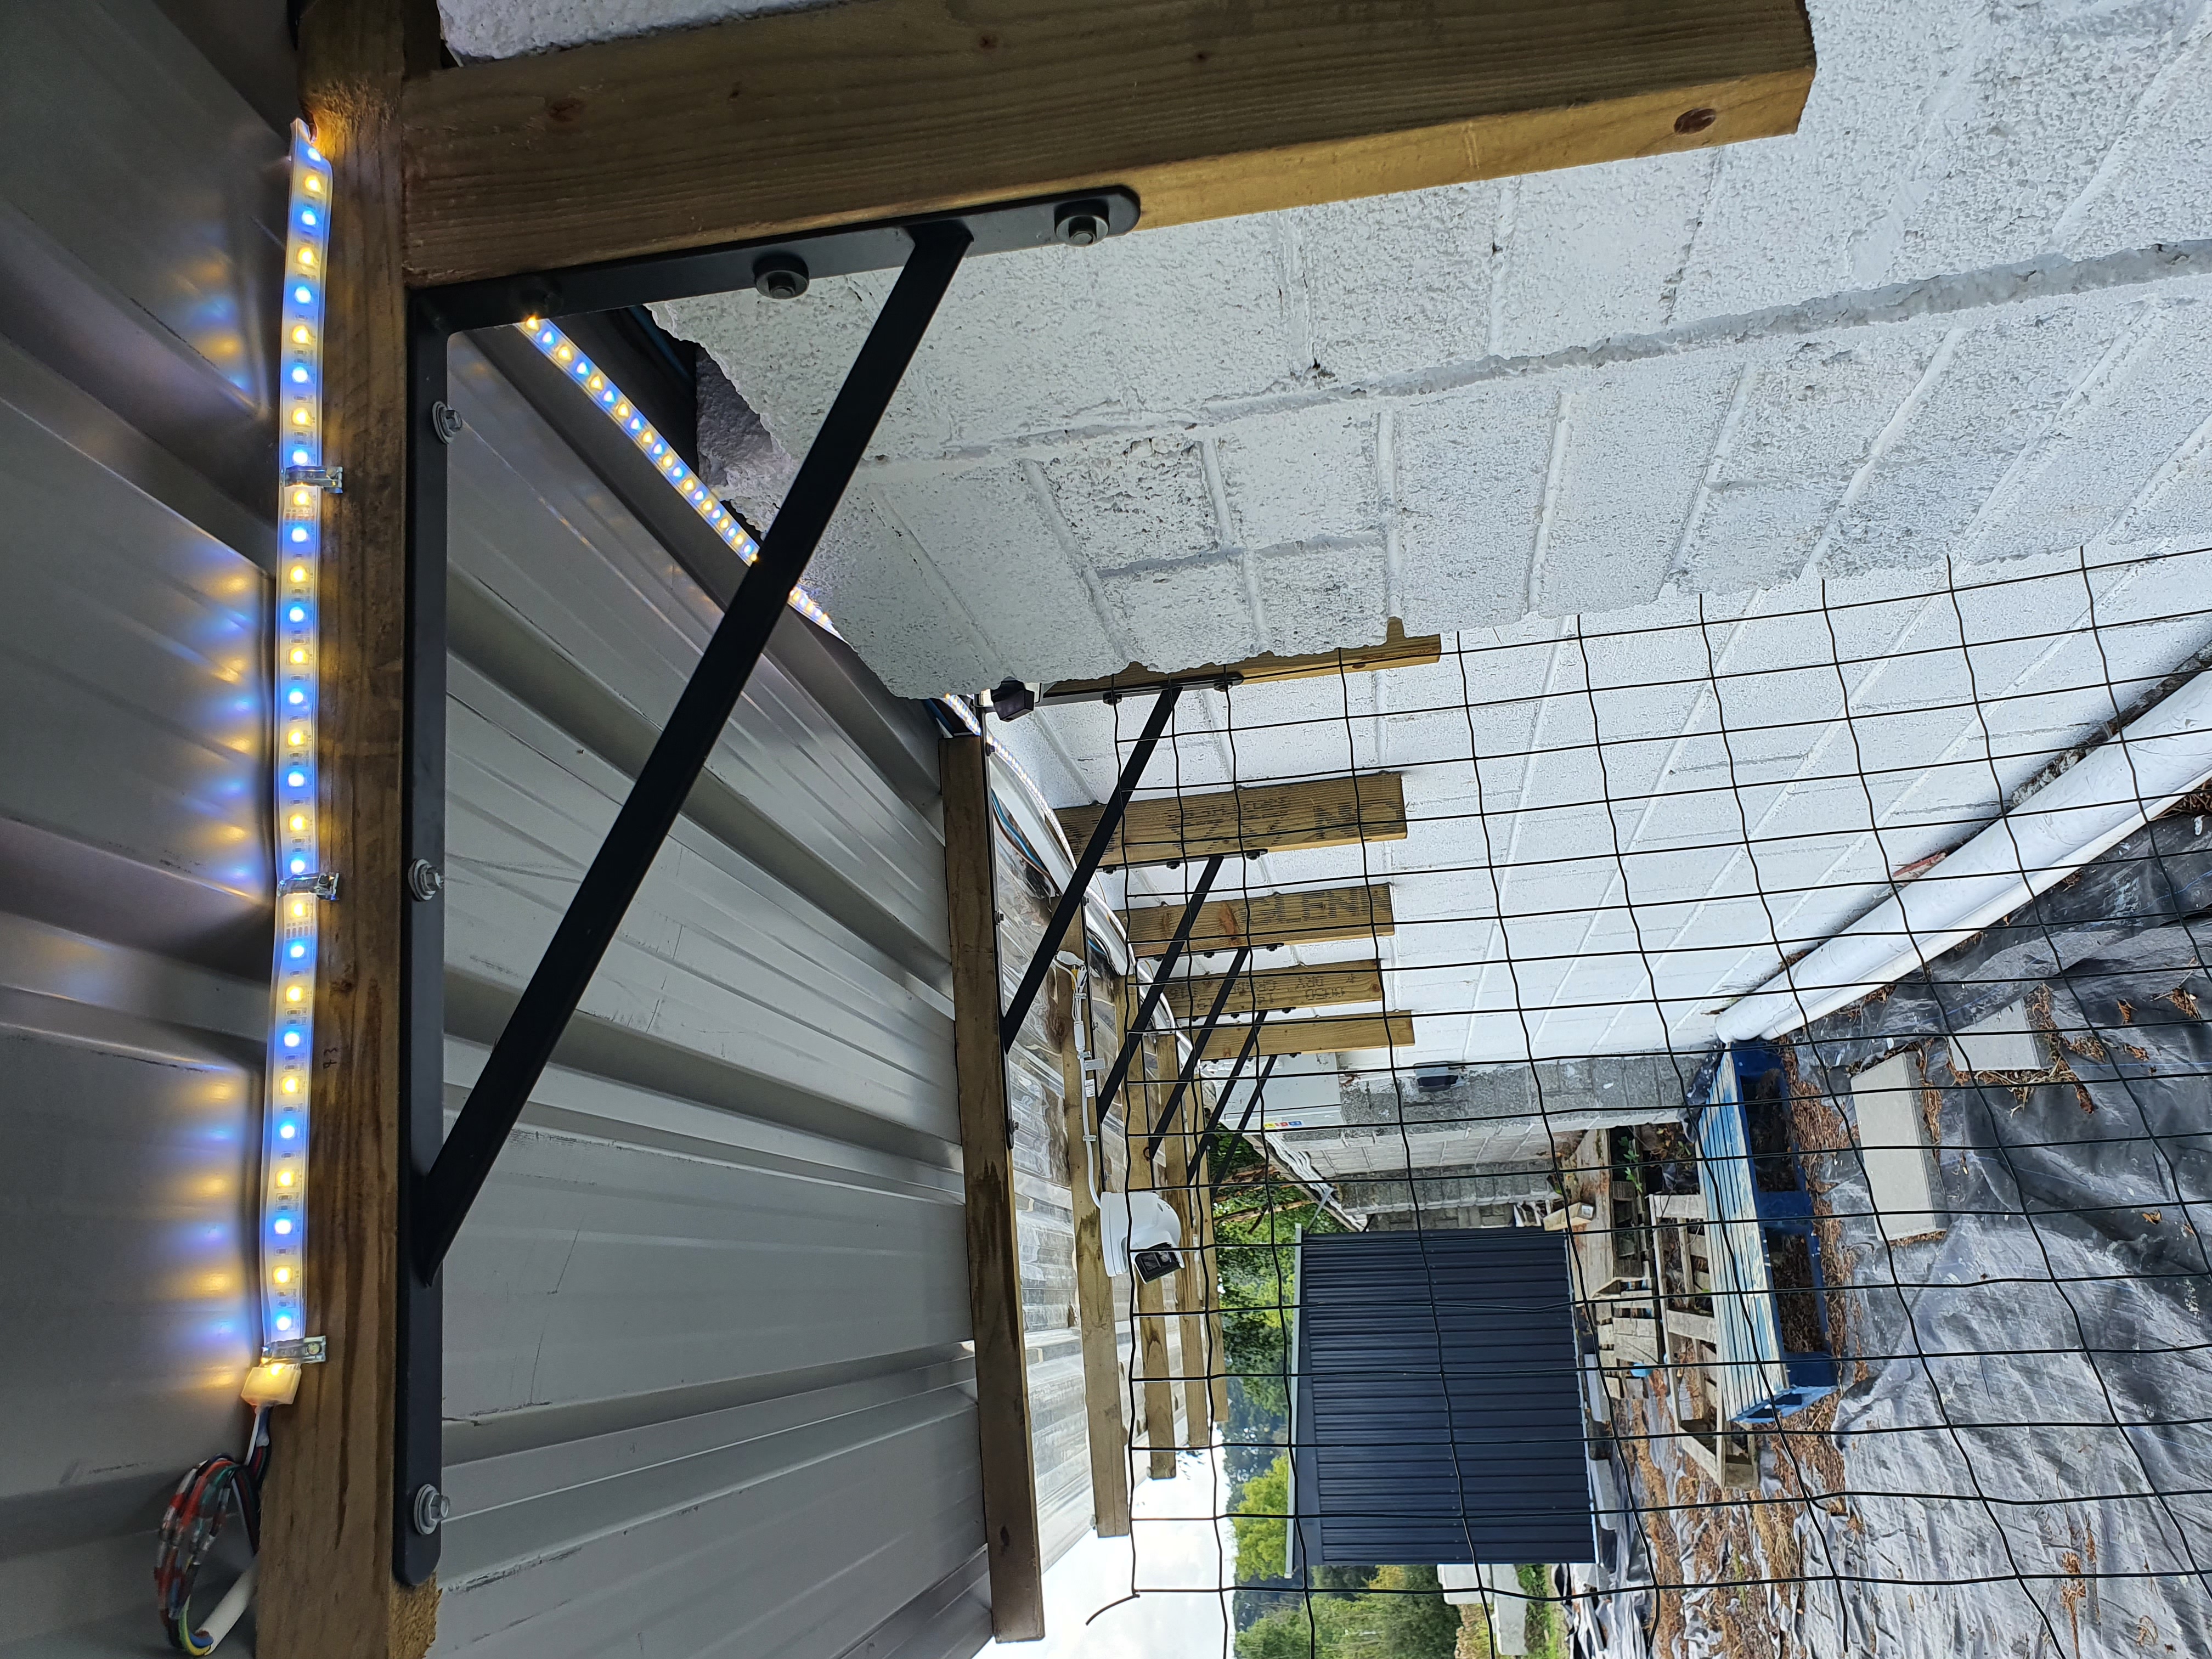
- Under the full length of the roof section there is now RGBWW LED strip lighting.
- Lithium battery storage has been assembled and commissioned and its wiring to the inverter tested.
- The cameras and Wifi boxes are powered from the 54v DC mains supply, rather than from AC. The floodlights and Starlink require AC.
- The office is fully wired and ready to go.
- The shipping container is fully wired with lighting, sockets and ethernet and is ready to go.
- The garden shed is fully wired with lighting, sockets and ethernet and is ready to go.
So the lack of mains electricity is beginning to become a real bore. I’m onto my second electrician now, he also keeps not doing the work despite me pinging him weekly. At this rate I may have to expect no mains power until the house gets built, so I’ve decided on a radical solution for that. But more later on that.
Also, the mortgage Approval in Principle expired this week. The people from the AIB were basically on holiday from July onwards, so were doing absolutely nothing about the mortgage application. Anytime you’d ping them they’d be out of office for some long number of more weeks. Such is the banking industry. Anyway I’ll now have to apply again from scratch for the mortgage, do it all over again. Yay.
Progress
Anyway the first thing I got done after the last post was the middle security camera. Unlike the other two which are high up, this one is under the roofed bit:
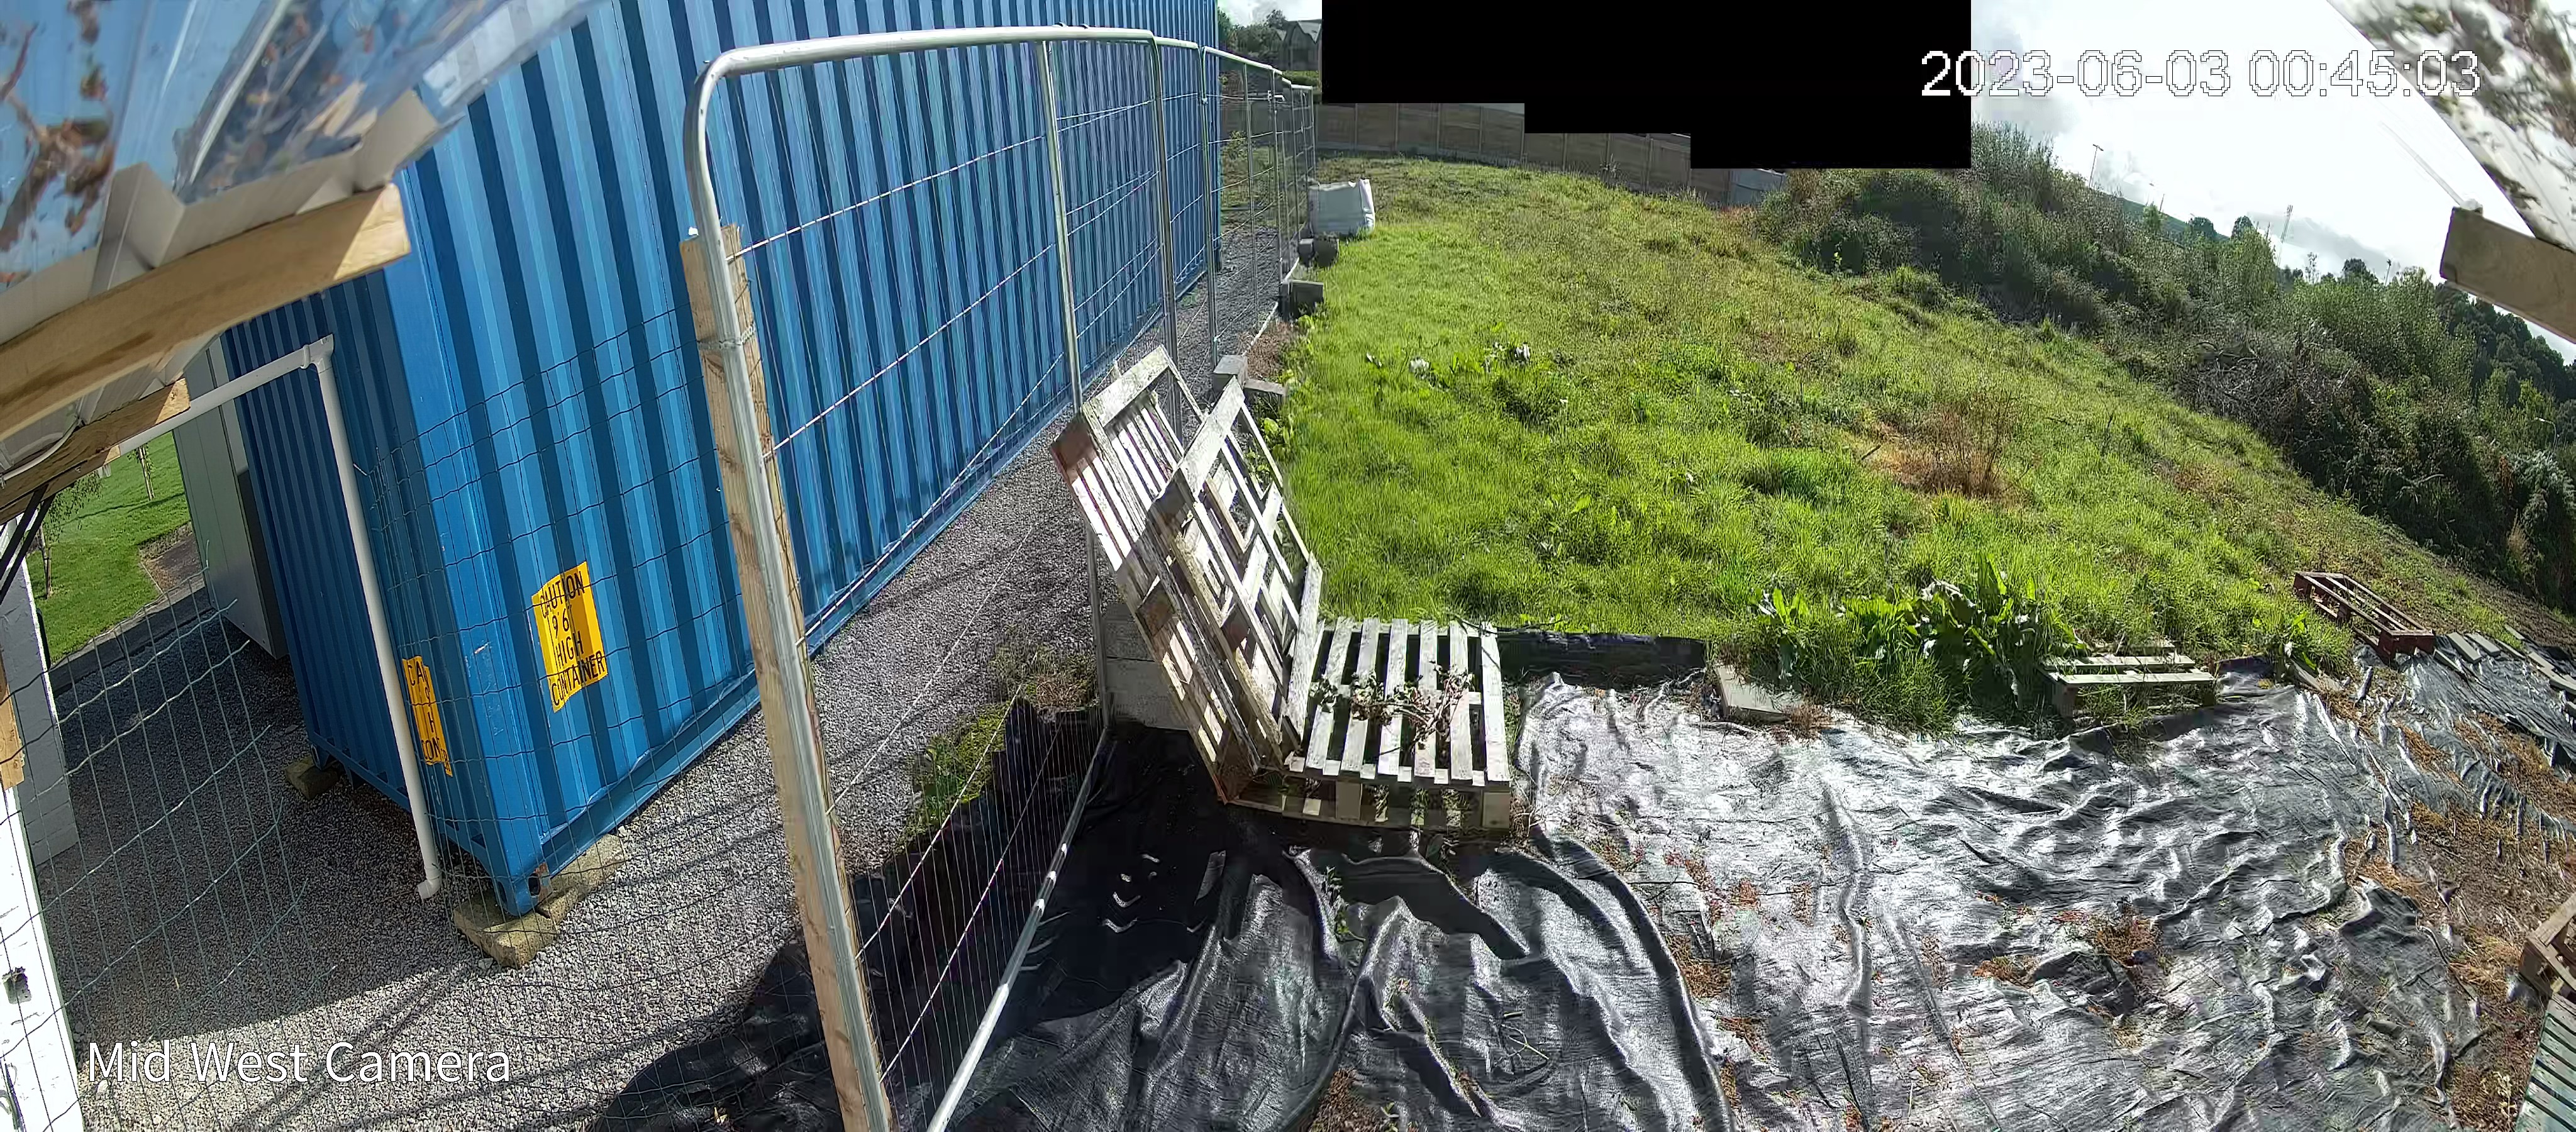
What’s neat about this camera is it can see 180 degrees around itself. It does this by combining two camera images and stitching them together. As much as the resulting image is very nice in the daytime, at night time this camera cannot hold a candle to the other two, which have truly superb unilluminated night time vision. This camera won’t need it though, as under the roof we have LED strip lights and at some point I shall be having them turn on at night time automatically, just very dim. But more than enough light for that camera to see with clarity.
Here are the LED strip lights working, they are on a switch. They shine unnecessarily blue because the power source I had them on for test was incapable of supplying all the power they draw, so they are both dim and bluer as a result:
Finally, as this is the last photo of the last thing I completed out of the original western wall plan originally drawn up more than a year ago, this kinda makes me a touch emotional. So much effort to reach now. So much money, and so much time. But plan completion here we are!
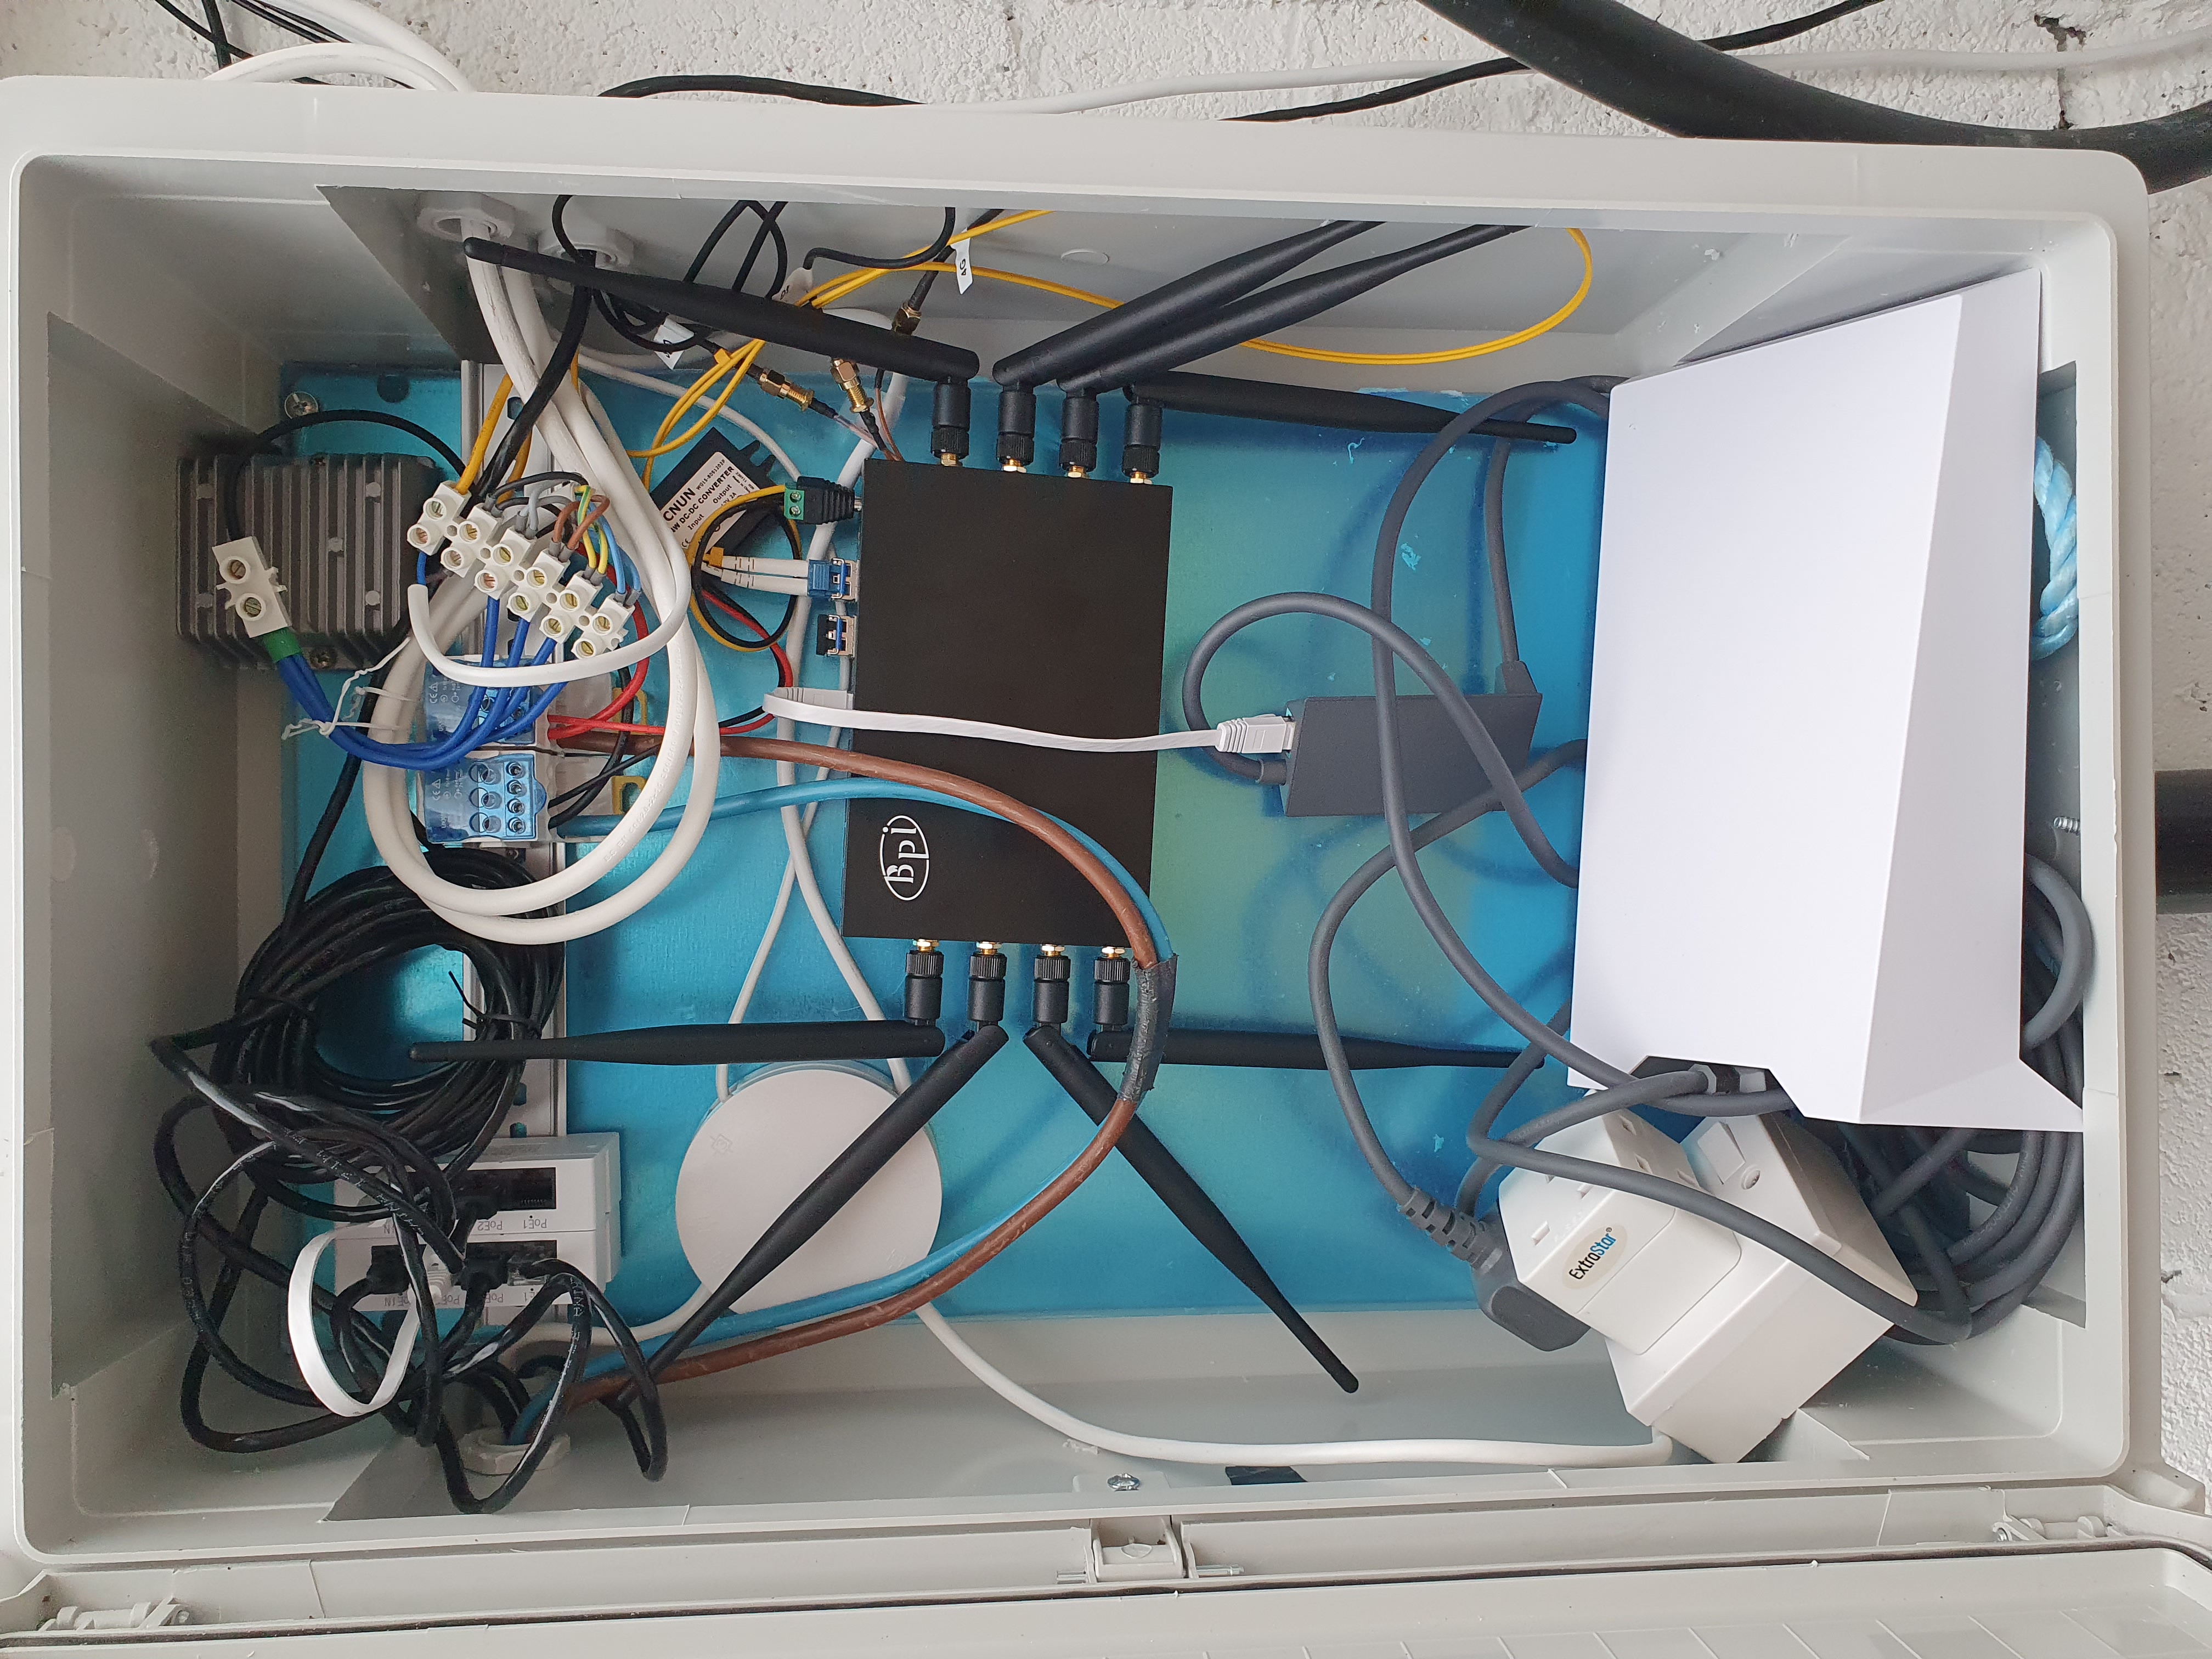
That’s the Starlink power supply at the bottom, it emits a single 1 Gbps ethernet which the BananaPi board (middle) takes as its WAN. It then provides 2.5 Gbps fibre backhaul to the other BananaPi box forty metres away. Up top left are these very neat PoE powered 100 Mbit switches. You can daisy chain them until PoE runs out. Top middle are the junctions for the 54v DC which are the two thick blue and brown cables, very low voltage needs big currents to carry much power so you can’t avoid 16 mm2 cable really. A 12v and a 24v DC-DC converter hangs off that to supply the BananaPi and the LED strip lights. Finally, top right shows an external antenna, this is for a LTE 4G antenna. The BananaPi has a SIM slot, if you fit a SIM it’s capable of using LTE for internet. I reckoned for the small amount of money to buy a low end LTE modem and antenna, this would be a useful backup if the main internet failed.
And there you go, job finished at last!
Bricks
I’m currently moving gravel to clear space for the next stage of all this (described next) and I needed something to shutter in the gravel within its final destination. I thought red brick would look nice, however I was horrified to learn they now cost €1.40 inc VAT for new bricks. And that’s for the cheap bland ones, anything nicer expect two euro.
I then wondered what about reclaimed bricks, and it turns out those have also massively inflated their prices recently. I found on DoneDeal a local chap selling off the end of a pallet for €1.50 per brick, so I went and got a bootful before they all went:
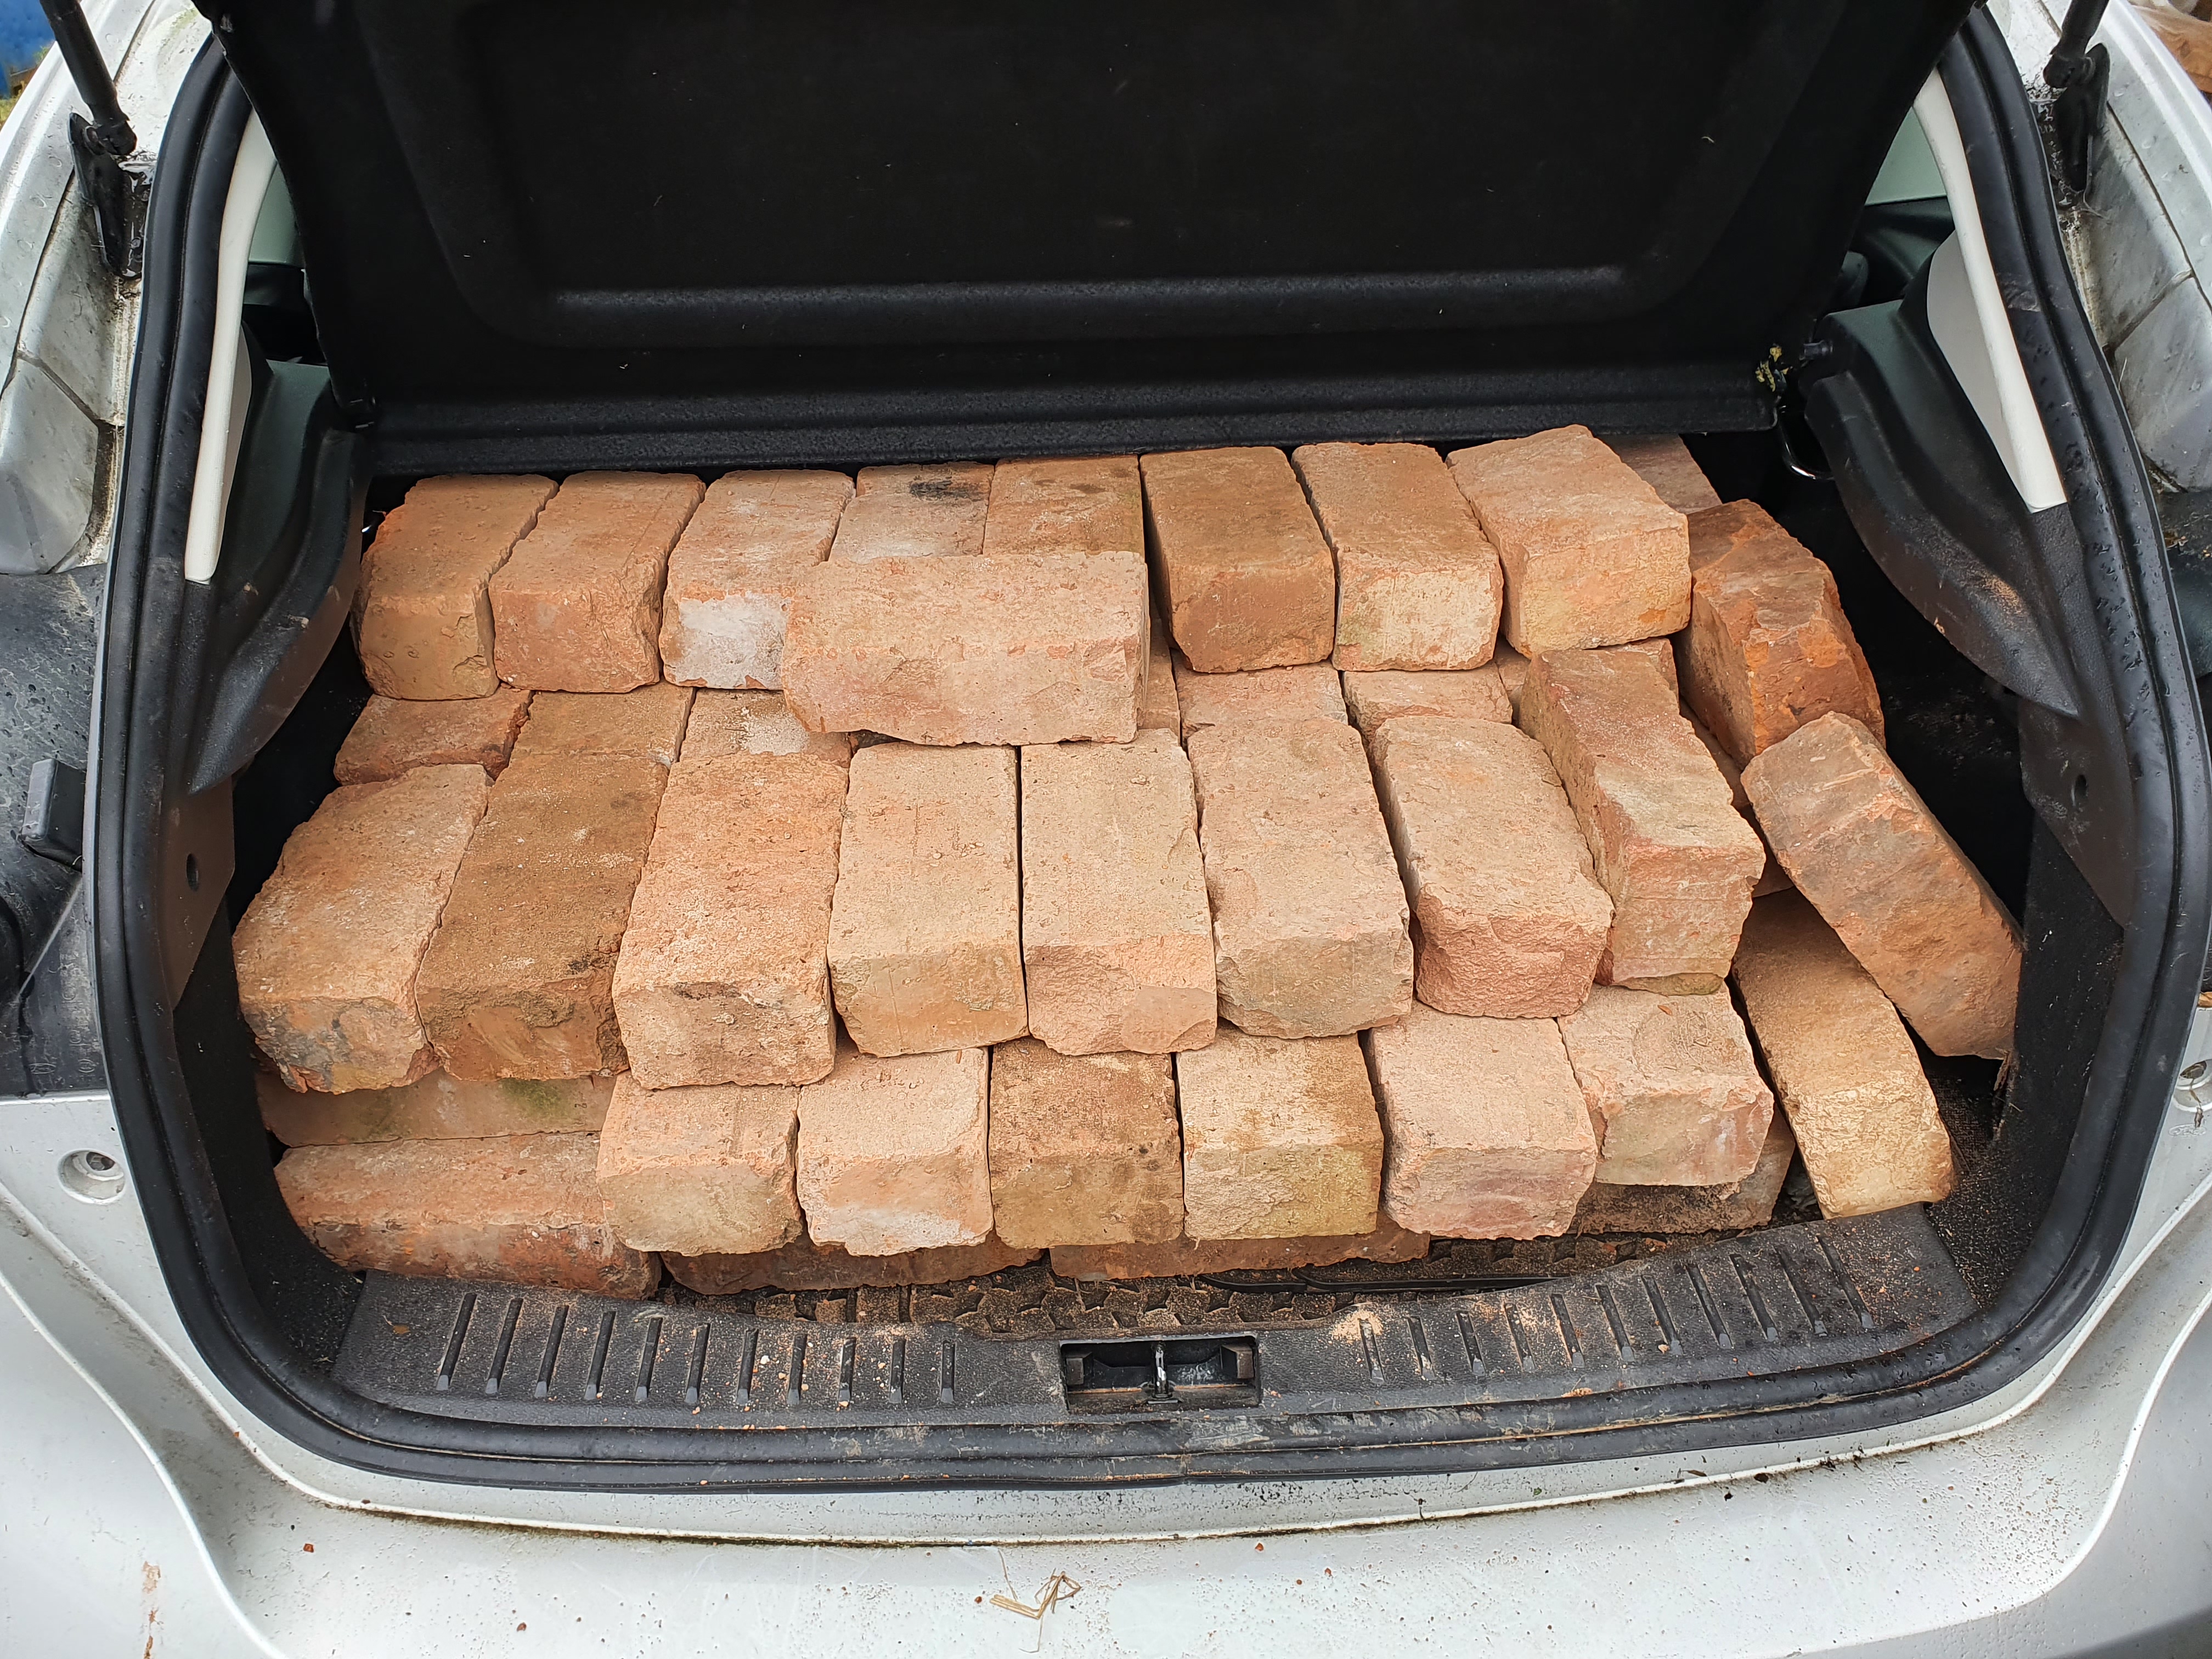
These are old British Imperial bricks made at the height of their empire, or thereabouts. They’re bigger than modern bricks, so in that sense they are likely better value in terms of brickiness per euro. However, they were made early in brick mass production, and therefore weren’t made quite as well. Also, a hundred years of use tends to impact a brick too!
Whilst unpacking them, I was fortunate enough to yield a few with their manufacturer branding (they would insert one of these per bale of bricks so you knew where they came from):
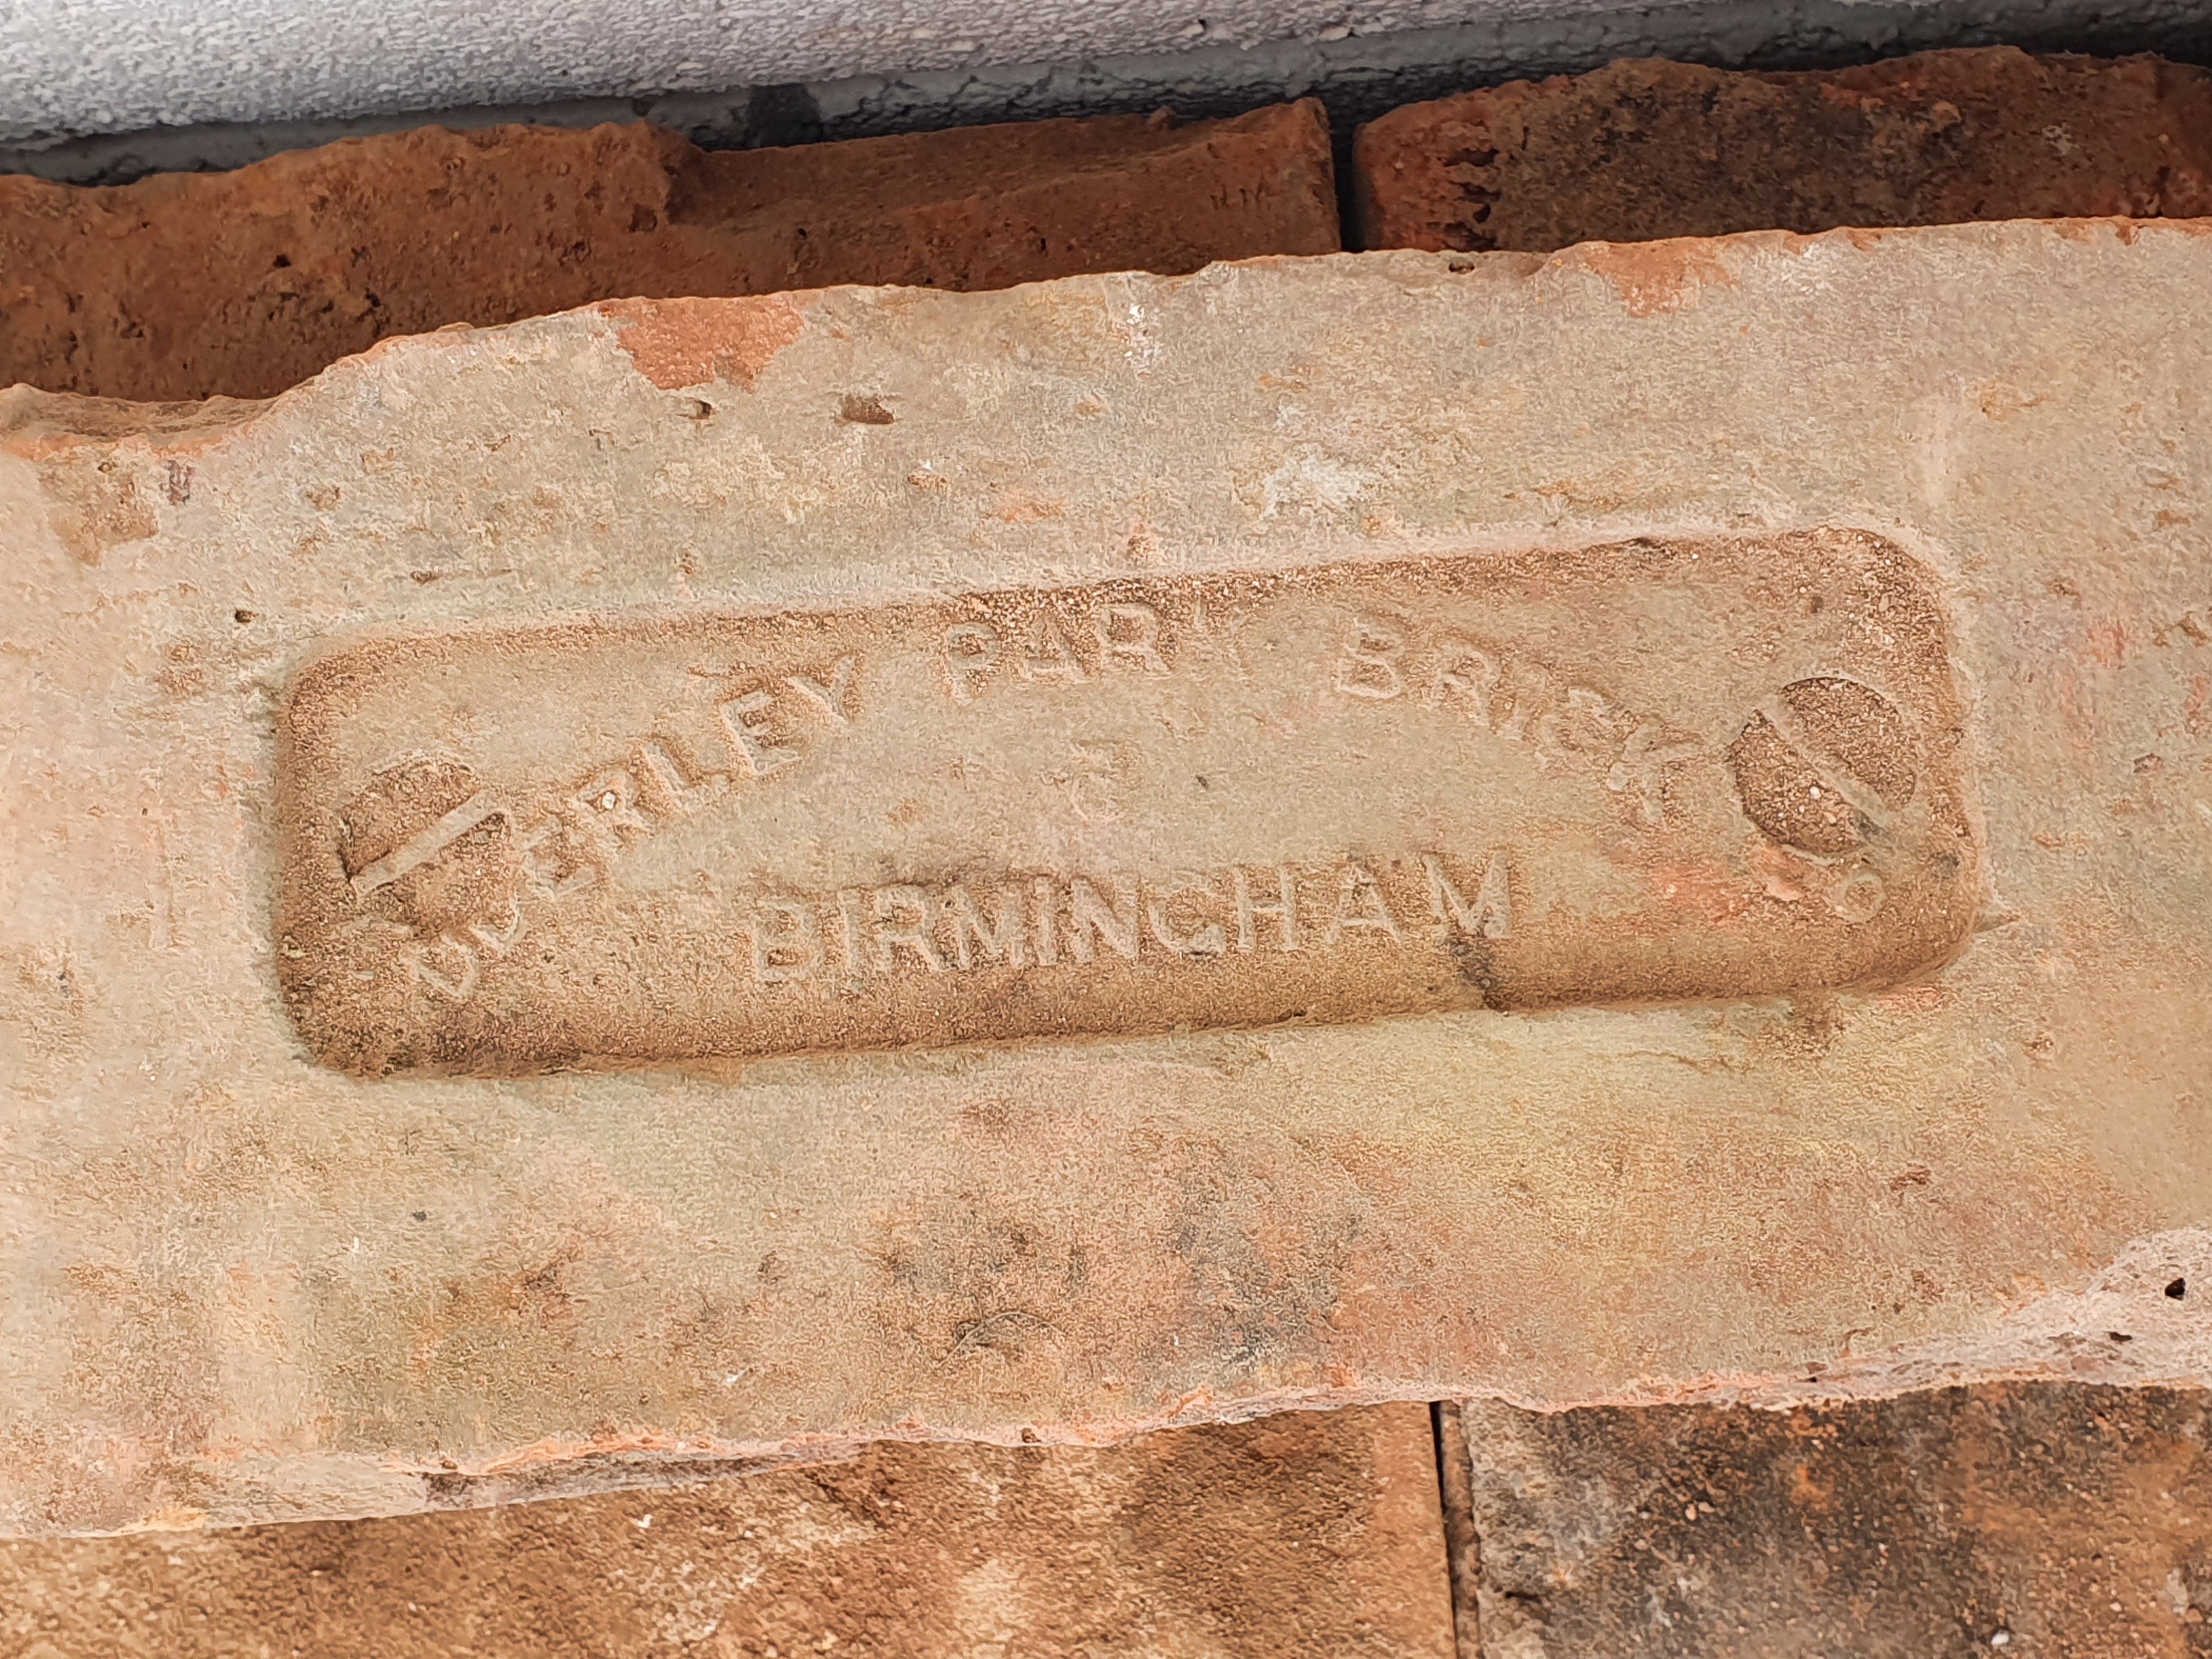
Adderley Park Brick of Birmingham was founded in 1876 through the takeover and industrial modernisation of an existing brickworks which had been manually operated since around 1840. Via coal powered steam engines, the clay was mechanically pressed and made pliable into moulds, which were then fired to cure them, again by coal.
As is often the case with these things, these industries tended to cluster where the clay was good and coal and transport was easy to obtain. Just up the road was Globe Bricks, who also churned out vast numbers of standardised consistent quality bricks like Adderley Park Brick. They, and dozens of other British Imperial brickmakers, made the bricks which built the empire.
We know when Adderley Park Brick was founded, but determining when it ended is harder. I think they stopped printing their full name on their bricks after 1916, they just used A.P.B. after that. And they were certainly still going by 1946, they ended up getting merged into ever larger conglomerates until the cost of energy and labour in Britain became too high compared to elsewhere. So brickmaking went elsewhere, mostly to Europe where energy was historically cheaper.
To date my specific bricks would therefore seem to have a particularly wide window. However, we were in fact really lucky here because we also got this branded brick:
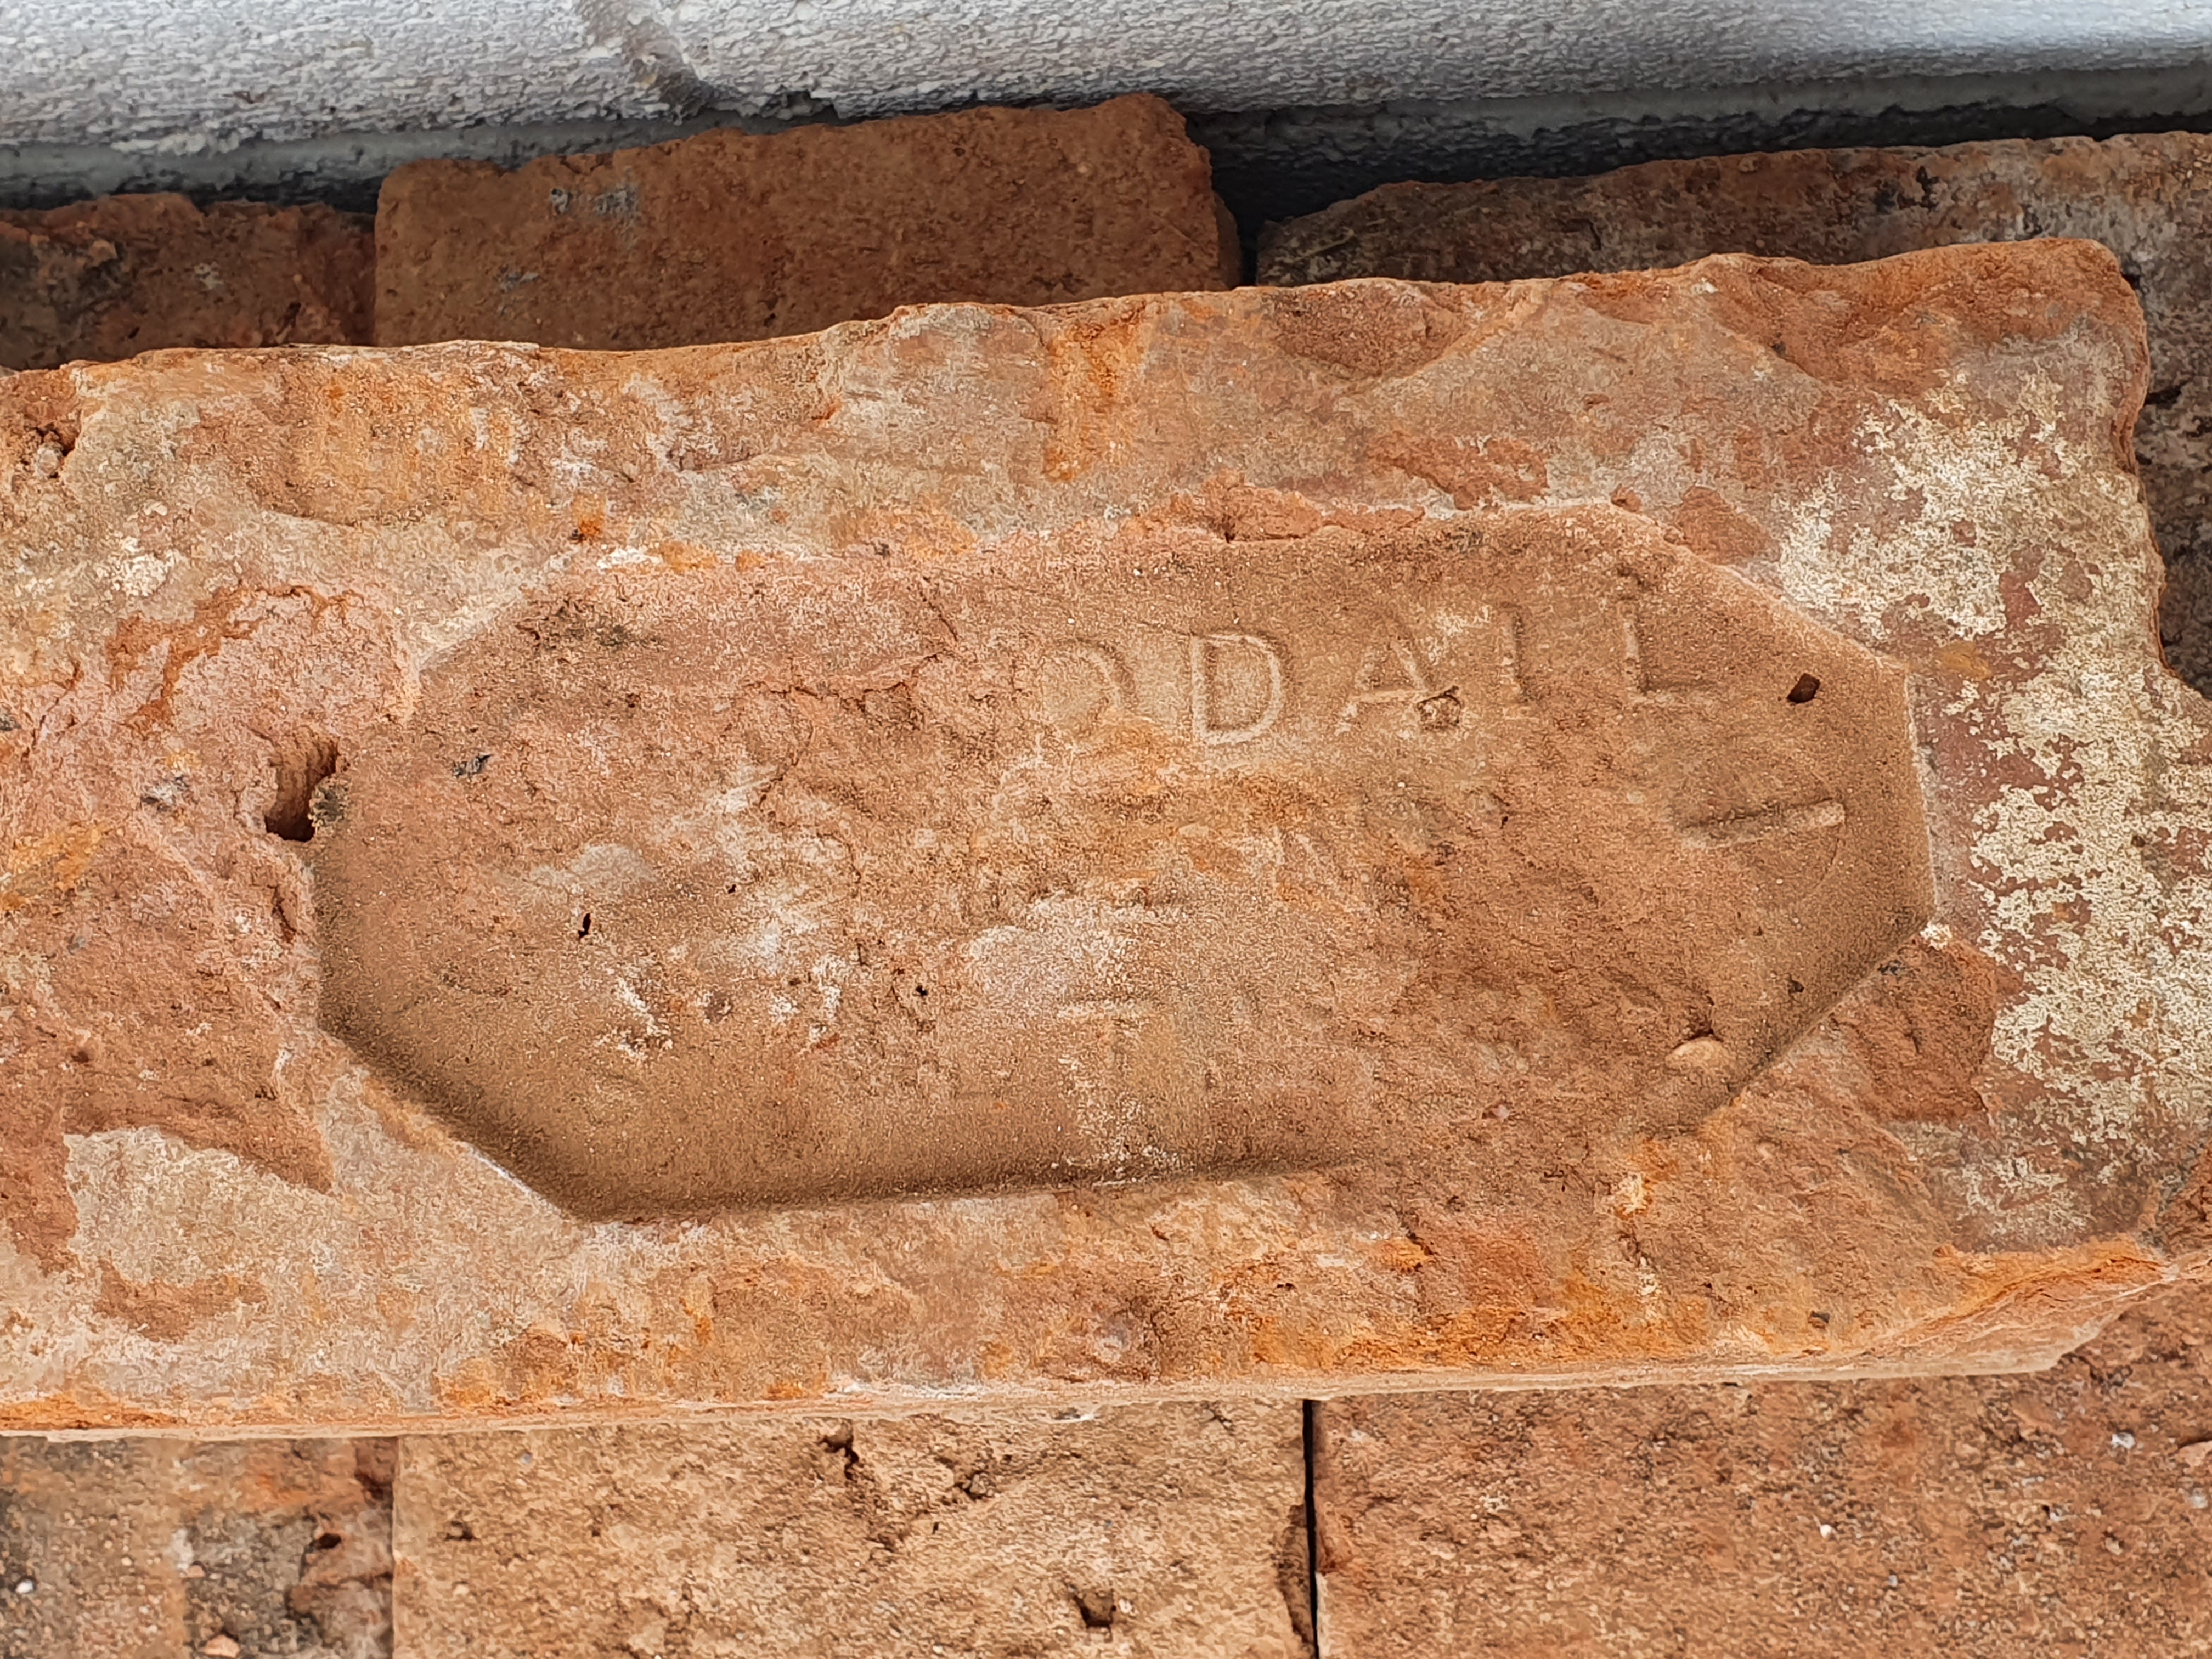
It’s hard to make out – and it took some effort with the search engine to find – but this says “G. Goodall, Saltly”. This is in fact quite the rare brick! Produced only between 1878 and 1883, their yard was right next door to Adderley Park Brick. That narrows my set of bricks to that specific five year window, which makes these bricks between 140 and 145 years old.
(My thanks to the webpage at https://uknamedbricks.blogspot.com/2018/04/birmingham-brickworks-part-2.html which solved the Goodall brick for me. It also has lots more detail about Birmingham brick makers if that sort of thing interests you)
Megan feels sad about using these heritage bricks merely to frame gravel. She’s not wrong that it seems somewhat of a shame. However there is absolutely no shortage of these bricks, billions were made and given the cost of new bricks, reclaiming them is very profitable so there will never be a shortage of supply any time in the next few decades. And, more importantly, they were made to be used – their former use has ended, they’re now getting used for new things. Assuming their makers cared at all, these bricks I have here have a reasonable chance of seeing their two hundredeth birthday assuming myself and Megan live long enough, and one of our children claims the house after we are dead.
Finally, a much newer brick slipped into what I bought:
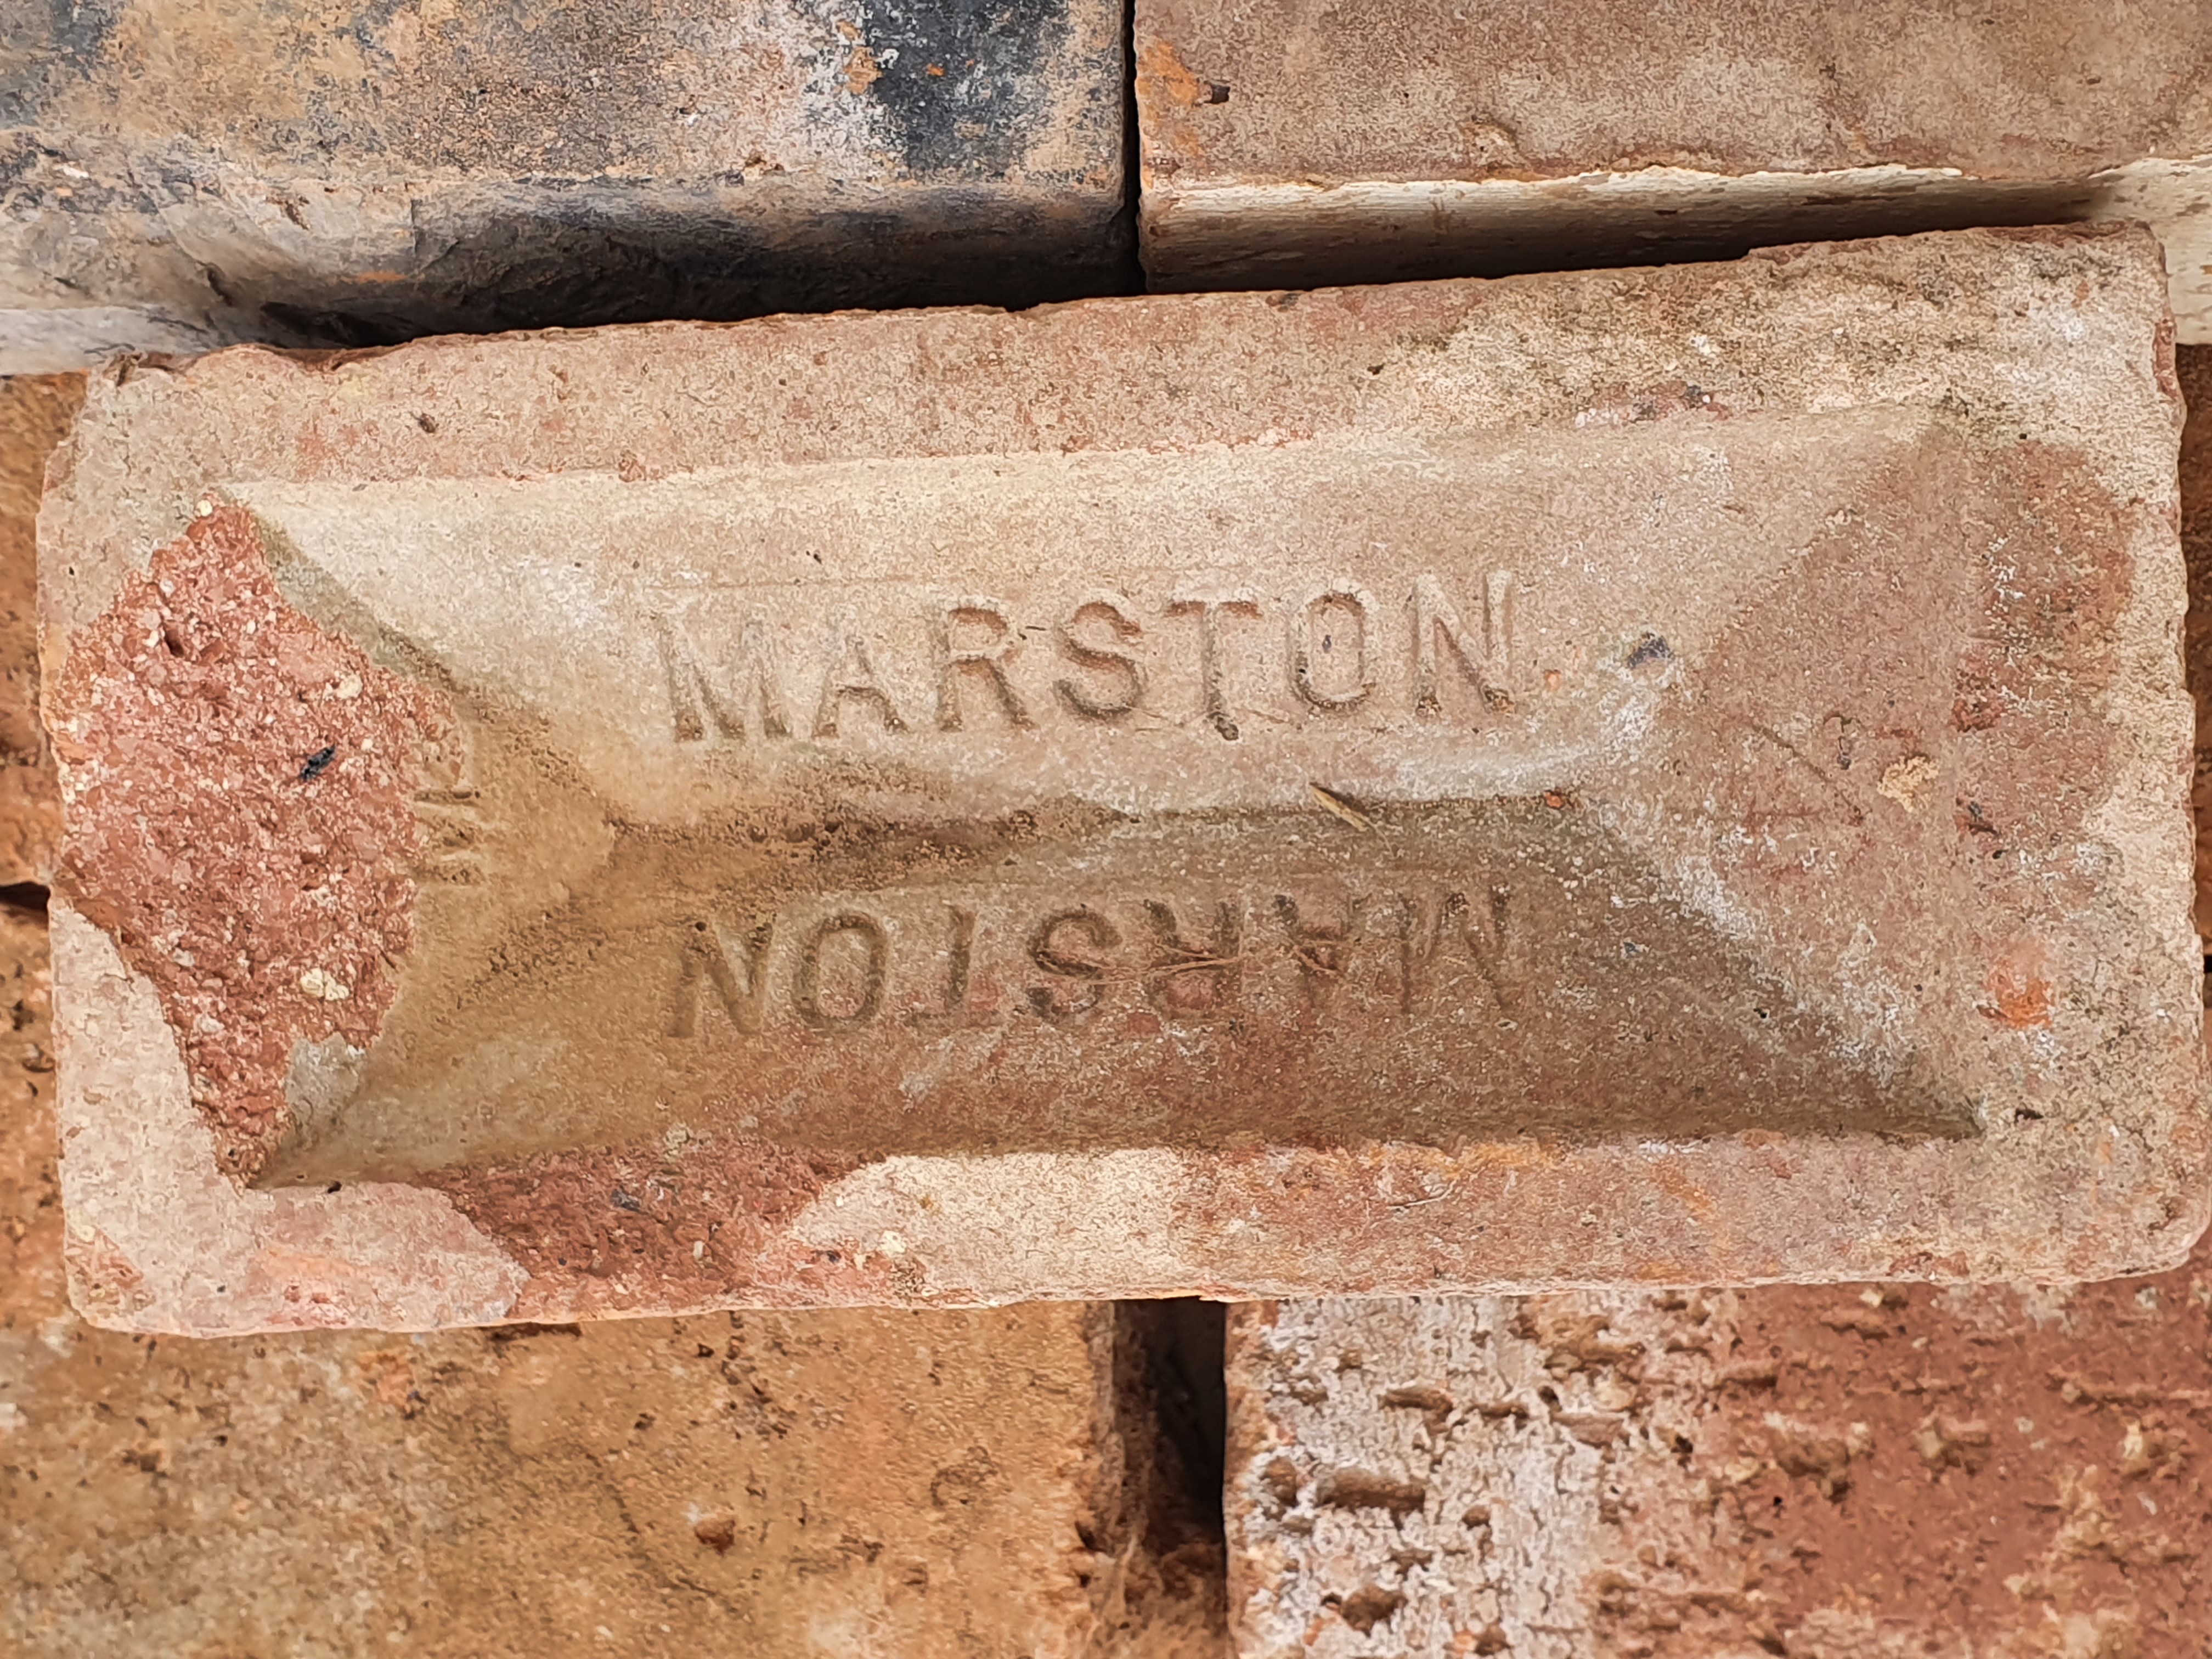
Marston still make bricks actually, and they’re very nice (and very expensive). But this specific brick is likely from the 1970s back when the Marston Vale was the source of most of the bricks still made in Britain back then. You can tell it is a modern brick because it has modern dimensions i.e. is smaller and thinner. It almost certainly got inserted into the building which our bricks made up as part of repairs and maintenance, probably because the colours roughly matched.
Next Project
I’m getting royally annoyed about the unwillingness of electricians to come turn on my mains electricity, and seeing as I need electricity on site to make forward progress on the build, I went ahead and bought the solar panels for the house now. I’m going to erect eighteen of them now as a temporary installation, that will get me electricity on site and then if/when mains electricity happens it’s no longer a critical blocker to forward progress.
As much as spending lots of money now puts me further away from the mortgage, I had had enough to be honest. I’m stuck here working from home six months later than originally planned now. I have a perfectly good office onsite, it just needs electricity. I need electricity now, not later.
Another motivation factor is that European warehouses are currently with a glut of solar panels, so they are deep discounting to shift the older panels. The cause is the Ukraine war, stockists correctly anticipated a massive increase in demand for solar panel installations, so they ordered lots more stock. There is indeed a massive demand, but there is a big shortage of installers. So the stockists haven’t been able to shift stock as quickly as hoped, and due to running out of warehouse space, they had to firesale some stock.
Anyway, upshot is that I picked up forty Q Cells G10 375w solar panels (which are last year’s model, slightly worse than this year’s model) for a mere €94 ex VAT each. That is a very good price, you would normally be paying €150 ex VAT for a Chinese panel of that size, or €240 ex VAT for a non-Chinese panel of that size. Q Cells is of course Korean-German, and while they do make some of their panels in a Chinese factory, most are made in Korea, Malaysia and especially the United States where they are by far the largest domestic manufacturer.
My temporary solar panel installation shall be onto the side of my shipping container, which is 2.9m high and south facing. I have bought nine 4.8m lengths of 100 x 44 pressure treated timber. If one wanted a 45 degree angle, they would need to be shortened to 4.1m long each; if one wanted them closer to 35 degrees which is the maximum power generating angle throughout the year, you would leave them basically as is. I haven’t decided on that quite yet, I may just stick their ends over the top of the container a little or do something else.
At their bottom I shall have four ground anchors, these screw into the ground and if you can give them mainly lateral loads, they are very secure. The bottom of the timber beams will be pushing outwards mostly, so should be ideal for the ground anchors. At the bottom and top of the timber beams, I have 6mm chain attaching the top to the shipping container and the bottom to the ground anchors and to the shipping container for safety. I did some basic structural loading calculations based on a hurricane producing 4000 Pascal of wind pressure on the panels, and I think this design should be good in that (to give an idea, the Beaufort scale tops out at 1500 Pascal which is 180 km/h wind speeds sustained, something not usually possible at ground level, but I reckon gusts can be quite potent – the highest recorded yet is 408 km/h ten metres above ground).
Anyway, once I get those eighteen panels installed, I finally can commission the inverter which thankfully is an off-grid capable model, and also thankfully I did install a local earth, so I’m good to go once I get all this mounted and wired in. There is absolutely no way I get 375w from each panel – solar panel energy efficiency claims are very like for cars, they are aspirational rather than anything resembling reality. At worst (January), you might get 2.5 kWh in a day. At best (June), you might get 46.8 kWh, which is 81 watts averaged over sixteen hours for all eighteen panels incidentally. Even if just taking noon that day, those eighteen panels might generate 5 kW, which is 278 watts per panel. The NMOT power rating for that panel is 281 watts, so that’s actually pretty good (NMOT = Normal Operating Conditions).
Obviously I will not be able to work from that office in December and January, but for the rest of the year I think it will be not only fine, but there will be plenty spare electricity for space heating. That miserable 2.5 kWh in a day mid-winter becomes > 5 kWh by February, it’s a big difference, mainly caused by daylight hours going from six hours to eight hours within just a month and the sun getting far higher in the sky – and thus losing much less radiation to penetrating atmosphere.
Anyway, getting all that set up with take many weeks. Next time I post here it should be done, and I’ll also have the latest three month build cost spend to the end of September. Obviously due to the mortgage application I’m not allowed to spend much, but there have been little bits here and there over time.
| Go to previous entry | Go to next entry | Go back to the archive index | Go back to the latest entries |